
Hitty's Half Square Triangle Quilt
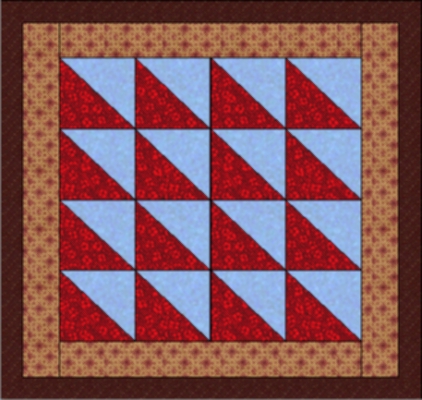
Finished size depends on how many borders you add.
'About' 5 1/2" x 5 1/2"
A charm
quilt is where no two identical fabrics are used.
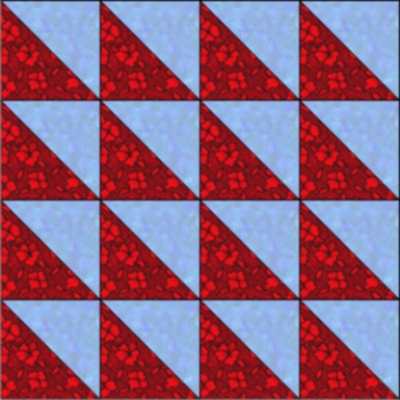
Every patch is a different fabric.
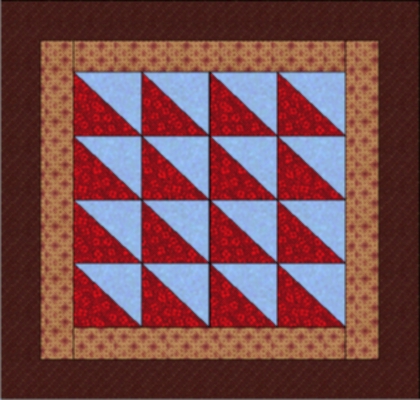
Of course, in this picture, they are all the same--so hey, if you like
it that way, feel free!
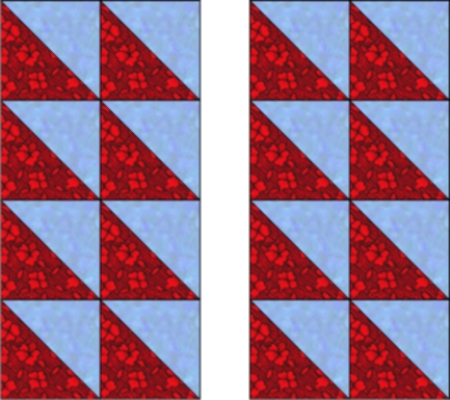
Also, if you add more squares (we used 16) it
can be made bigger.
Add another row on the bottom and it can be rectangular instead of
square.
Whatever you choose--have fun~!
Supplies:
Sewing Machine
Thread
Scissors
Needle
Straight Pins
Cutting Mat and Rotary Cutter (optional)
Iron and Ironing mat
Magic Sizing (about $.99, similar to but better than spray starch)
Measuring tape or ruler
16--1 1/2" x 1 1/2" different squares
16 1 1/2" x 1/2" background squares
1 1/4" strips for border
backing fabric
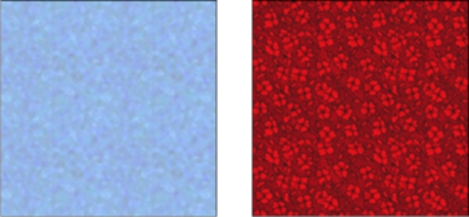
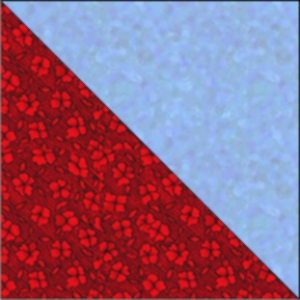
In this tutorial, all background
squares will be blue. The red square will represent your
different square prints.
Tip: Use the Magic Sizing every time you press. It makes the fabric lay straight, and that helps match seams!
~*~*~
On the back of all of your background squares, draw a line from corner to corner.
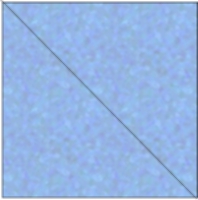
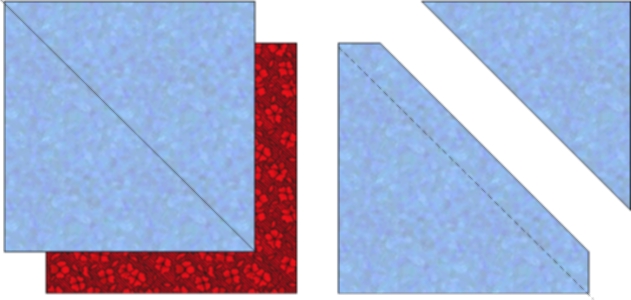
Place your background square on top of a print square evenly, and sew on the drawn line.
Tip: set your sewing machine to as small a stitch length as possible. Also, use a 1/4" seam allowance, and trim to 1/8th" after sewing.
Cut off the smaller triangles and discard. Sew remaining squares.
Open, and very carefully press (not iron! Use an up and down motion, not a back and forth) all triangles,
with the seam under the print and not the background.
If your squares got distorted while pressing, simply square them back up by cutting all the blocks to the same size.
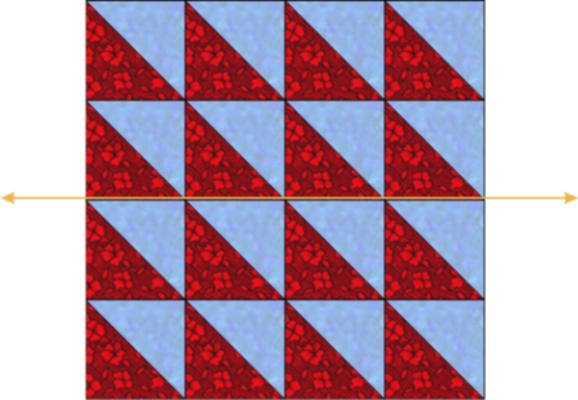
Now, lay out your 16 squares, and sew together in rows. When you get to the part where you are sewing two rows
together, use pins to pin through the seams, so they line up.
Never, ever just sew them down from the top without pinning.
You want your seams to match as good as you can get.
However, do realize that with a quilt this small, it can get hard to
do! Don't stress.
Just follow the pictures below.
Press each row before you sew it to another row.
Remember to pin.
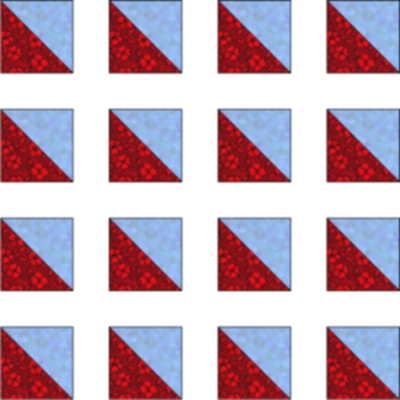
1. Lay them out.
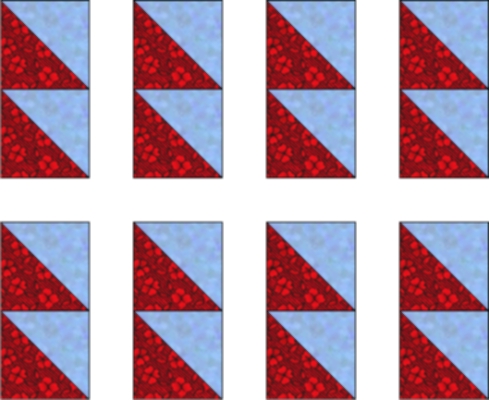
2. Sew together in rows
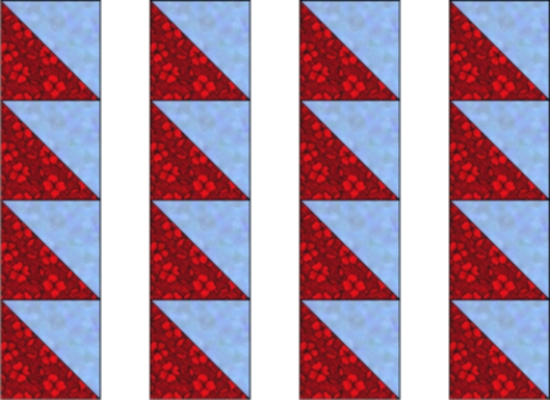
4. Pin, and sew the rows together
5. There!
Press your top very carefully. If you need to, trim the quilt to square, taking off as little as possible.
Tip: Squaring your quilt means you will have the best chance of a square quilt when you are done.
Now, measure your top from side to side, in the middle.
Cut two border strips 1 1/4" wide and the length of this measurement.
Pin these strips to the top and bottom of your quilt, and sew in place.
Pin them on just like you would a human-sized quilt. Start with pins at both ends, put one in the center.
Then, pin the rest in place. If the top needs it, ease it into the strip.
Never, ever, just cut a strip and sew it on.
Why? Because whatever fabric is on the top will very slightly stretch, and this
can cause rippled borders. We want flat borders!
Plus, this could make one end of your quilt wider than the other, instead of the exact same size.
Press the top and bottom borders before adding the side borders.
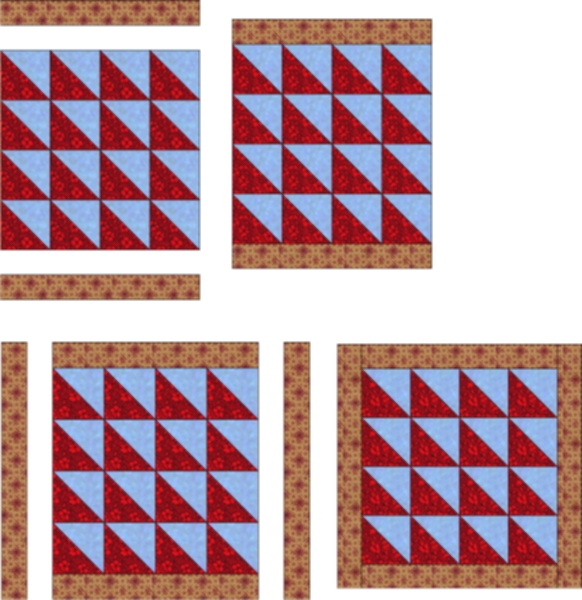
If you want more borders, simply repeat the steps.
In my original Hitty quilt (you know, the one where I snipped the binding!) I had two borders.
When you are done, cut your backing fabric to be 1/2" bigger all the way around than your top.
Lay your top on your backing, wrong sides together. Fold the edges over once, then over onto the
top of the quilt, and pin carefully. Pin all the way around.
I usually hand-sew this, as it is quite small, so it looks better.
But if you want, this could be carefully machine stitched down.
There! All done, and Hitty has a pretty new quilt!