
Hitty's Shopping Tote Bag
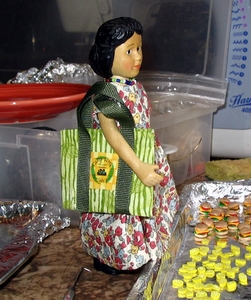
Hitty Iris Raikes at the Studios.
For this pattern you will need:
1--3" x 6" rectangle of fabric
15" of ribbon
White glue
Sewing Machine
Iron
Iron-on applique or t-shirt transfer (optional)
Step one:
Fold the two short ends over 1/8 of an inch and press.
Now, either use a sewing machine to sew down the hems (zigzag is cute!)
or, as I do, use white glue applied sparingly.
Step Two:
If you plan to add an applique or t-shirt transfer, make sure it
will fit between your glue/ribbon lines first!
If not, simply adjust the lines accordingly, from the edge.
Once you have made sure the iron-on will fit, lay the rectangle down,
right side up,
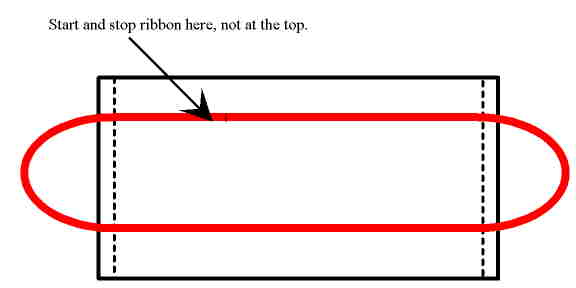
and apply glue as shown, on the red lines.
Measure in about 1" from ends, and from sides, as shown to apply
the glue.
This is a very flexible measurement.
Step Three:
Start the ribbon end somewhere after the first inch of glue
on one side, and carefully press it onto your glue line.
When you get to the other end, simply loop around, and press it into the other
glue line.
When you get to that end--loop it around, and press the ribbon until you reach
your starting point.
Sometimes you may need to cut off some of the ribbon if you misjudged the
distance, and that's ok!
It's best not to start the ribbon in the very center, as that is where the
bottom fold will be.
Step Four:
Allow to dry completely. Fold in half, right sides together, and hem the side
seams with a sewing machine. I used a 1/8" seam.
You can make this bag in any variety of sizes. Simply figure out
how big you want it to be finished,
and add 1/2 to the width and length for the seams. (Remember: you need to
double the length, as it will be for both sides.)
An iron-on decal or even a t-shirt transfer can transform the bag into something
unique.
Have fun!
We did!