
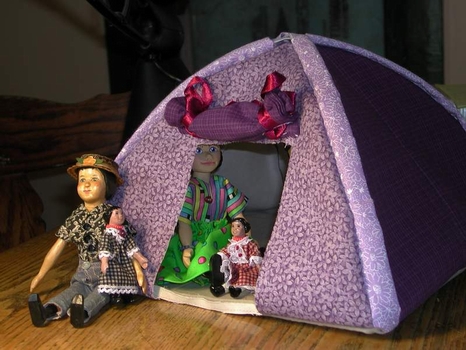
Hitty's Dome Tent
Courtesy of the AGA
For one tent you will need: Click Here for the Tent Pattern Additional Supplies: |
Step One:
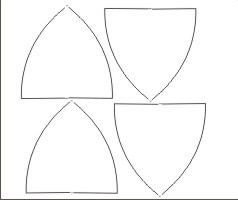
A. Cut out your tent pattern.
B. Trace four onto the fusible web.
You will need to follow your fusible web directions to make sure you draw
on the correct side.
Step Two:
Cut out the tent pieces on the fusible web. Don’t cut on the line, leave
about a ¼” rough cut around the pieces.
Following your Fusible Web directions, iron the pieces onto the wrong side
of the tent lining fabric #4.
Now cut out exactly on the line.
Step Three:
Following your Fusible Web directions, iron the pieces from Step Two onto
the wrong side of the tent outer fabric #3.
Cut out. Set aside. At this point, you have four tent pieces with fabric #3
on one side, and fabric #4 on the other side.
Step Four:
Take the 4—10” x 2” Side support pocket strips and fold
in half length wise--A.
Sew across the bottom only of these 4 strips, forming a ‘pocket’--B.
Turn right side out.
Fold the top (unsewn edge) over ¼” and sew across—not together,
just across to form a finished edge--C.
Fold back over lengthwise and press.

| A ..............B........ C |
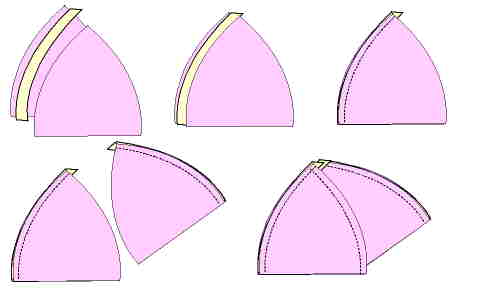
Step Five:
Take two of the tent sides previously constructed, and one of the pocket strips
from Step Four.
Pin the pocket strip up one inch from the bottom, between the two tent sides,
making sure all raw edges are together.
The top open part of this should be about 1” from the point. If it is
not, adjust the size of the pocket strip.
Sew, and keep adding sides in the same manner until you have reached the first
side, join.
Measure up ¼” from the bottom, and then cut a 3 ½”
x 5 ½” door in one side.
Step Six:
Take the previously cut door piece, and fold in half across the 8” side.
Hem around, leaving a small space to turn right side out.
Turn right side out, press, and set aside.
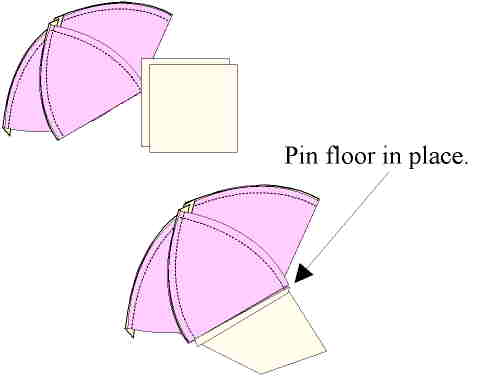
Step Seven:
Right sides together, pin the two layers of floor fabric onto the tent.
Take care not to catch the bottom of the side support pockets in your stitches.
Sew around only the front and two sides.
Turn the tent right side out, and insert the cardboard floor in the open side,
and then whipstitch this back edge.
Step Eight:
Cut boning into 2—20” strips. Insert in Side Support Pockets,
crossing from one side to another.
Step Nine:
Sew the door piece across the top of the previously cut opening.
Attach ribbons t the top of the door to hold the door rolled open.
Sew a decorative button at the top corners of the door.
Additional Supplies Needed:
Hittys, Lantern, Sleeping Bags, and Pillows
For lots of sleep-out fun!