
Strip Quilt #1
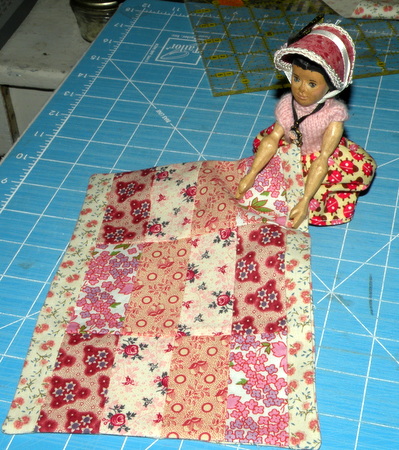
A variation on the popular Strip Quilt.
For this quilt you will need:
4 strips of fabric, 1 1/4" x 9 1/4"
2 border strips 1 1/4" x 9 1/4"
Backing fabric
I made this from the Sara Cole 2016 Feb Retreat Quilt Kit Gift.
You may have as many strips as you wish, or add additional borders.
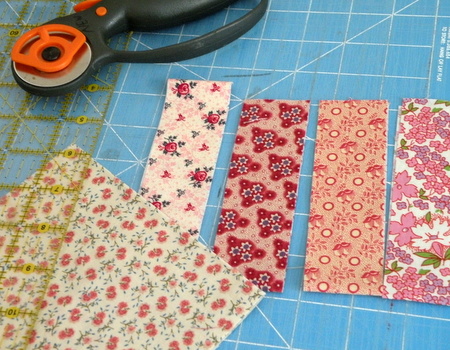
Backing and 4 strips.
First, sew the strips together in a pleasing pattern.
Press (do not iron back and forth. Lift and press, lift and press) the seams.
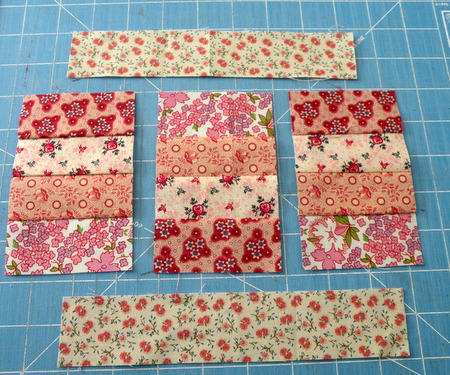
Next, Take your sewn strips (center fabrics) and cut off 3--3" pieces, as shown.
You will have just enough to trim off a straight edge so all ends will be even.
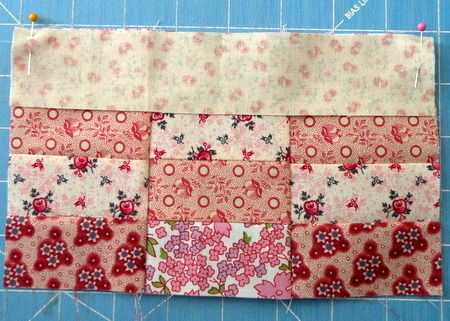
Take the three pieces, flip the middle one around, and pin the first two at the seams.
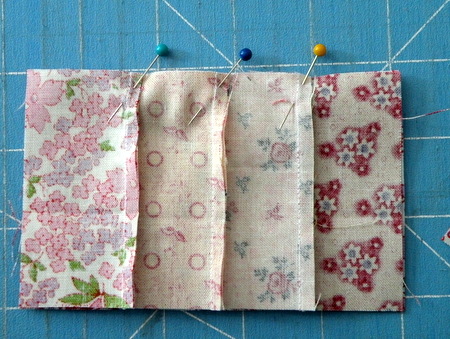
Press, and then pin the third piece on, making sure not to sew the same colors together.
Notice the pins are at a slant? This helps keep them from shifting
under the pressure of the presser foot as you sew.
Tip: ALWAYS pin the seams. You think you can just start at one end and sew around,
but trust me. You really can't. The top layer of fabric naturally stretches slightly as you sew, and
on such a small project, it can mean the difference of corners meeting and corners not.
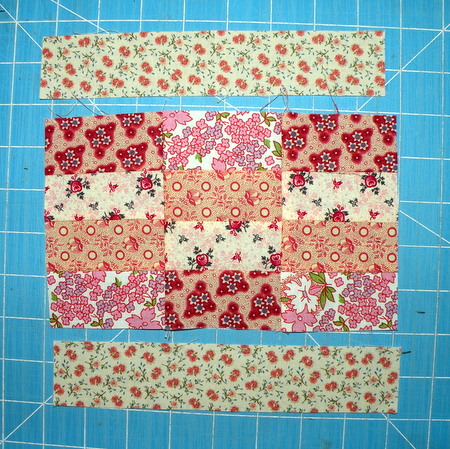
Once this is sewn together, I added side borders.
Pin at each end, and if you need, ease the quilt to fit in the middle.
As long as the fit is within 1/8th inch, you can ease it together.
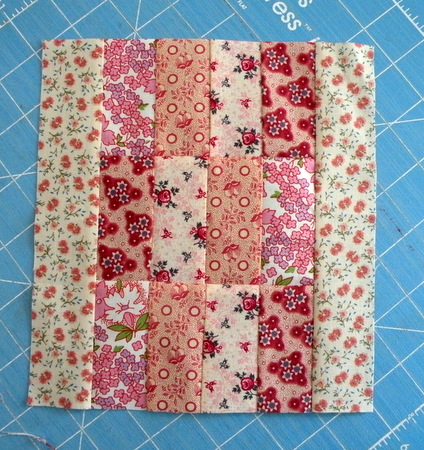
After looking at this, I decided I wanted the side seams smaller.
This is optional!
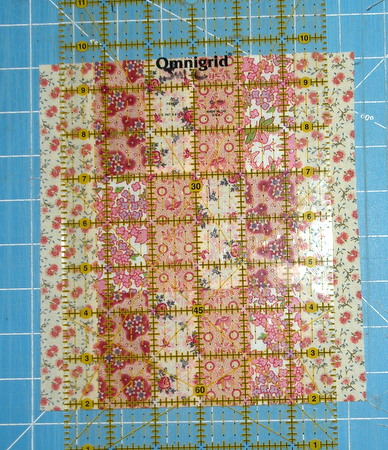
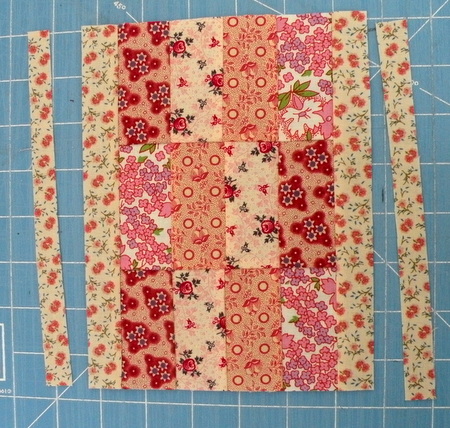
I centered my ruler and trimmed off both sides.
I like this look better!

Pin all the way around. Make sure to leave a 1" or so hole to turn the
quilt right side out. Turn, press, sew the turning hole closed and it's done!
Hitty Petal is really into pink lately.