

Optimally, the shoulderhead should be painted first.
For this tutorial, you will need:
Painted Hitty Shoulderhead (Ignore picture above. I was in a hurry today!)
Small amount of body fabrics
Wool Roving (or other comparable stuffing)
Fabric glue, such as Fabri-Tac or any other brands you prefer
Needle and Thread
Pencil
Scissors
Ruler
Sewing Machine
Hemostat (optional, but really, really useful!)
Print Out Pattern Here
Step One
Print out your pattern, and cut it out.
Next, TRACE your pattern onto doubled fabric.
Do NOT cut out your pattern from the fabric yet.
Use a pencil! Ink will bleed through the seams.
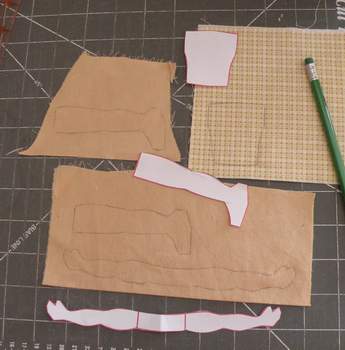
In this picture, you can see I chose to make the body
a different fabric. It's up to you--be as creative as you want.
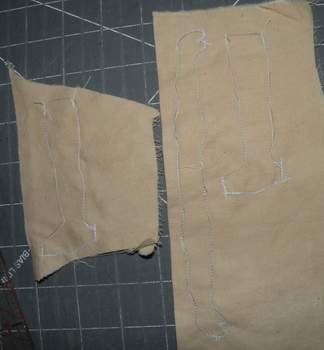
Sew around the arm piece and the legs.
Sew ONLY the two sides of the body pattern.
Make sure to leave the area between the dots on the arm piece
and the tops of the legs open, for turning and stuffing.
Step Two
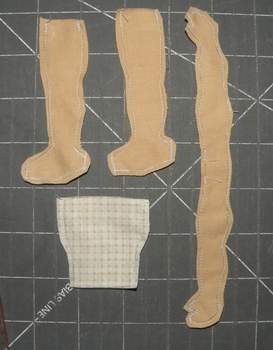
Carefully cut out the pieces. I use 'about' a 1/8" cut.
Snip very carefully at the ankles, wrists, and thumb area.
Set aside body piece for now.
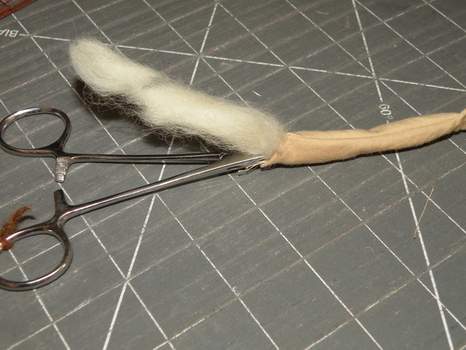
Turn arm piece and legs right side out.
The hemostat comes in very handy for this part.
Although the patterns look horribly huge--once sewn
and turned, the size is much better.
Step Three
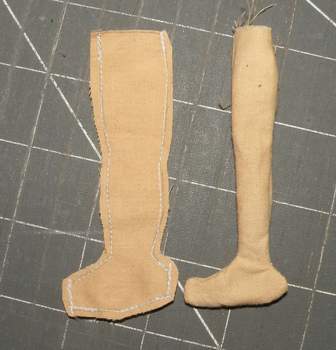
Stuff the arm and leg pieces firmly. If you use the hemostat,
you can put each piece of stuffing right where you want it.
Stuff arm pieces right up to the line on the pattern. Do not stuff center
part of the arm piece.
On the legs, stuff up to 'about' 1/2" or so from the top.
Step Four
Now you will sew the legs into the body.
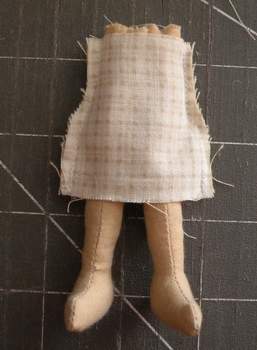
Insert the legs into the TOP of the inside-out body piece
(the wider end) and make sure they stick
out 'about' 1/4" or so.
Sew across this part with a 1/4" seam.
Make sure both legs face forward before sewing. Sigh.
No need to ask how I know this is important.
Pull body up and over the legs.
Set aside for now.
Step Five
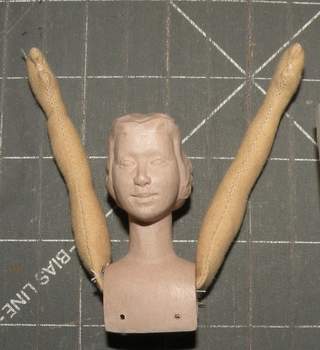
Note: although these photos show the arm pieces sewn
across, I have now eliminated this step as not necessary.
Dab some of your fabric glue onto the top part of the shoulderhead.
Push the arms up into this spot.
You are really just looking to hold it in place, so don't use a lot.
Set aside to dry.
Make double sure the arms face forward...you know how I know that too.
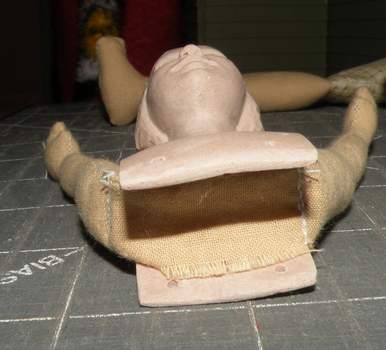
Step Six
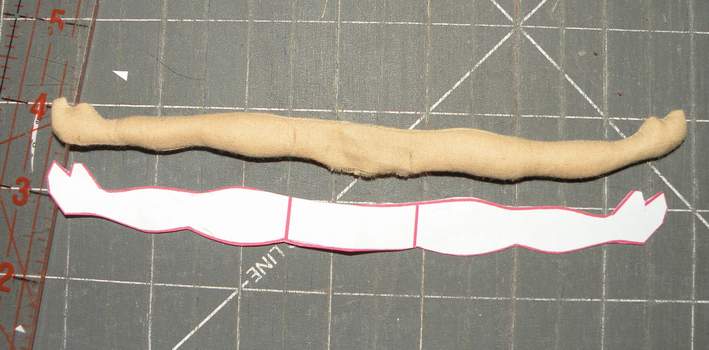
Stuff the body firmly to the top.
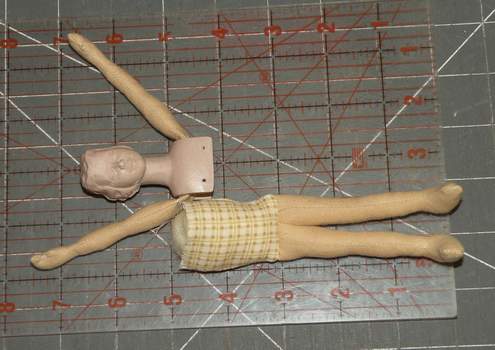
This shows the relative length of the pieces.
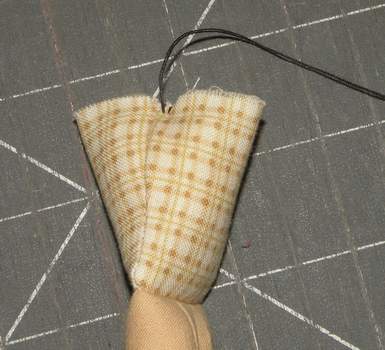
Take a few stitches from side to side.
I am using black thread to make it easier to see.
Or....maybe that was the only threaded needle in my
pincushion and I am lazy.
Either way--the stitches will not show in the
finished doll!
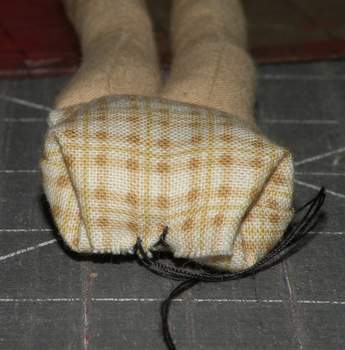
Then, fold over and sew from front to back.
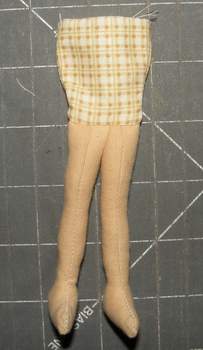
Last Steps!
Dab a wee bit of fabric glue on the top of this piece, and push
it up into the shoulderhead. This is where you will be able to adjust
the length of the doll. Thread a needle with matching thread,
and sew through the holes in the shoulderhead.
Where you push the needle through the body determines the final height of the Hitty.
If you don't like her length, snip the threads and start again higher or lower, as needed.
In this picture, I sewed across from hole to hole, but you can also
sew from the hole into the body, and then to the back.
You can also dab a very little bit of fabric glue under the armpits,
and push the arms up slightly to create shoulders.
This is optional.
And there you go!
There are lots of ways to finish this off. Boots and socks can be painted on with acrylic paints.
Or, you can paint the entire body the color of your choice, and then stain it
to make it look more wood-like. Finish this off with a matte varnish.
Painting the entire body should be done before attaching to the shoulderhead.
It gives a lovely leather-like look.