
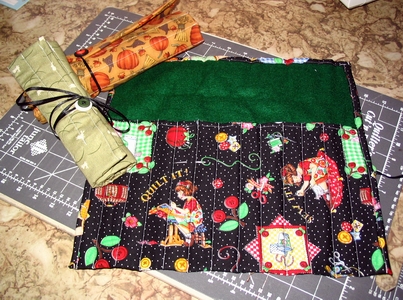
Just a few of my Knitting Needle Roll-Up Carriers.
Novelty FQ's work great for this project.
Materials Needed
1--22" x 18" Fat Quarter Novelty Fabric
1--16 1/2" x 20 1/2" piece of felt
20"--30" of ribbon
Decorative Button
Darning Needle
Scissors
Sewing Machine
Straight Pins
Pencil or water-soluble pen for marking lines
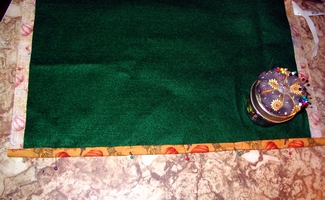
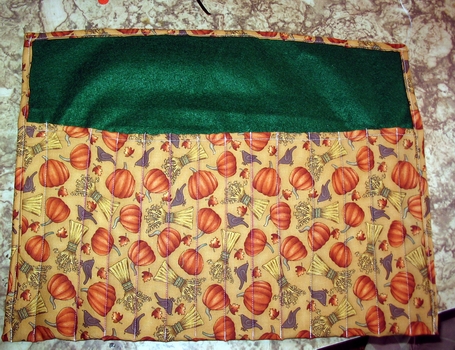
Step One
Press the Fabric. Next, lay it on a table, right side down. Center the felt
on this.
On the bottom edge, fold over 1/4" and
fold over again (so the raw edge is folded up)
and then pin across. Sew.
Step Two
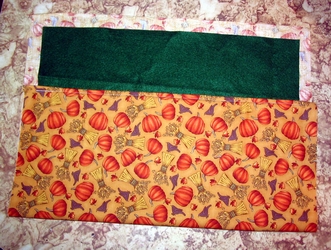
Fold the bottom part up about 8". This is an easily adjusted measurement.
If you want to use this for larger needles, you could make the measurement
6".
Step Three
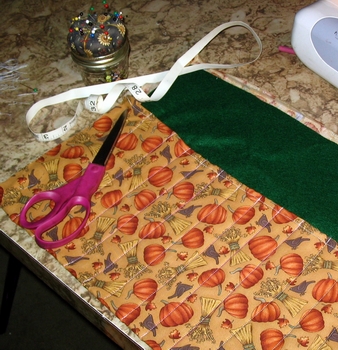
With your pencil or water-soluble pen (the better choice would be the pen,
as it can easily be removed),
make 1" marks up the folded up part. Use straight pins to hold the top
section in place.
Sew, starting at the bottom, and back-stitching the top and bottom.
Step Four
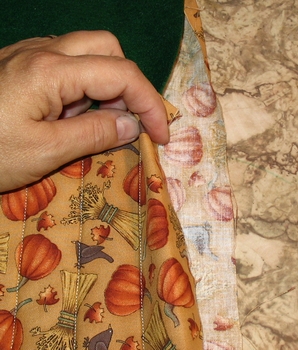
Now you need to fold the edge under on the bottom part.
As you can see by the picture, you fold the top down and around the felt,
but not the backing.
Pin in place. Pin the rest of the hem down by folding the back piece
up and around the body. Sew up one side, across the top, and down the other
side.
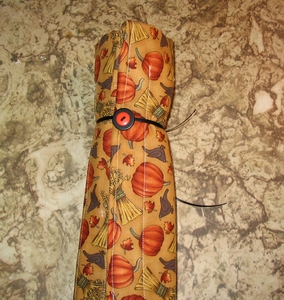
Step Five

Thread the darning needle with the ribbon. Sew onto the back left side.
Attach the decorative button. As you can see, for this one, I use two buttons
on top of each other.
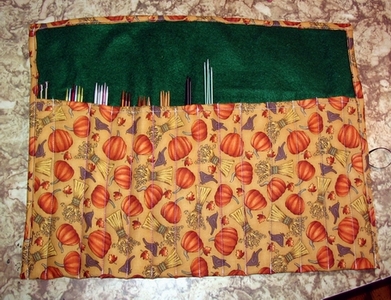
The last step? Put your needles in, fold the top over, roll, tie, and enjoy!
This was the very first one I created, and it isn't as even as I would have
liked--but I did get better
with practice! These work up quickly and easily, and would make a great Christmas
gift for the knitter you know!