|
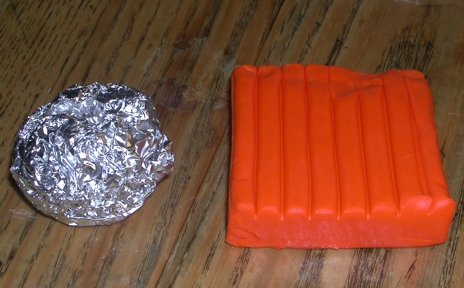
Roll a tissue into a ball. Cover it with a 6" x 6" or
so piece of aluminum foil, and roll this between your palms to form
a rough ball.
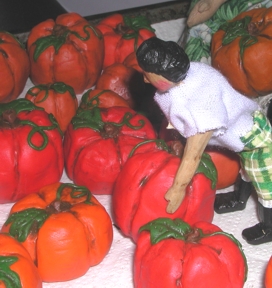
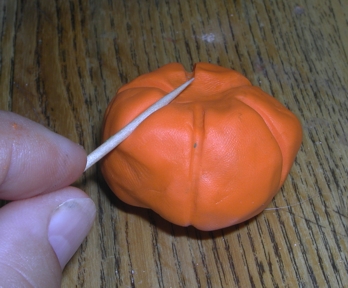
Break off about 1/5th of the orange clay from the package, and roll
into a ball. Then, flatten it with your fingers.
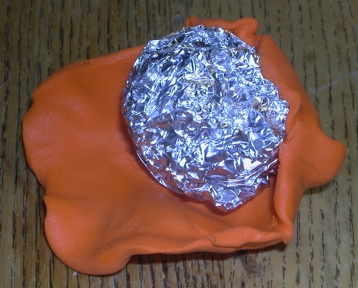
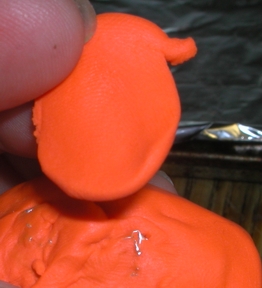
Place this flattened clay around the tinfoil ball. Smooth this with
your fingers as you go. Make it into your pumpkin shape.
|
|
|
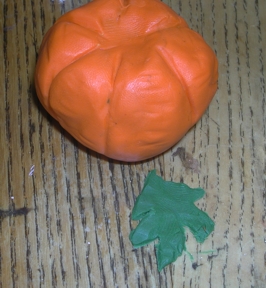
To make the leaf, form a small ball, flatten it, and use
your toothpick to cut 'leaf' shapes in the edges. You can then add the
leaf 'lines' or 'veins'. Put it at the top of your pumpkin.
|
|
|
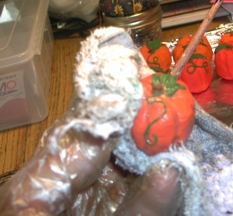
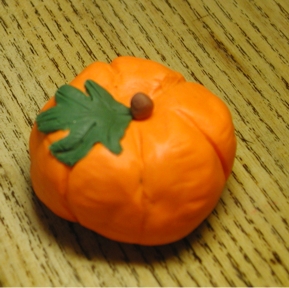
Once the stem and leaf are in place, you will want to add a vine.
Roll a small piece of the green you used for the leaf into a 'string'.
You can vary the thickness of this, according to how thin or thick you
need your vine to be. Pumpkin vines are 'curly', so just twirl it on
the pumpkin as you like.
THIS IS THE TIME TO BAKE THE PUMPKIN ACCORDING
TO THE DIRECTION ON YOUR CLAY PACKAGE. MAKE SURE TO FOLLOW THESE DIRECTIONS
EXACTLY. MAKE SURE TO BAKE IN A WELL-VENTILATED AREA.
|
|
|
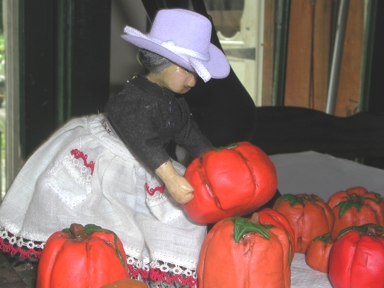
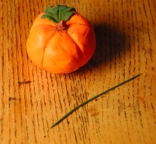
Once the pumpkin has been baked according to the directions on your
clay package, you can leave it as it is, varnish it so it is shiny,
or, as I did, add some brown stain to give it an earthy look.
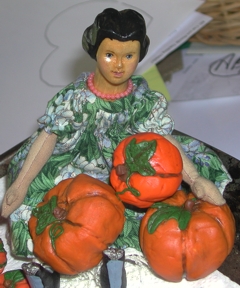
If you want to stain it, merely paint on the stain, let it sit one
minute, and then wipe it off with a dry rag. Let this dry completely.
Experiment with different paints to add color, highlights, or texture
to your pumpkin.
|
|


 ~~~~~~~
 ...
...