How to Make a Printie Book for Your Hitty
© 2005 Julie G. DeGroat
All rights reserved. This Tutorial may be printed for personal use only. You
may not print and sell this Tutorial.
However, you may make and sell as many books as you can!
Want to add a UPC code? Right click and save to your computer. add it as clip art to your books.
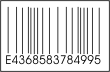
It will be too big, so make sure to size it down!
Editor's Note: I cannot help y0u with your particular paint/draw program,
as I only have experience with my own programs.
It is to be expected that you will have some experience and knowledge with
your own paint/draw program
when attempting to make your own printies. You need to know how to draw rectangles,
add text, use 'fill',
and add clip art, as well as how to size or resize pictures and print.
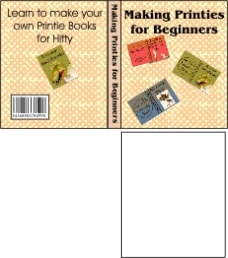
#1: Creating a Book from Scratch
Tip: Use matte finish photo paper and select
'best' on your printer when printing, for the best quality books.
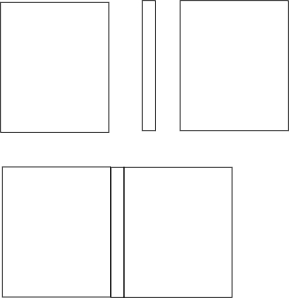
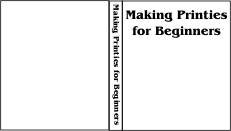
1. Make your book template by first making a rectangle the size you want your finished book to be. This is the front cover. Copy and paste a second rectangle, and this is the back cover. Make a narrow rectangle for the spine. Put them together carefully, making sure your edges all line up.
|
|
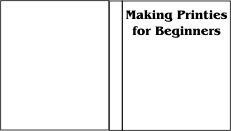
2. The next step is to add your title. You can use any sort of font for the book title, but I don't recommend bolding the words, as in my experience, that tends to make them blurry. Make sure the title fits in the book cover, and is centered or however you want it to be. Copy the title, and turn it on its side for the title on the spine. |
|
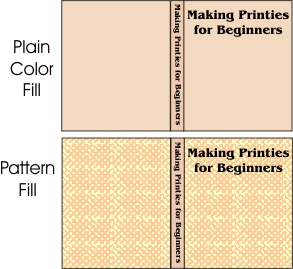
| 3. The next step is to add your fill. You can either add plain color, as in the Plain Color Fill, or, if you are experienced with fill, you can add a Pattern Fill. This is the time to make sure your Title will still show up against the fill. Light fill is generally easier to read than dark fill. |
|
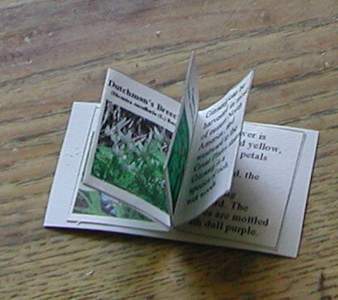
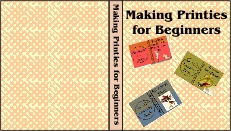
| 4. Now is the time to add your clip art. Because I am creating a book that teaches how to make printies I chose to add some already made printie books. Be creative! There are lots of free clip art available online if your program doesn't have what you need. |
|
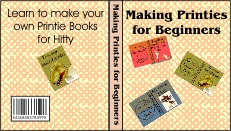
5. I like to add a UPC code to the back for fun--and made this one up for my books. I have put it on the top of this page if you would like to use it. It's too big, so make sure you can resize your clipart. Add any other things you might like on the back of the book, such as a brief description or maybe another picture. |
|
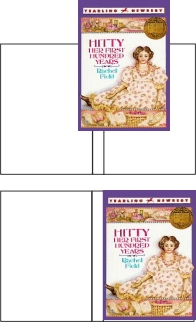
#2: Making a Book from an Existing Book
1. Make the book template as shown in #1. Place your existing book cover into the cover. You may have to adjust your rectangle to fit the book cover, as a real book may be proportioned differently than your template.
|
|
2. If you don't happen to have a picture of the back cover, make your own! First, add fill in the back and spine, matching it to the book. Add the title on the spine. |
|
| 3. Add your UPC code if desired, and any picture or details for the back cover. I sometimes shrink the cover down smaller, and add it to the back. Sometimes I add a brief description. |
|


Tip: You can photograph your book to use for a Hitty book.
Remember that these are copyrighted images, and you may only use them for
personal use.
Now that the cover is done, glue it carefully around
a piece of foamy board or other material.
If you would like to learn how to make
the pages, read on!
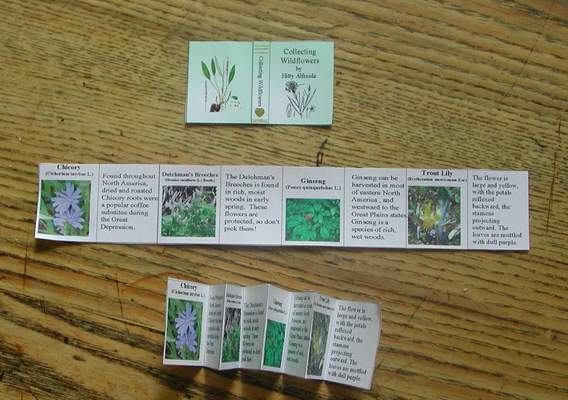
| 1. Make a rectangle just slightly smaller than the cover. If you make it exactly the same size, it might not fit when you glue everything together. |
|
2. Make as many pages as you want. (and can fit on a sheet of paper to print out.) Note: the pages must be added in even numbers, so that the front and back pages glue into the front and back covers, and the remaining pages glue back-to-back. Add your text and clip art as desired. Fold accordian style. |
|
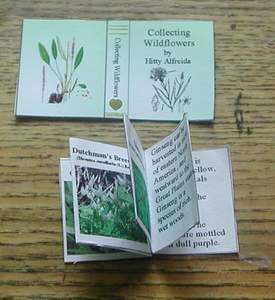
| 3. Check the diagram and pictures below. It shows you what gets
glued where. First, glue the back-to-back pages together. I use Tacky Glue. Do not use a watery glue, as it will soak your pages and clip art or text could run. Once this is glued, pinch the edges to make sure they are tight. Pinch the spine. Now, spread on glue, and glue into the cover. Allow to dry before folding shut. I usually make sure the pages are all open so they don't get glued together. |

 .....
.....