
Charm Quilt On Point
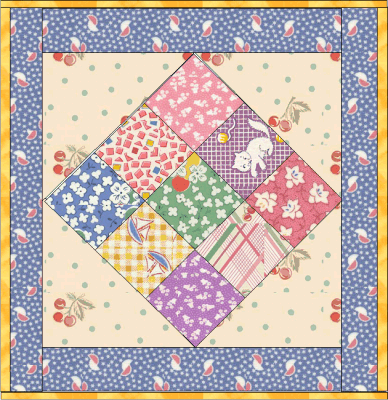
Supplies:
Sewing Machine
Thread
Scissors
Needle
Straight Pins
Cutting Mat, Cutting ruler, and Rotary Cutter
Iron and Ironing mat
Magic Sizing (about $.99, similar to but better than spray starch)
Fabric requirements:
9-1 1/2" x 1 1/2" Different Squares
Backing (to be determined)
2--2 1/2" x 2 1/2" squares, cut corner to
corner.
Border: 1" x measurement
Tip: To determine how big your corner triangles need to be for any given quilt, simply measure the quilt across the middle both ways.
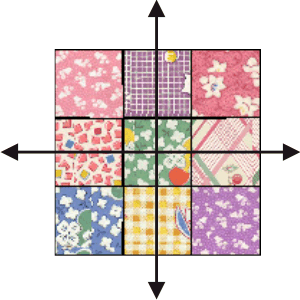
The square to cut the triangles from will be 1/2" smaller than the top.
Example: my top measure 3 1/2" x 3 1/2". (As does this one you are sewing). This means I will cut a square 1/2" smaller--3" x 3".
I will cut this square corner to corner.
--------------------------------------------------------------------------------
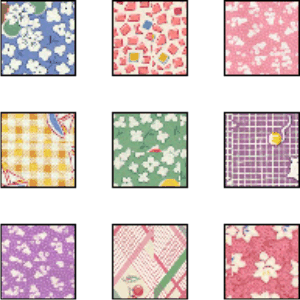
Lay the 1 1/2" x 1 1/2" squares out according to your preferences.
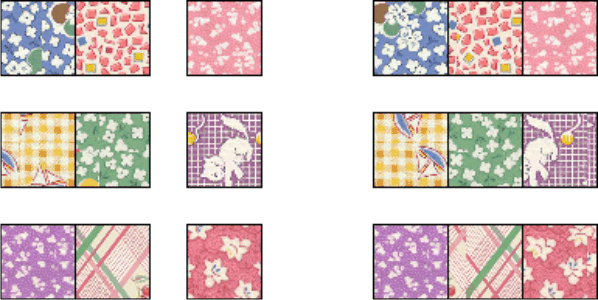
Begin by sewing the squares together
as
shown. Press each step carefully.
When you have three rows sewn together, move to the next step.
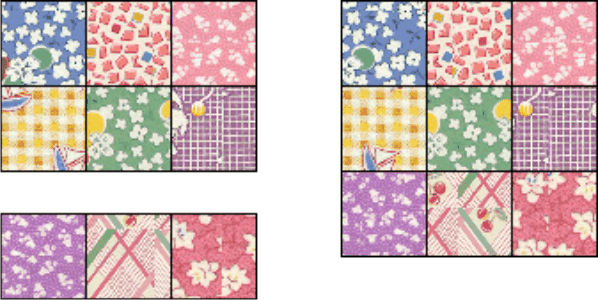
Sew the rows together. You
will
want to pin each seam together and add extra pins to hold the fabric
from slipping.
Once your Square is finished, press lightly, and move on to the next
step. It should measure 3 1/2" x 3 1/2 inches at this step.
Tip: NEVER
ever iron a quilt block like
you would a shirt. This will stretch and distort your fabric.
Always press down and lift.
Press down and lift. This will help a lot to keep it even.
If your square is not
square,
you can trim carefully to make it square. This is not the ideal
solution--
the best thing to do would be to be very careful when sewing and to
press carefully. However,
due to the small size, this is not as easy as it sounds!
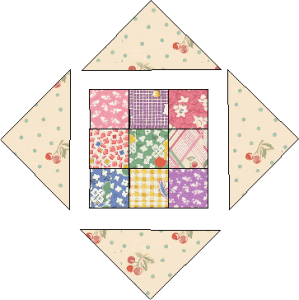
Take the four outer corners previously cut.
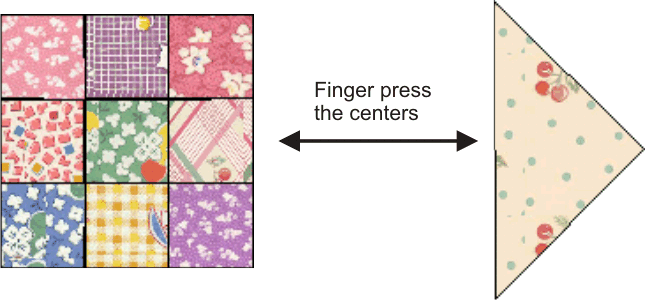
Fold each in half and finger-press the centers as shown.
Pin these two creases together. Pin across a LOT, as
this is a bias edge and will stretch under the presserfoot if you don't
keep it in place.
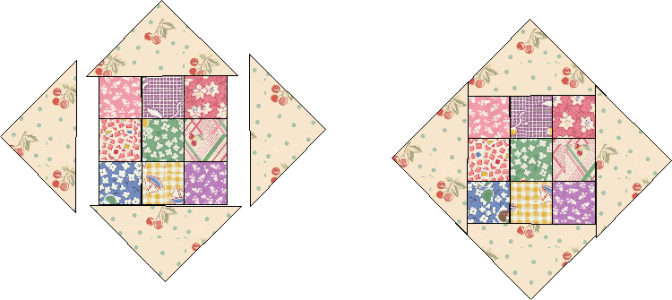
Sew on the top and bottom. Press carefully. Note that there will be some of the ends hanging over, and it should be.
Once the top and bottom are sewn on, repeat with the sides. Press carefully.
Measure your quilt across the middle side to side as shown.
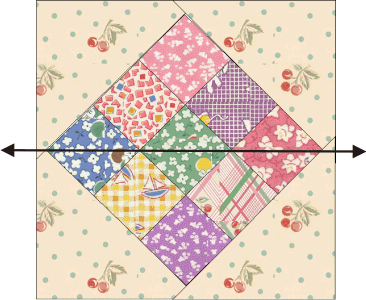
Cut two borders 1" x this measurement. Sew them on top and bottom. Press.
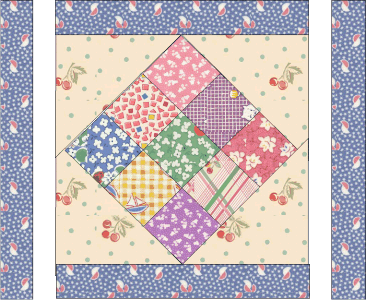
PIN PIN PIN!
Never just sew the border on without pinning it
in place.
If it is longer or shorter than your square at the top
or bottom, ease it in place and pin.
If you just sew it on, you will most likely have a wriggly border that will not lay flat.
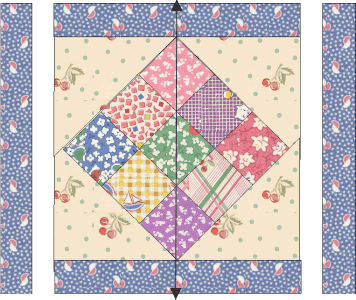
Sew sides on, and press again.
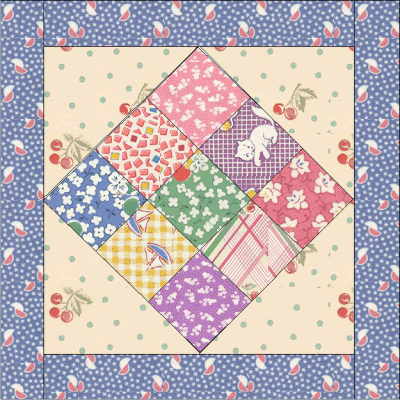
Measure again through the middle, top to bottom, and cut out a backing square that is 1" bigger around.
Place the top onto the backing, fold the edges up and over 1/4" (about), and pin down.
You can machine or hand sew the border down.

I don't use batting for these tiny quilts, as it makes them nearly impossible to drape.
Feel free to add it if you want!
If you want your quilt bigger, simply add more borders until it reaches your desired size. Or--use 16 squares instead of 9.