
Miniature Olives
For this tutorial you will need:
Small amounts of clay in the following
colors.
Red--for the pimento
Green--for the olive
Matte Varnish
Tools:
Knife or razor blade
Roller
Paintbrush for varnish
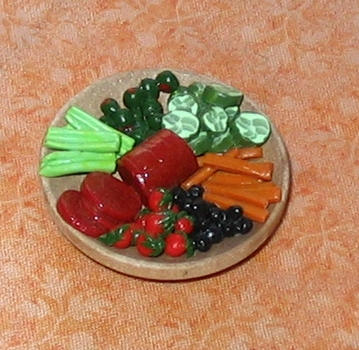
Here are finished olives, rounding out a relish tray.
~~~~~~~~~~~~~~~~~~~~~
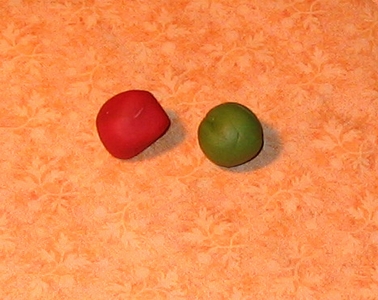
For about ten million (give or take) olives, start with
a marble sized ball of red and olive green.
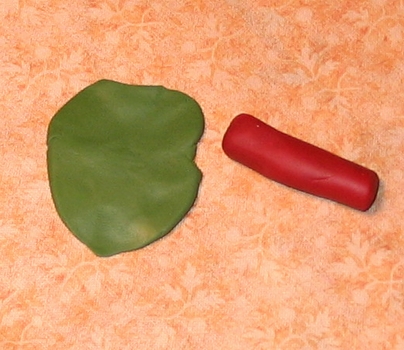
Flatten the green with a roller into a roughly ovalish shape.
Roll the red into a tube.
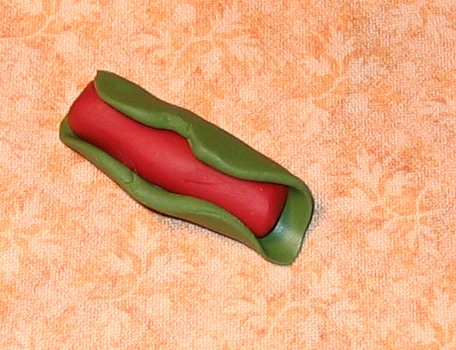
Wrap the green around the red.
Smooth it out, and seal.
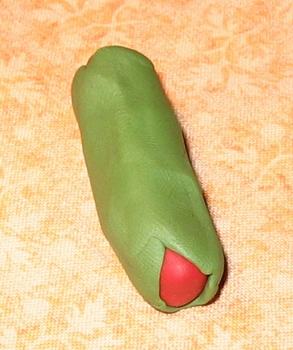
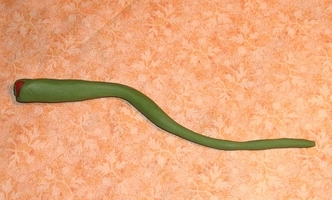
This is a basic olive cane.
Now is the tricky part--left hand holding the canee,you need to gently
squeeze one end of thecane between your thumb and fingers.
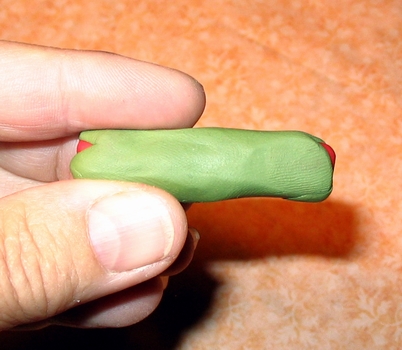
Gently, gently! Continue, while the right hand is gently, gently
tugging the other end.
It will get longer and thinner as you go.
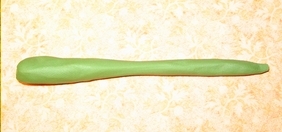
If it gets to unwieldy to handle, simple cut off the fat end and
set it aside for more olives later.
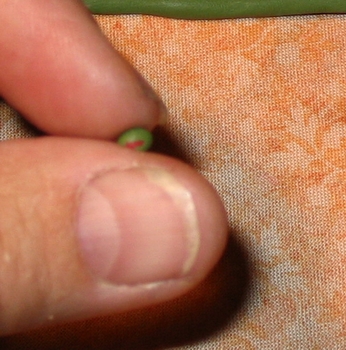
Keep tugging and smoothing with the fingers--gently--until the tube
is as big around as you want your olives to get.
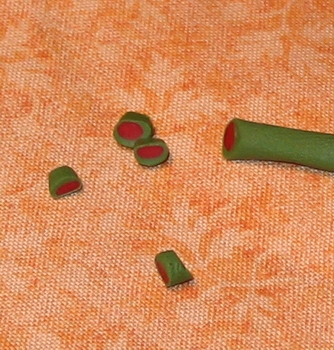
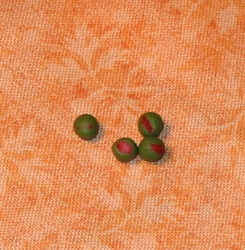
Slice off some 1/8th" thick slices.
Roll gently between thumb and finger until you get an oval olive shape.
Sometimes I roll too much and the red blends in--just toss these aside to
reblend into something else.
Frankly, I must have made hundreds of olives before I got the right amount
of pressure and
rolling. So--don't get discouraged!
Bake the olives at whatever the directions on your package of clay
say to do.
When they are done and cool, cover them with a matte varnish.
You can store your leftover olive cane in a ziplocl baggie and make
olives another time!
Finished olives can really make a relish tray look great!