
Miss Hickory's Acorn Nut Pie
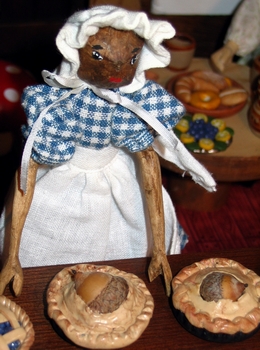
From a secret family recipe.
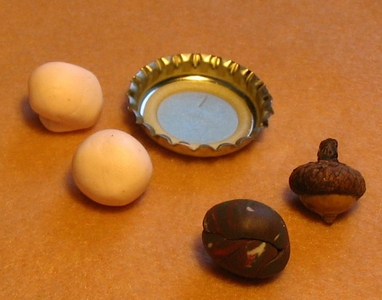
For this project you will need:
Tools:
|
Step One

Roll out the clay just like you would for a real pie. Put it in the pan.
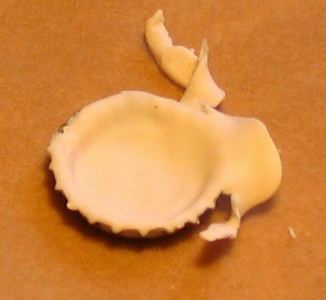
Trim the edges. I usually just use my finger and press the clay down and off.
Step Two
 ......
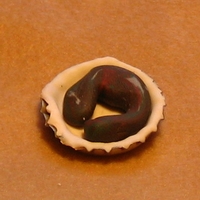
Take the scrap clay and roll into a rough tube. It is not going to
show, so no worries about appearance. Seat the acorn firmly into the clay.
I like to have the acorn on the side, so the bottom and top can
be shown, but that is up to you.
Step Three
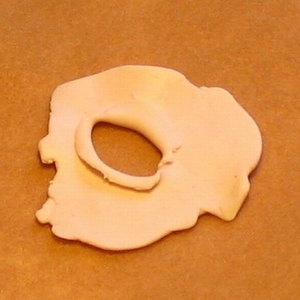
Roll out the rest of the clay, and poke a little hole in
the middle. Fold the edges back over the hole to form a nice
smooth lip.
Step Four
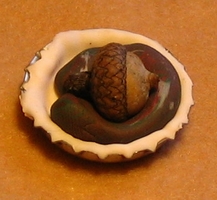
Place the top crust onto the pie, making
sure not to cover the acorn. Snug it right up
to the acorn, as the acorn has a tendency to
shrink a bit during baking.
I like the point and maybe part of the top of the
cap
showing, but that is up to how your dolly likes her Acorn Nut Pie.
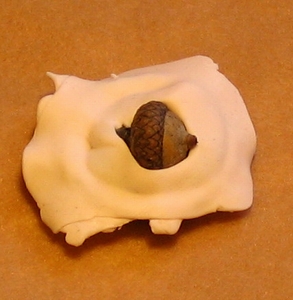
Step Five

Mark around the edges of the pie with your dental tool.
Or, add a fuller edge to the pie by adding a bit more clay to the lip.
Step Seven
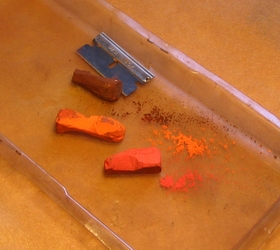
With a razor blade, shave off small amounts of
red, orange and brown. Mix until you get a nice
'baked' look. Brush onto your pie at the edges first,
and then in random points on the pie.
Just experiment with the colors. If you don't like the way
it looks on the unbaked pie, simply wet a rag with warm
water and dab it off.
Bake according to the directions on your clay package.
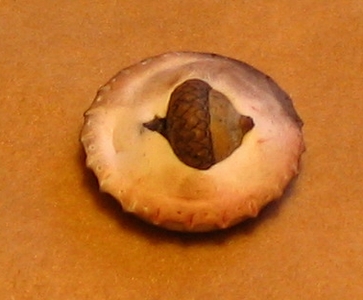
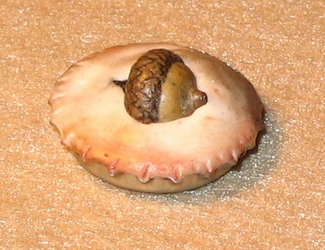
Here is the pie before cooking.
After the pie is baked, allow to cool, and then put one or two
coats of matte varnish onto the crust. You can also apply it
to the acorn if desired.