
Fairy Mushrooms in a Pot
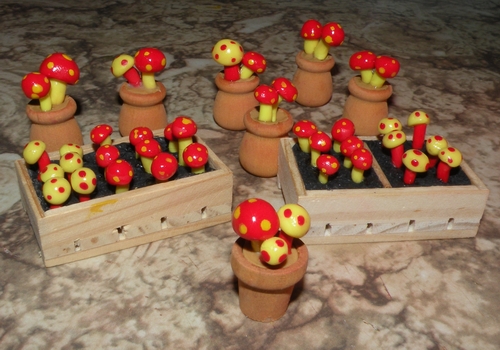
Grow Your Own!
You will need:
Red polymer Clay
Yellow polymer clay
Black or Brown polymer clay for dirt
Red Paint
Yellow Paint
Aluminum Foil
White glue
Pots or crates
Liquid Sculpy
High-gloss Varnish
Razor Blade or cutter
Pick
Paintbrushes
Before you begin to work with the clay, crumple a
small amount of foil
and glue it into the pot. This save clay! Then, roll out a small ball of black
or
brown for the dirt, and press it atop the foil. Set aside to allow the glued
foil to dry.
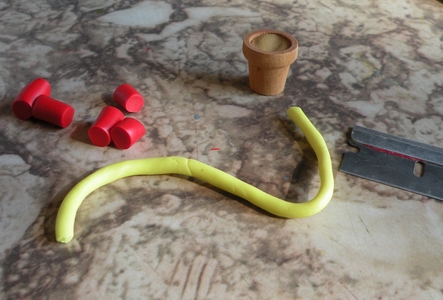
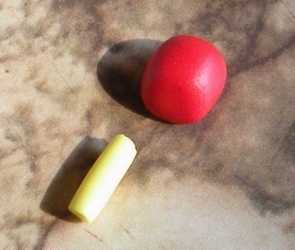
Roll the yellow and the red into tubes 'about' 1/4"--or smaller.
Mushrooms vary in size, so no need to measure these.
Eyeball the mushroom tops, and make yours different sizes for variety.
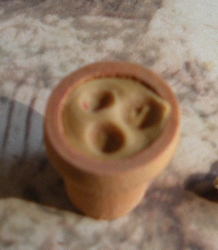
With the paintbrush end, carefully poke three holes in your 'dirt'.
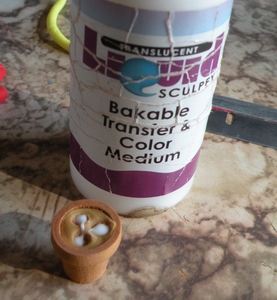
But a dab of Liquid Sculpy in each hole.
You can do this without it, but it is not easy to keep them
in place once they are baked.
If you don't have Liquid Sculpy, bake as directed,
and if they fall out, glue them in with white glue.
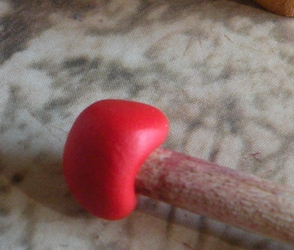
Roll out your first mushroom cap. Using the paintbrush
again, poke into the ball, and shape into a mushroom shape.
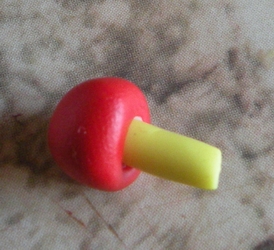
Roll out your stem in the other color. Put a dab
of Liquid Sculpy in the cap, and 'glue' the stem in place.
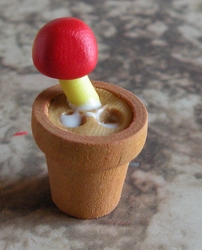
Then position the mushroom into
the pot.
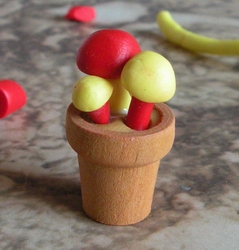
Create two more, and add them as previously shown.
Different sizes are cute!
Now you need to bake the mushrooms according
to your clay directions. When cool, it's time to paint!
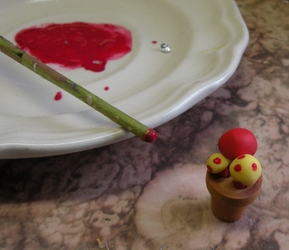
Using the end of a paintbrush or even a cut off toothpick,
dot it into the paint and then onto the mushrooms.
Let dry completely, and brush the mushrooms only
with the high-gloss varnish. Leave the dirt dull-looking.
As you can see, the possibilities for these darling
fairy mushrooms are unlimited!