

For this project, you will need:
2--Size
2 Single-Pointed Knitting Needles
Palette
Fingering Yarn
4--Stitch
Markers
snaps or buttons
8 1/2" x 3 1/2" fabric
Fray Check--optional but nice
PM=
place marker
RM=Remove
Marker
Inc=Increase
BO=Bind Off
CO=Cast
On
Stockinet
St= Knit one row, Pearl one row
Seed
Stitch: k1, P1 across, turn, P1, K1 across
TIP: You can press the fabric part of the dress to remove any wrinkles, but never, ever press the knitted part!
|
CO 16 Rows 1+2: Seed Stitch Row 3: P4, PM, P2, PM, P4, PM, P2, PM, P4 Row 4: K across, increasing Before and After each marker Row 5: P across Row 6: K Inc row as in Row 4 Row 7: P across Row 8: K Inc row as in Row 4 Row 9: P across Row 10: K7, RM, BO9, RM, K9, RM, BO9, RM, K to end Row 11: P7, CO 3, P across to other armhole space, CO 3, P to end Row 12: K across Row 13: P across Row 14: K across Row 15: P across Row 16: BO Weave in all loose threads |
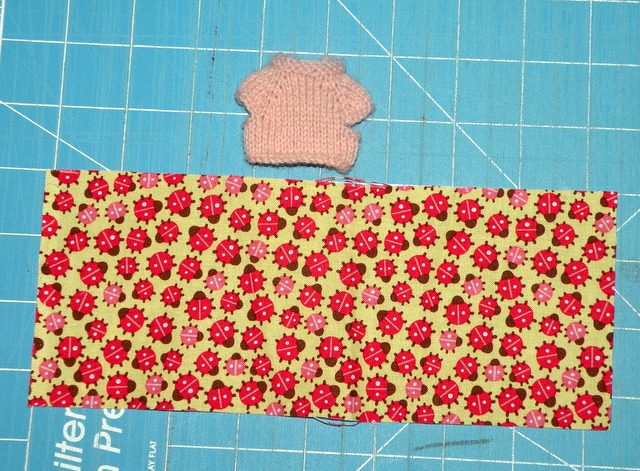
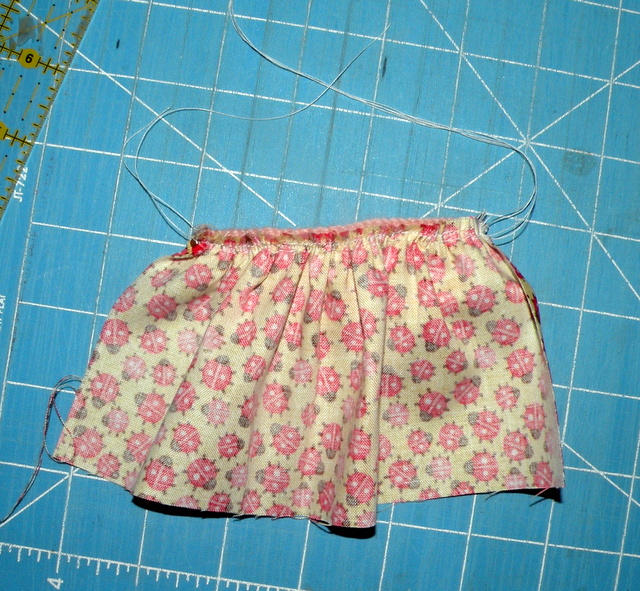
Bodice and skirt fabric, ready to sew.
If you desire a longer skirt, add 1/2" to the length.
Lightly Fray check all four sides of the fabric. (optional)
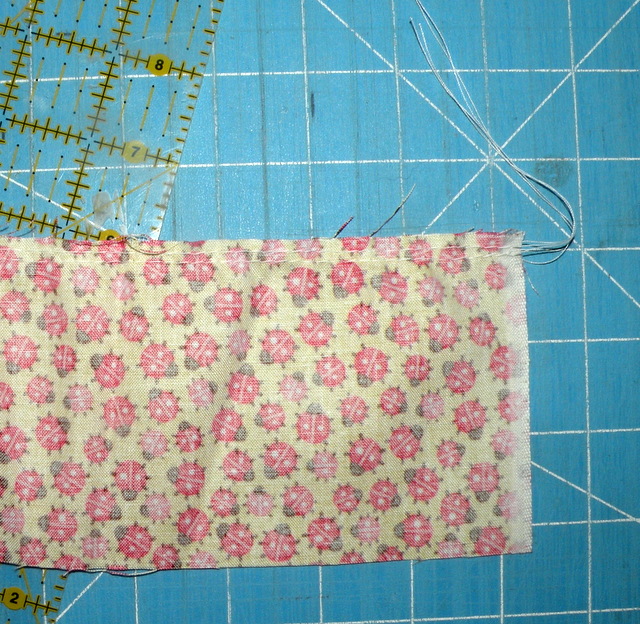
You need to make your gathering stitches. Turn your stitch length dial to the longest
stitch it will make. Sew 1/8th inch from top all the way across. Make sure to leave long threads
(about 3") on both ends. Repeat, making a second gathering row below the first.
Turn your stitch length dial back to your normal stitch length now.
Don't pin the bodice on first. Don't get a cup of tea.
Don't answer the telephone.
Because if you do.....I guarantee you will start to sew the bodice to the skirt
without remembering. Not that I have ever done that....repeatedly....
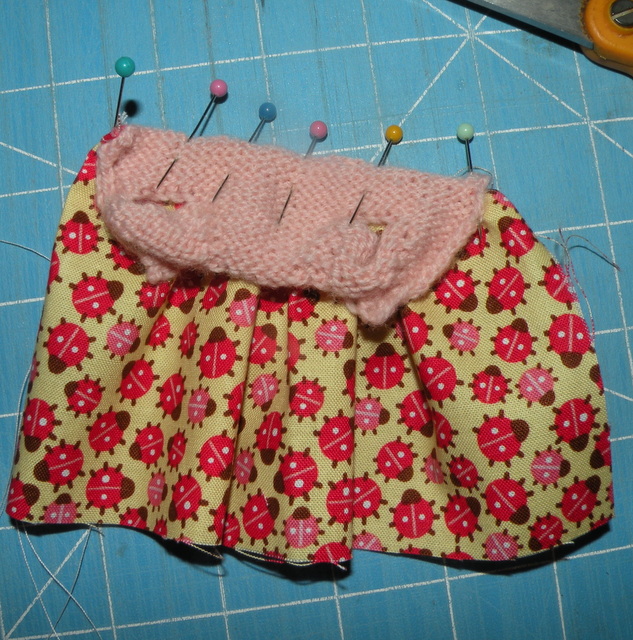
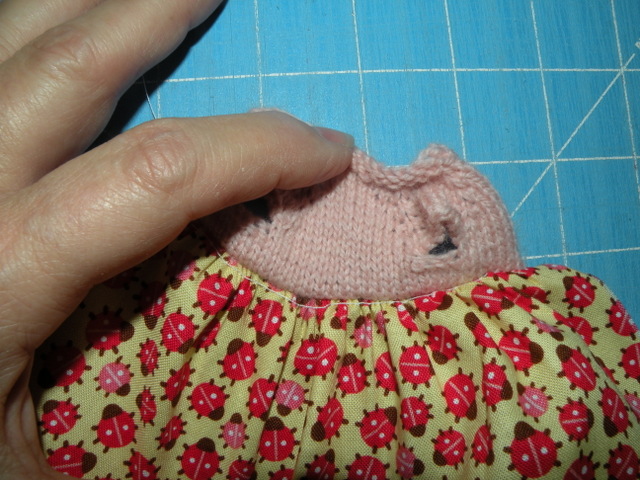
Gather the skirt, and pin it, rights sides together, to the bodice.
Make sure not to stretch the bodice!
Sew slowly across, with the bodice side down and the fabric side up.
This will try to slip around under your needle.
Try to sew right between the two rows of gathering threads.
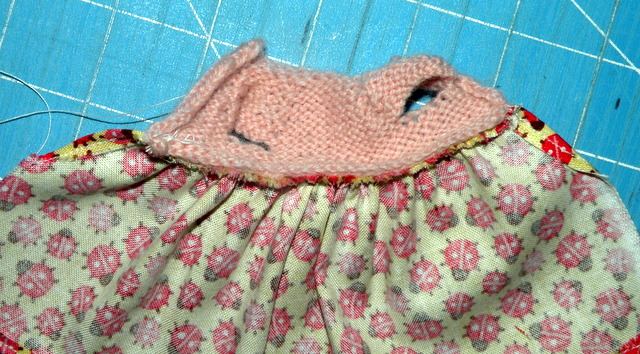
Remove all threads. When you look here, you can see one of the gathering threads.
These all need to be removed.
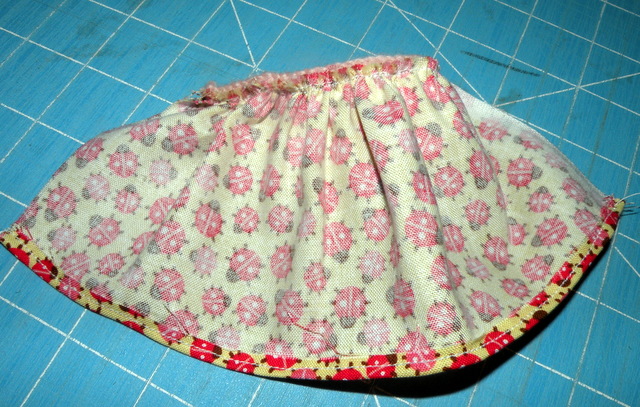
Hem your skirt. I just did a hasty hem here, to finish this tutorial, but normally I would fold the fabric over
about 1/8th inch, press, and fold it over again a scant 1/4th inch and press again. Sew across.
I like a finished opening in the back, which is easily obtained by folding over as shown, an inch from waist, down.
This can also be lightly glued with a lightweight fabric glue.

Pin the hem evenly at the bottom, and a bit above the previously made side seams, as shown.
Sew up the back skirt to about 3/4th of an inch from the waist.
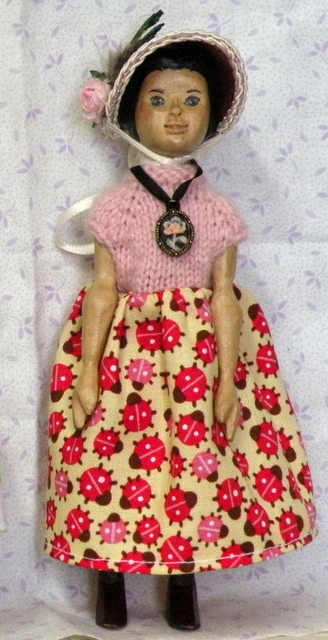
There! Simply add a snap (or button) at the waist and neck, and the dress is finished!
These make up quickly, and are so darling. I can't wait to see what you do with this basic pattern!