
Miniature Hotdog
For this tutorial you will need:
Small amounts of clay in the following
colors.
Tan--bun
Yellow--mustard
Red--hotdogs
Artists pastels/chalks for shading
Matte Varnish
Tools:
Knife or razor blade
Paintbrush for varnish
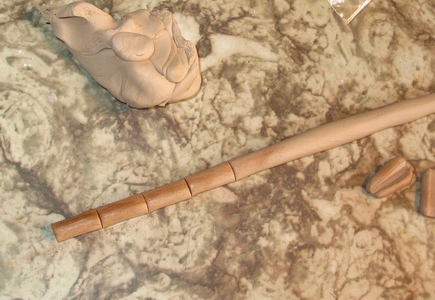
Roll out a tube about 1/4" around, of the tan for the hotdog rolls.
Brush a little pastel along the top, so it will look
like the bun has been baked. Cut slices about 1 long.
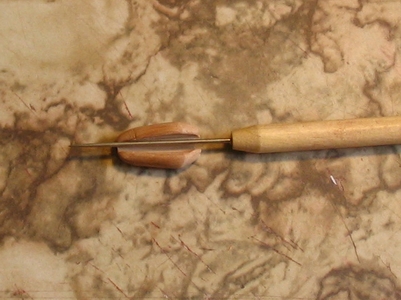
With a sharp tool, slice almost all the way through the bun.
Then, sort of wiggle the bun open a bit.
Don't worry if you go all the way through, this can be fixed
once the hotdog is in place.
This shows the bun from the back. If you get it sliced all
the way through, once the hotdog is in place, use
your fingers to close up any gap.

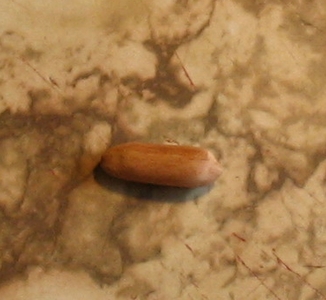
Take your hotdog clay, and roll out tubes about smaller than the bun.
Cut them about the size of the bun.
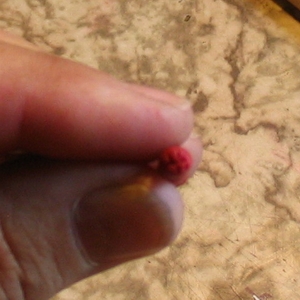
You need to roll the ends a bit round, and then take
a sharp tool and make little ridges in the ends, like
real hotdogs have. I just used the razor blade and made
criss-cross marks.
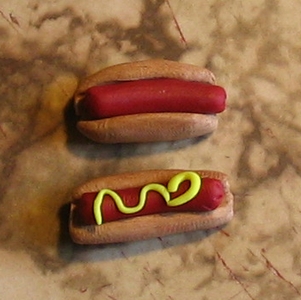
Put it in the bun, and roll your yellow clay
thin, and add to the top for mustard.
You usually have to pinch the bun around
the hotdog a bit, to make it fit.
Bake according to your clay directions.
When done, a bit of matte varnish on the hotdog brings out the color better.
Have fun!
We did!