
October
10—14, 2013 Event Doll Body
Created especially for the Resin Shoulderhead/arms/legs Event doll from
the
2013 North Country Hitty Retreat: Welcome to Hitty's
World
©2013 Julie G DeGroat
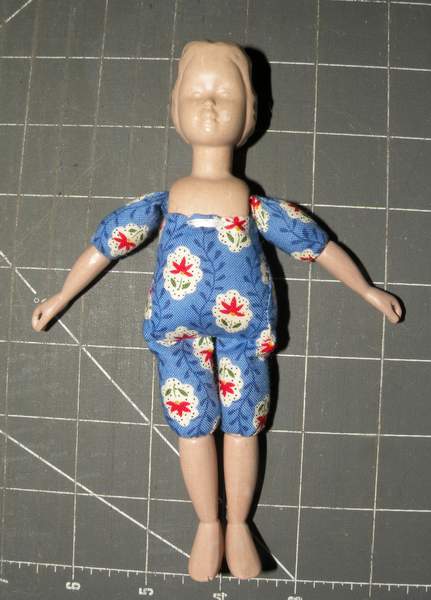
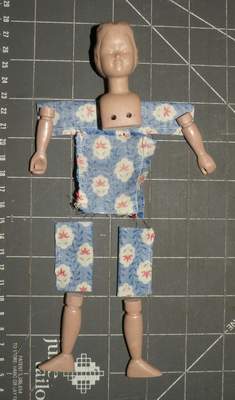
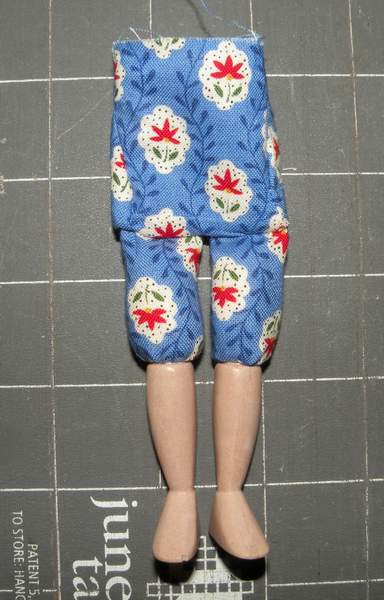
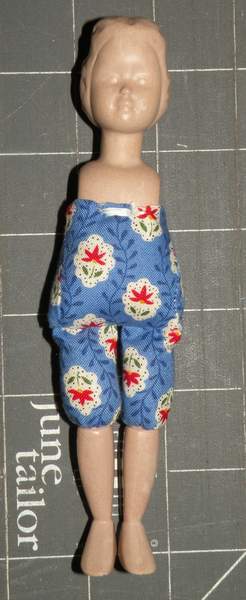
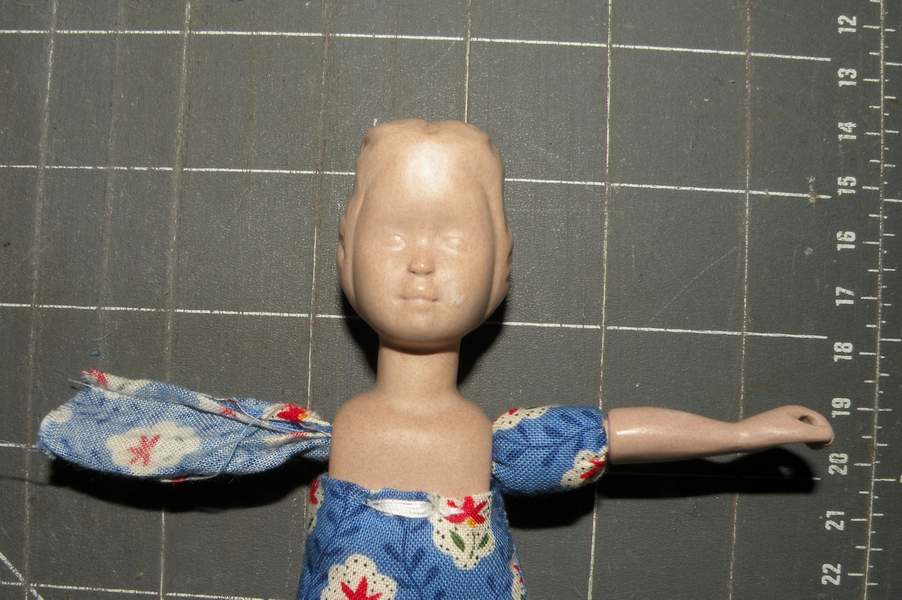
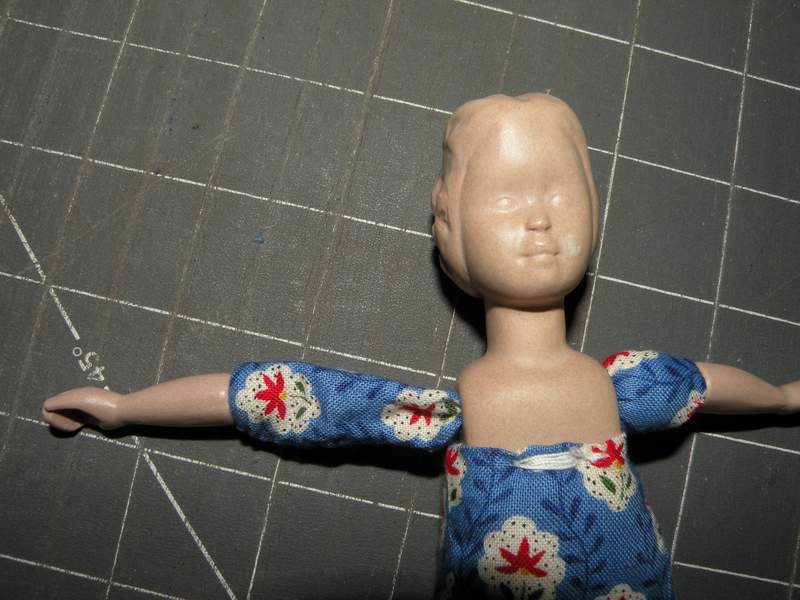
Our Event Doll has a sweet, plump
little body, and firmly padded legs.
Hey--much like our regular North Country Girls!
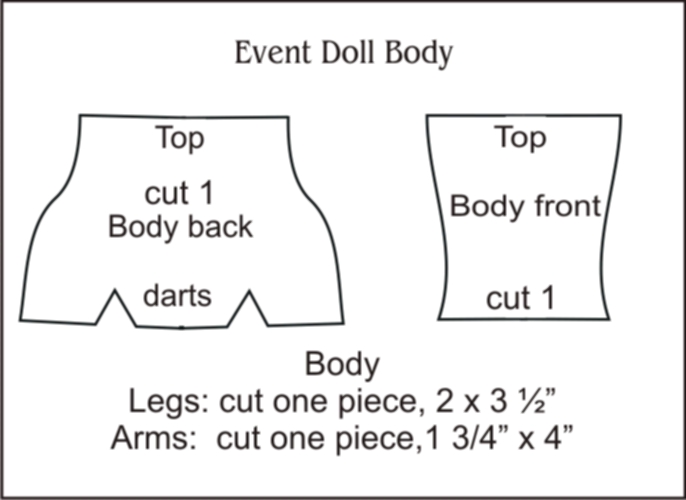
This box around the pattern needs to print out at 5" tall. You
may need to copy/paste
this picture into one of your picture programs, and adjust the height.
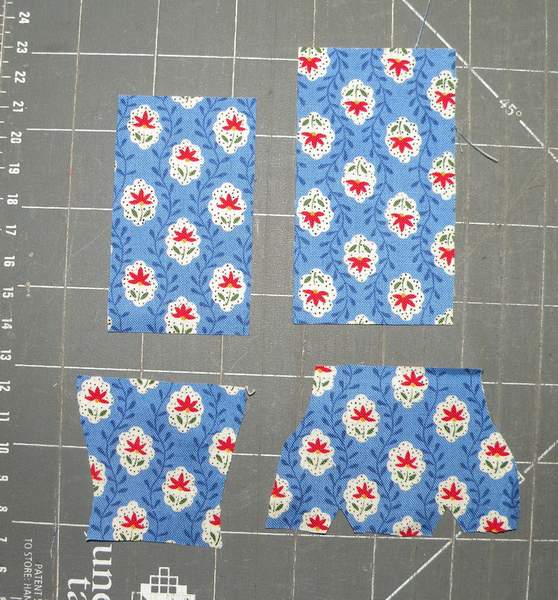
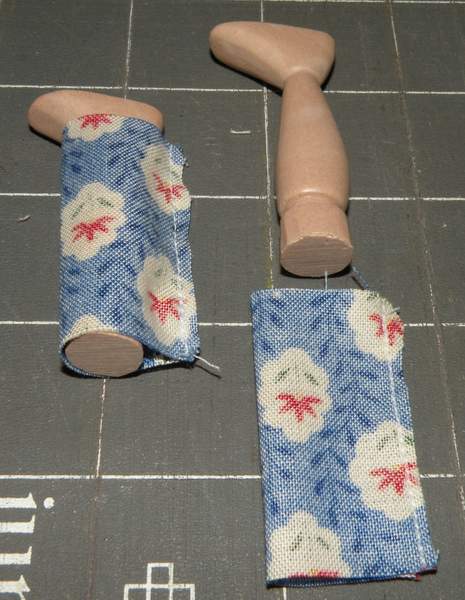
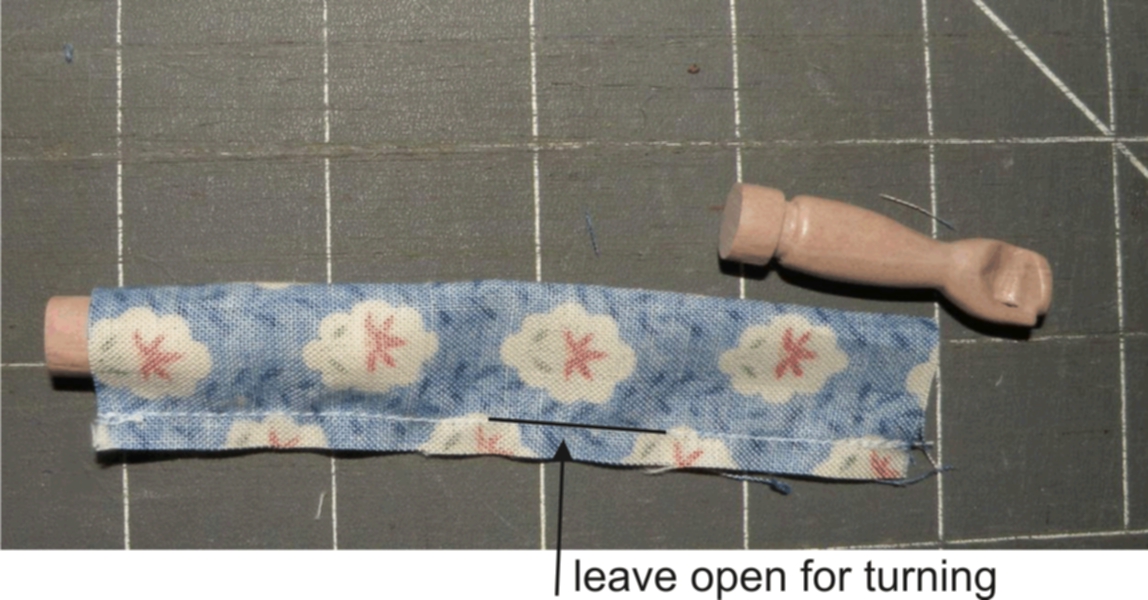
To begin: Cut out one 2 x 3 ½” strip (legs), Cut out one 1 ¾” x 4” strip (arms), Cut out body pieces.
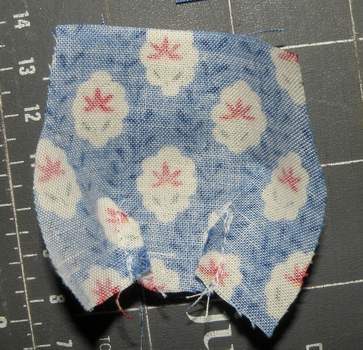
Sew the two darts
on the back body piece. Sew the front to the
back on the sides only.
Do not sew the top or bottom closed.
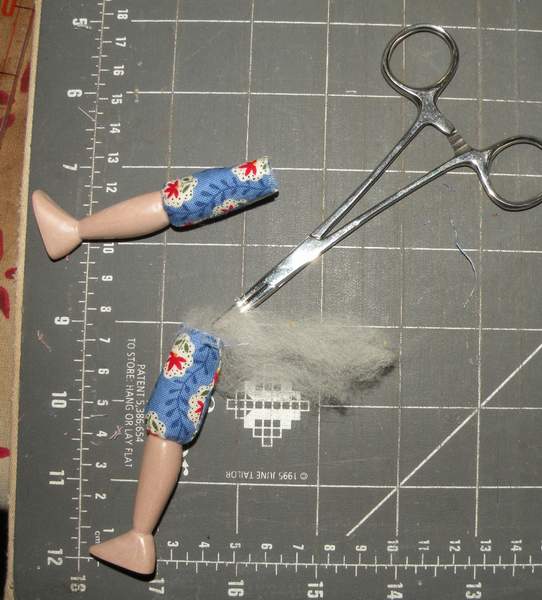
Take your leg piece,
sew down the long side, and cut exactly in half.
Sew the arm piece leaving 1”
not sewn--do not cut in half!
Take the two leg
pieces, and insert on the leg, lining up tops. With strong
thread, use a running stitch
around the top in the groove of the leg nearest
the ‘knee’ area.
Tighten and tie onto
leg. Work the leg up and over the ‘knee’
area, so it is right side out. Repeat
for other leg.
Firmly stuff,
leaving ‘about’ ½” unstuffed
at top. You will ‘rearrange’ the
stuffing in the leg after the legs
are sewn into the body, so make it extra
firm.
Put the legs into
the body, with the leg
seams in the back of the body.
Make
sure that the feet face to the front of the body, and not the back.
Make the edge of the legs even with the bottom
edge of the
body, pin securely, and sew across.
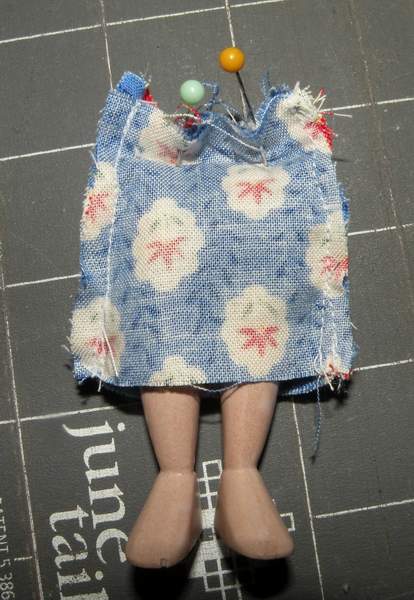
Pull the body up. Stuff very firmly, fold the edge over 1/8th inch, and sew onto the shoulderhead.
Note that when you sew the body to the head piece, you will first hide
your knot inside the body
to avoid unsightly knots showing, and then go back and forth from front
to back through
the sew holes several times to make her secure. You can also use
a few small dots of
fabric glue under the arms to make sure the body doesn't slip.
Hide your end knot in the body.
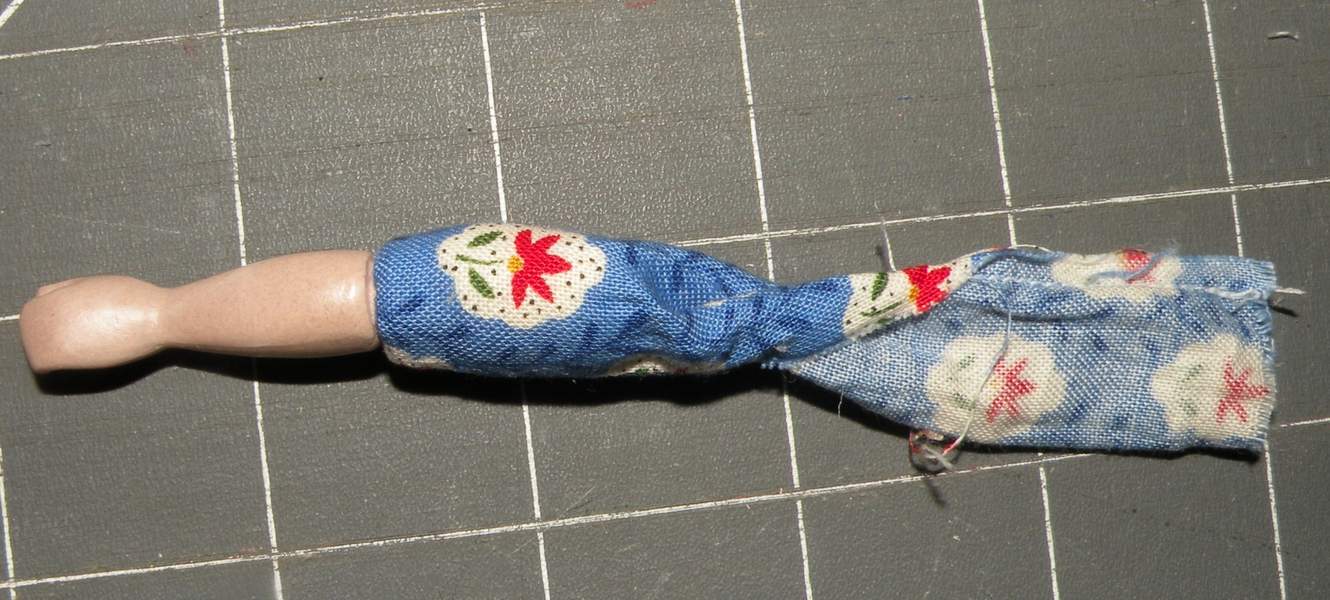
To make the arms, you need to add one arm to one end, the same way you did the legs.
Note that the
opening is NOT CENTERED. This is an important step.
Once this is attached, turn ONLY that arm
right side out. Stuff lightly to have the arms hang down more,
or firmly to achieve the look of the event doll in the top picture.
Insert
the unturned arm side through the body. Make sure you have the arms on
the
right side!
This is not ‘easy’, but it
can be done. Once you have the arm
through, pull it tight against the body.
Attach the
second arm . Turn right side
out through the previously created opening on the arms, and stuff
firmly.
Tack the opening if needed, and
pull the arms
so they are even on both sides.
Tack the opening shut.
And done!!