Let's Make a Camp Cot!
©2005 Julie G. DeGroat
This pattern is provided free, and you
have our permission to make/sell as many as you wish.
Please credit Julie DeGroat if you sell this item.
All content in this page is copyright protected, and may not be printed out
for sale, sold or displayed in any manner.
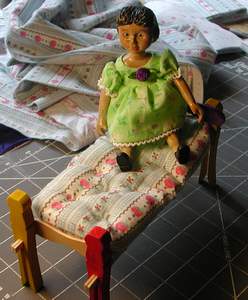
These Camp Cots were designed to be used in the 2005 Camp Week at Camp Ash Grove. They are long enough for any regular-sized Hitty, and can be made shorter if needed. Because we are using the craft clothespins, they can also easily be glued one atop another to make cute bunk beds! Just add a ladder on one end.
I purchased all of my supplies from the Dollar Store. You can also try craft stores for these items. Supplies Needed: 4 colored craft clothespins |
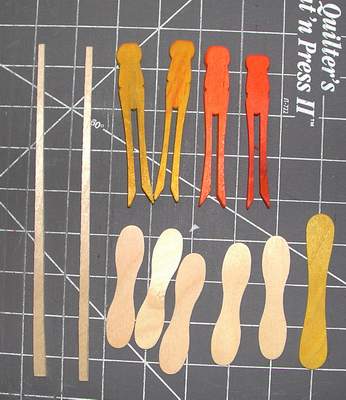 |
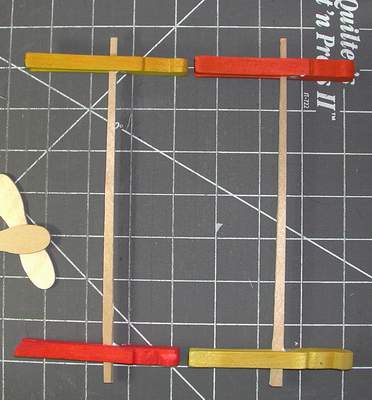
1. Glue a clothespin onto each end of a chopstick. You may need to whittle the chopstick down enough to shove into the clothespin. Line them up while still wet, to make sure you have made them the same length. Set aside to dry.
|
 |
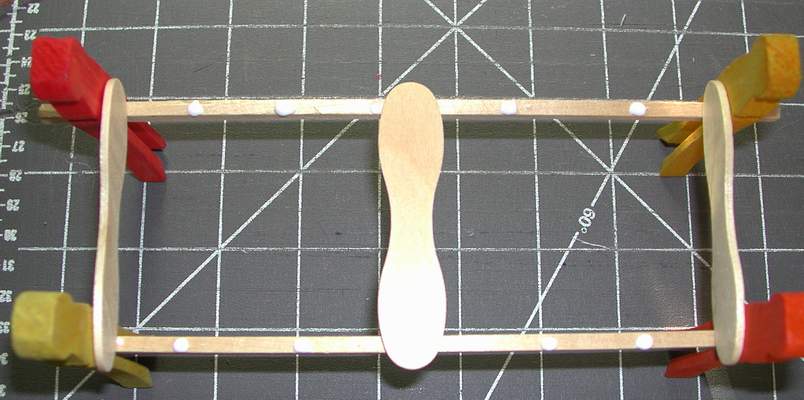
| 2. Take two of the lolly-pop paddles, and glue one on each end, as shown. Allow to dry completely before moving on to the next step. | 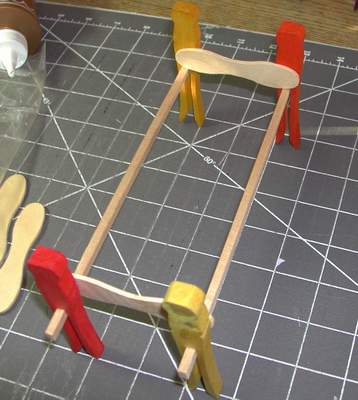 |
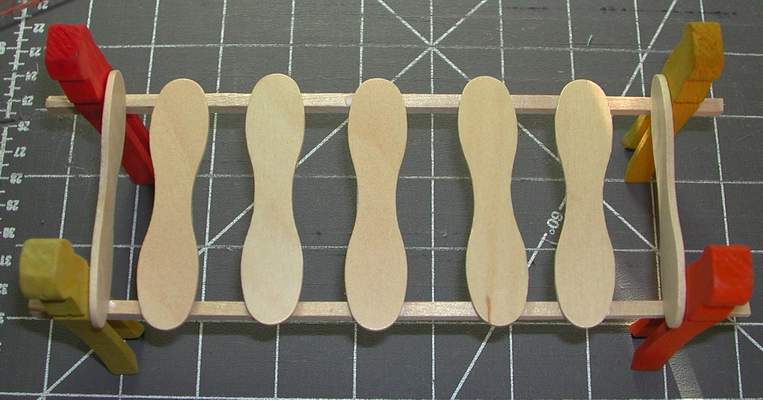
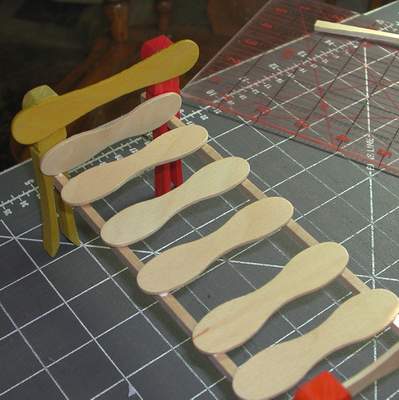
| 3. Glue the remaining five lolly-pop paddles as shown. I usually put the dots of glue on, and then set the paddles in place. Allow to dry. |
|
4. Glue the 'headboard' lolly-pop paddle into place. This would be a great place to write a name or add a small picture or decoration.
|
 |
| Mattress and Pillow supplies: Mattress: 8" x 8" fabric Pillow: 3" x 4" fabric Small ammounts of stuffing Crochet Cotton (optional) |
|
| 1. Sew the open side as shown, leaving a 1" space open in the 'middle' at any place (not near the end) | 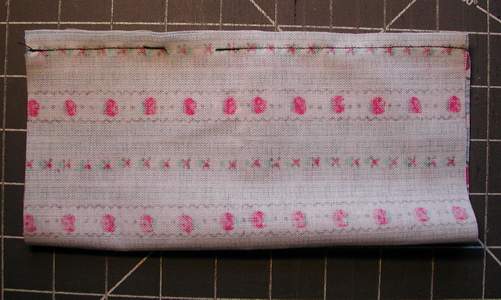 |
| 2. "Open" so the the seam is now in the center. Pin the ends, and sew across both. Stay-stitch both ends. | 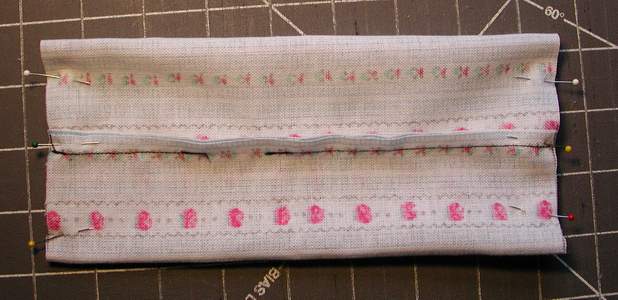 |
| 3. To make the square ends, fold the bottom as shown, measure in about 1" from the point, and sew across. Make sure to stay-stitch at both ends to prevent this small seam from unraveling. |  |
| 4. Turn the mattress right side out, and stuff. Stuff lightly for a thinner mattress, and stuff more for a fuller mattress. Make sure the stuffing is in the ends. You can sew the stuffing hole shut now, or if you plan to glue the mattress to the bed (as I did) you can leave it open. | 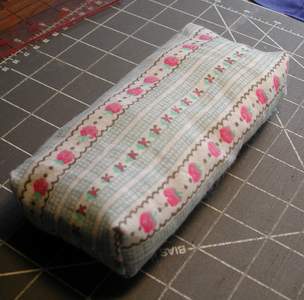 |
| 5. To make an old-fashioned mattress, you can use heavy thread or crochet cotton, and tie off sections, as shown. | 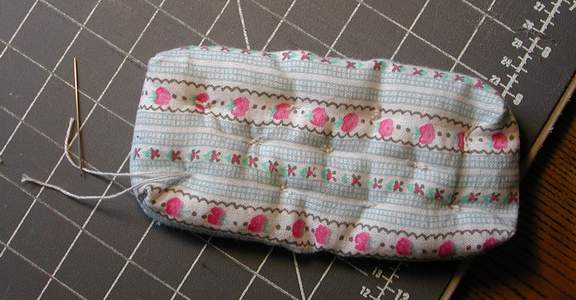 |
| To make the pillow, simply sew around the doubled rectangle, leaving a space open to turn. Turn and stuff. sew the hole shut. | 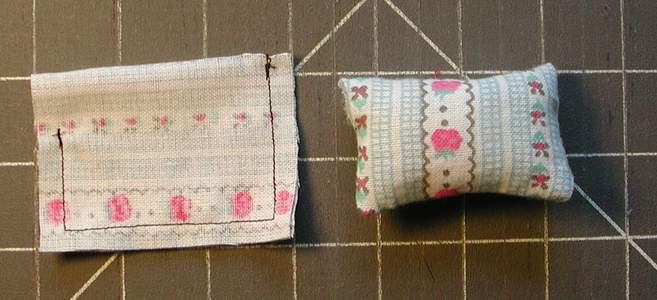 |