
Create-Along
You will leave everything un-baked until all tutorials are completed.
Bread
white, translucent and ocher clay
brown, red-brown, and ocher chalks
old soft paint brush
razor blade
foil-covered cookie sheet
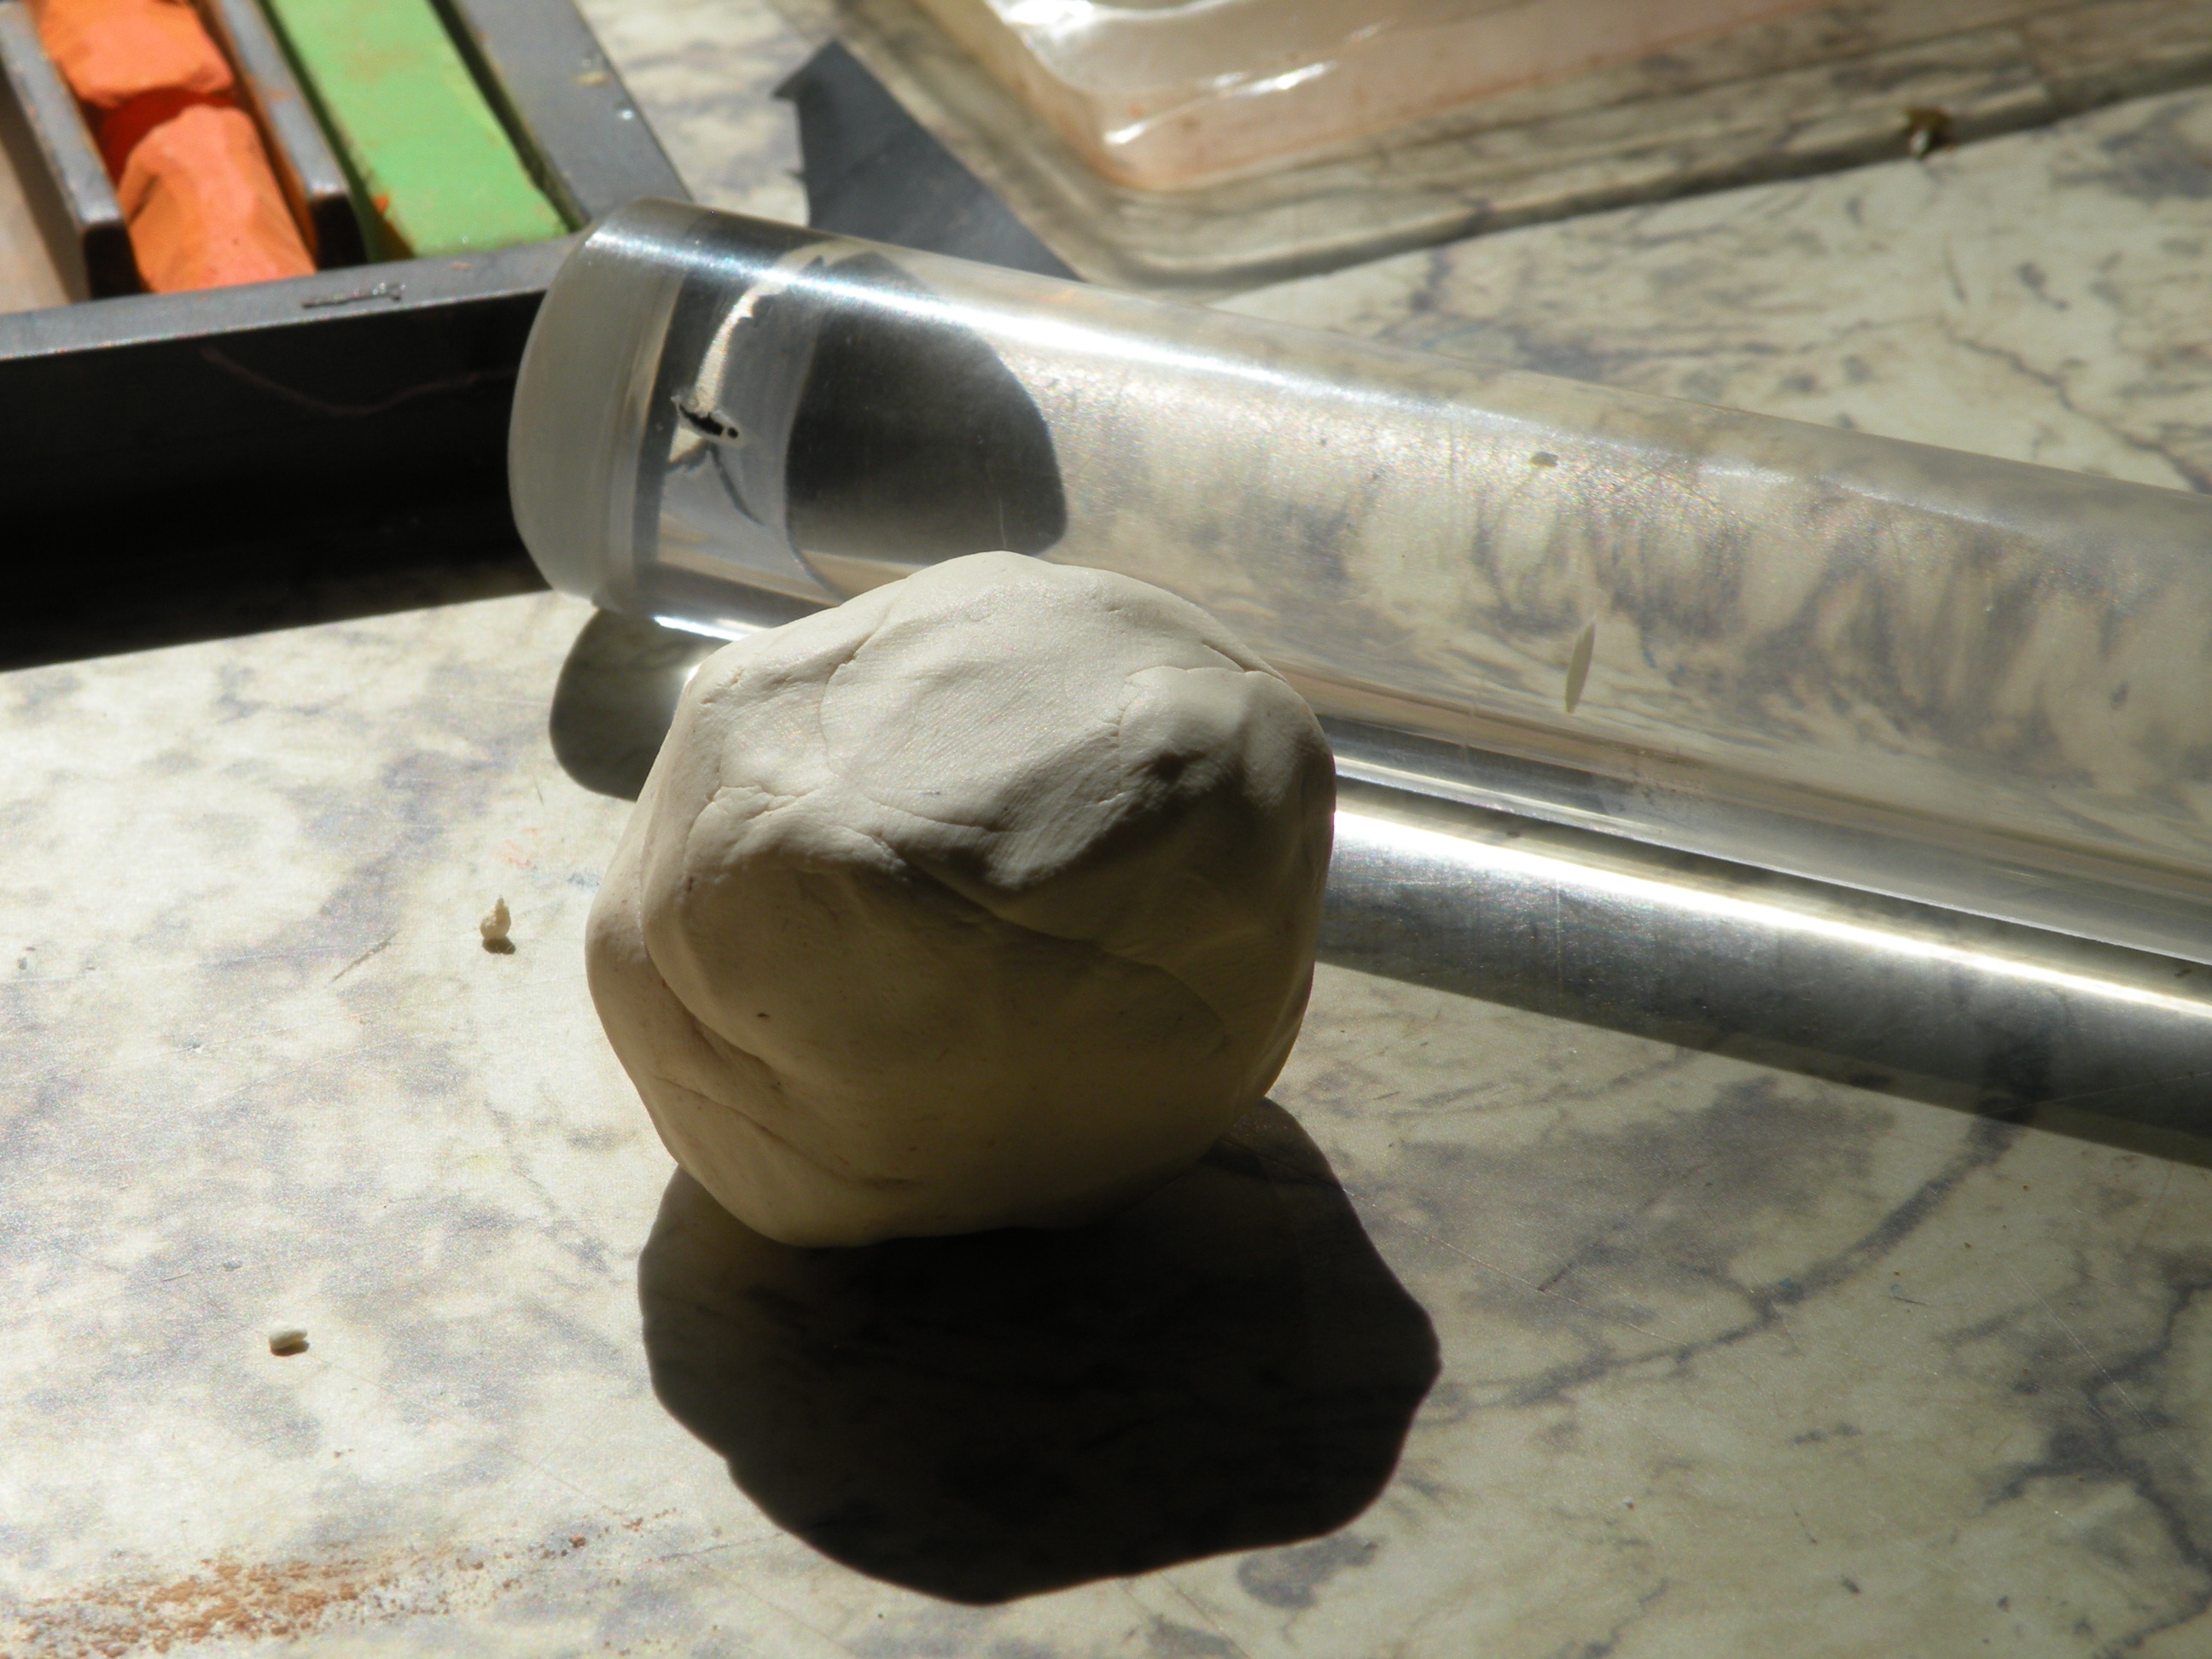
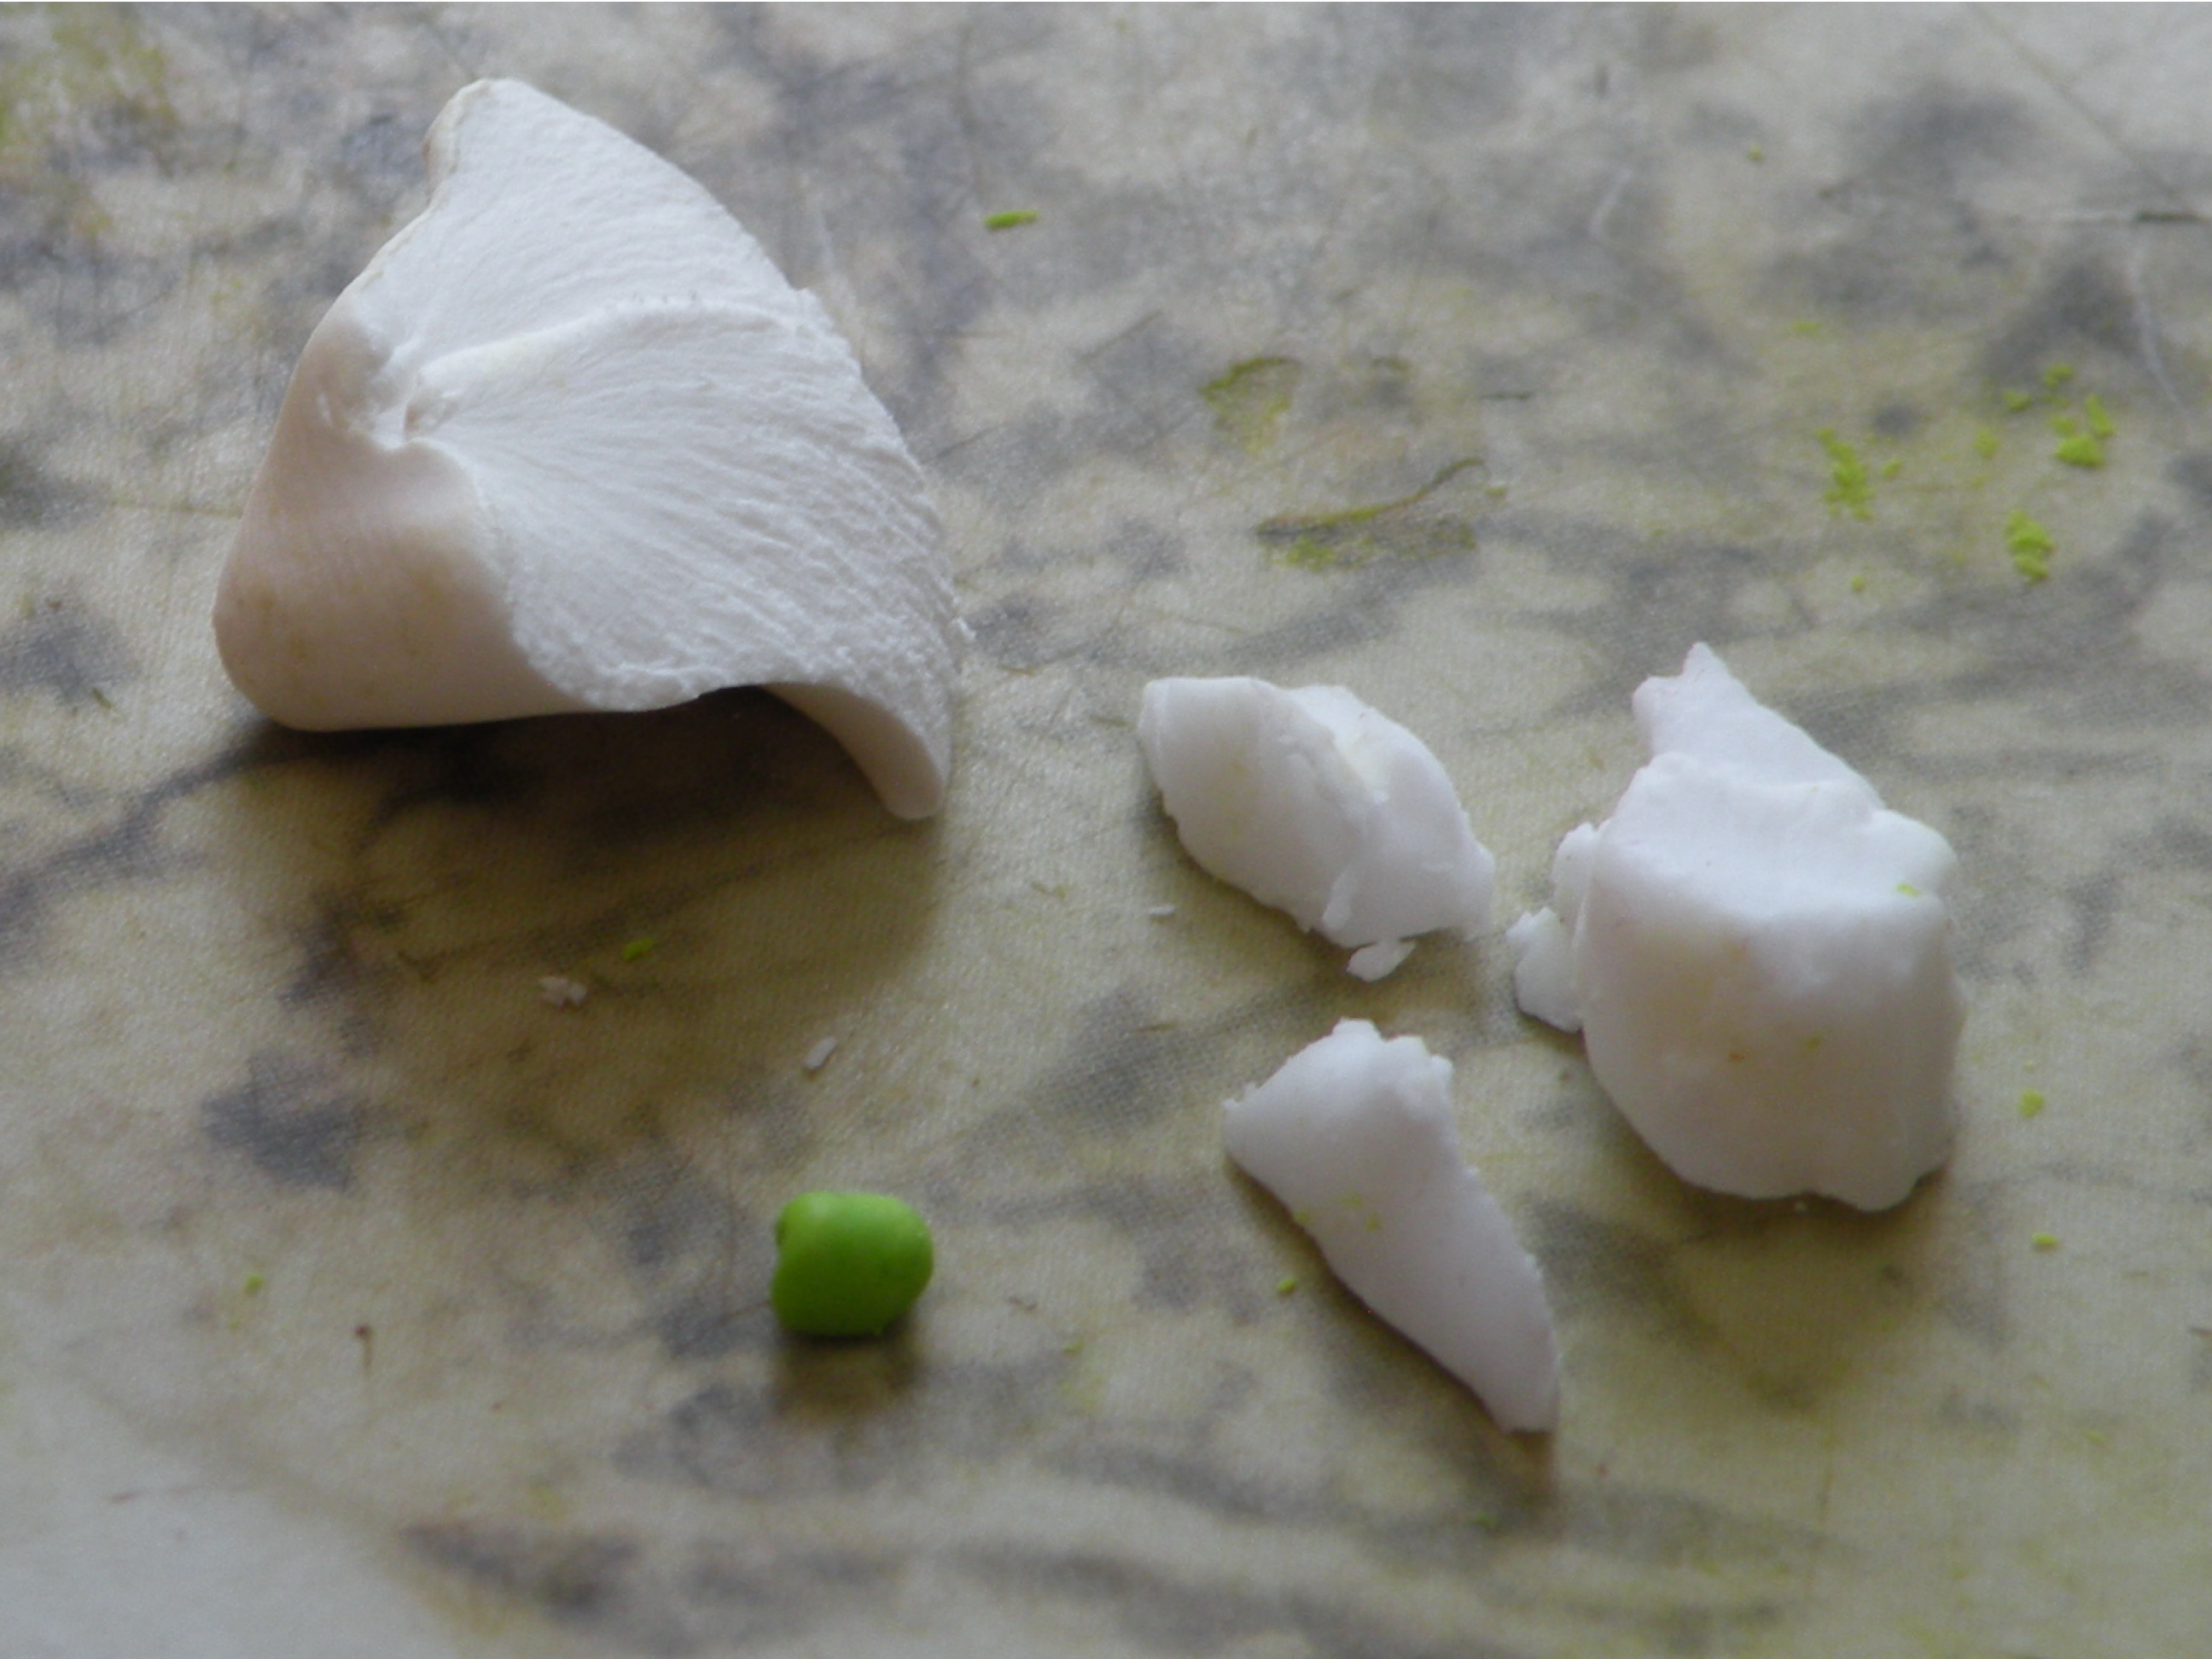
Mix a walnut-sized piece of white, a marble-sized piece of translucent,
and pea-sized bit of ocher.
Knead in your hands until mixed.
(Or, using the proportions above, mix more for other the tutorials)
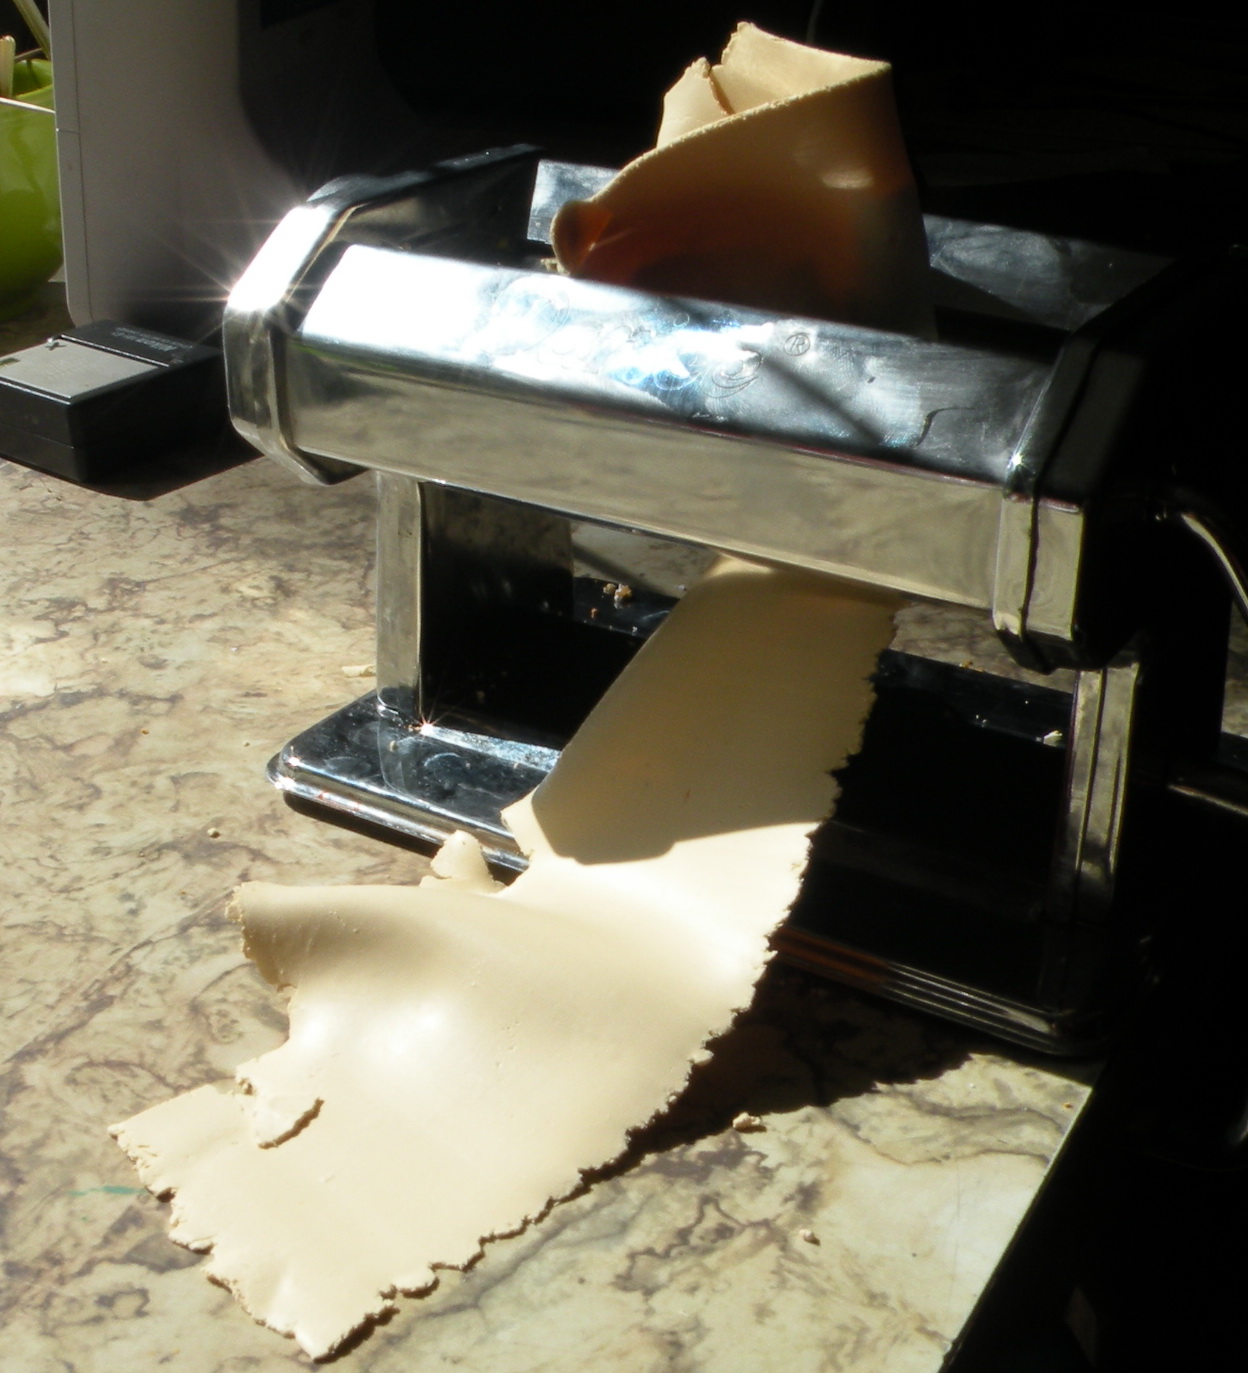
I prefer to use a clay machine, (or do you have an old pasta machine?)
but this can be mixed by hand.
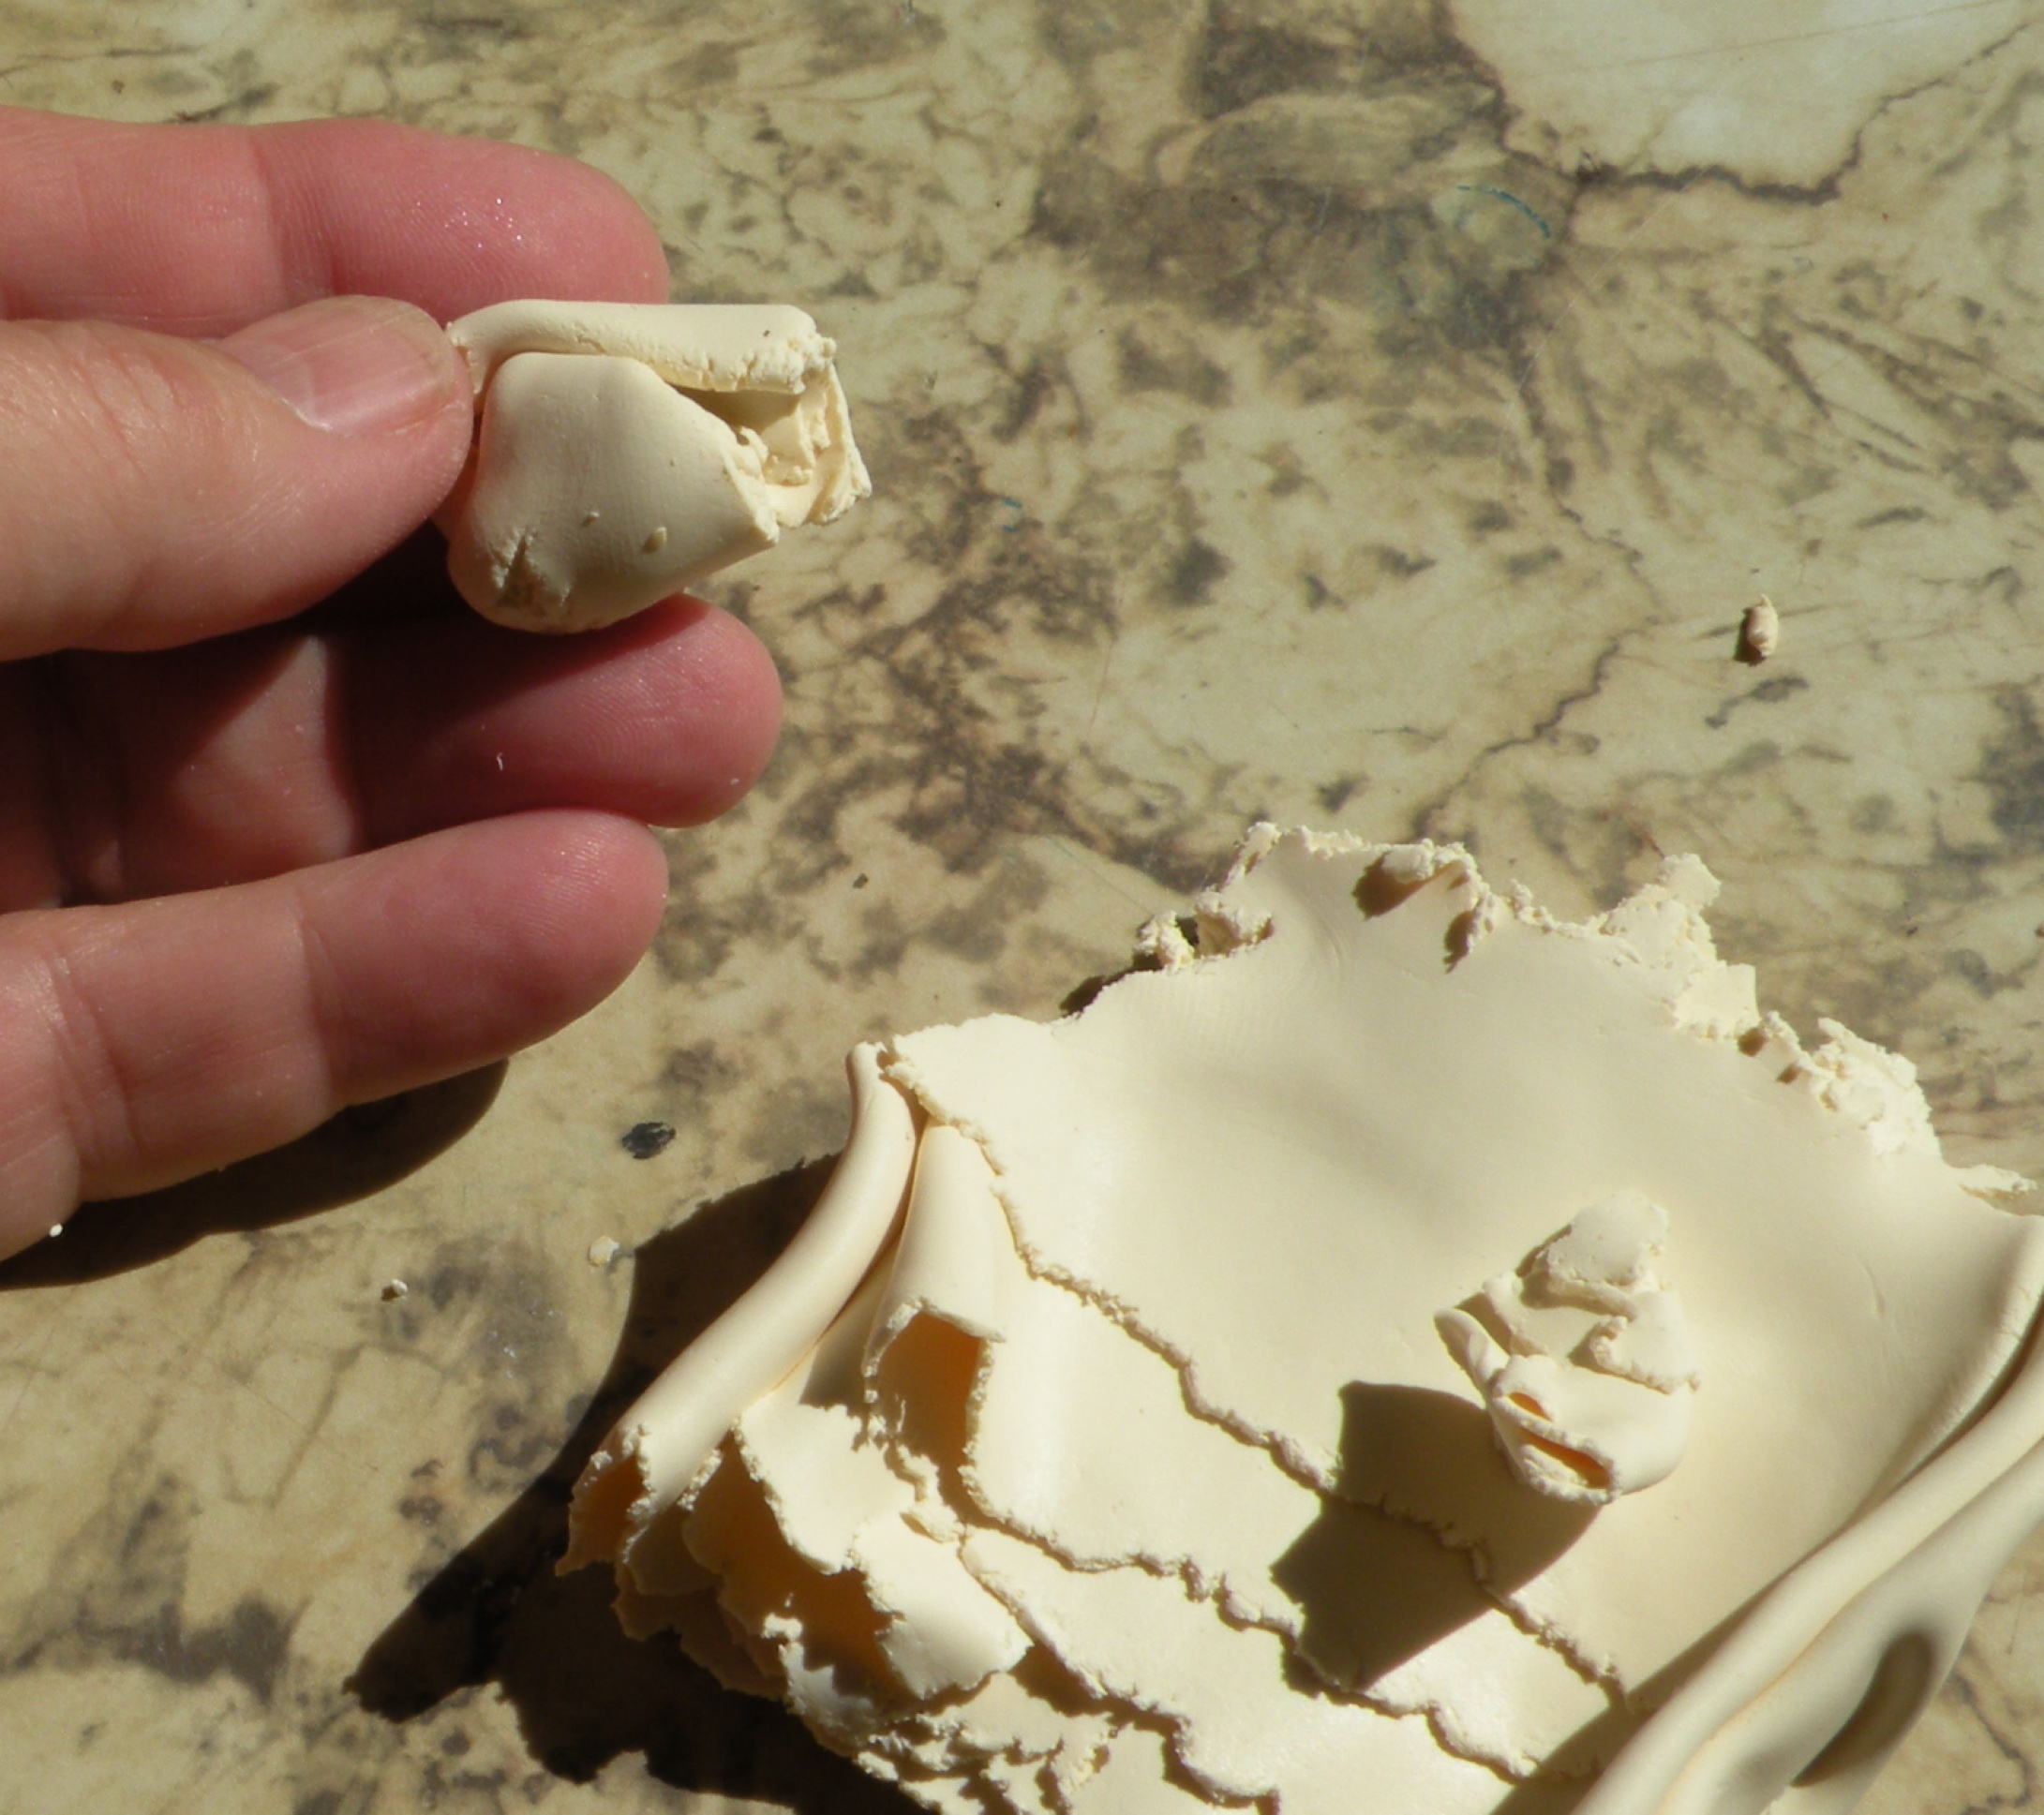
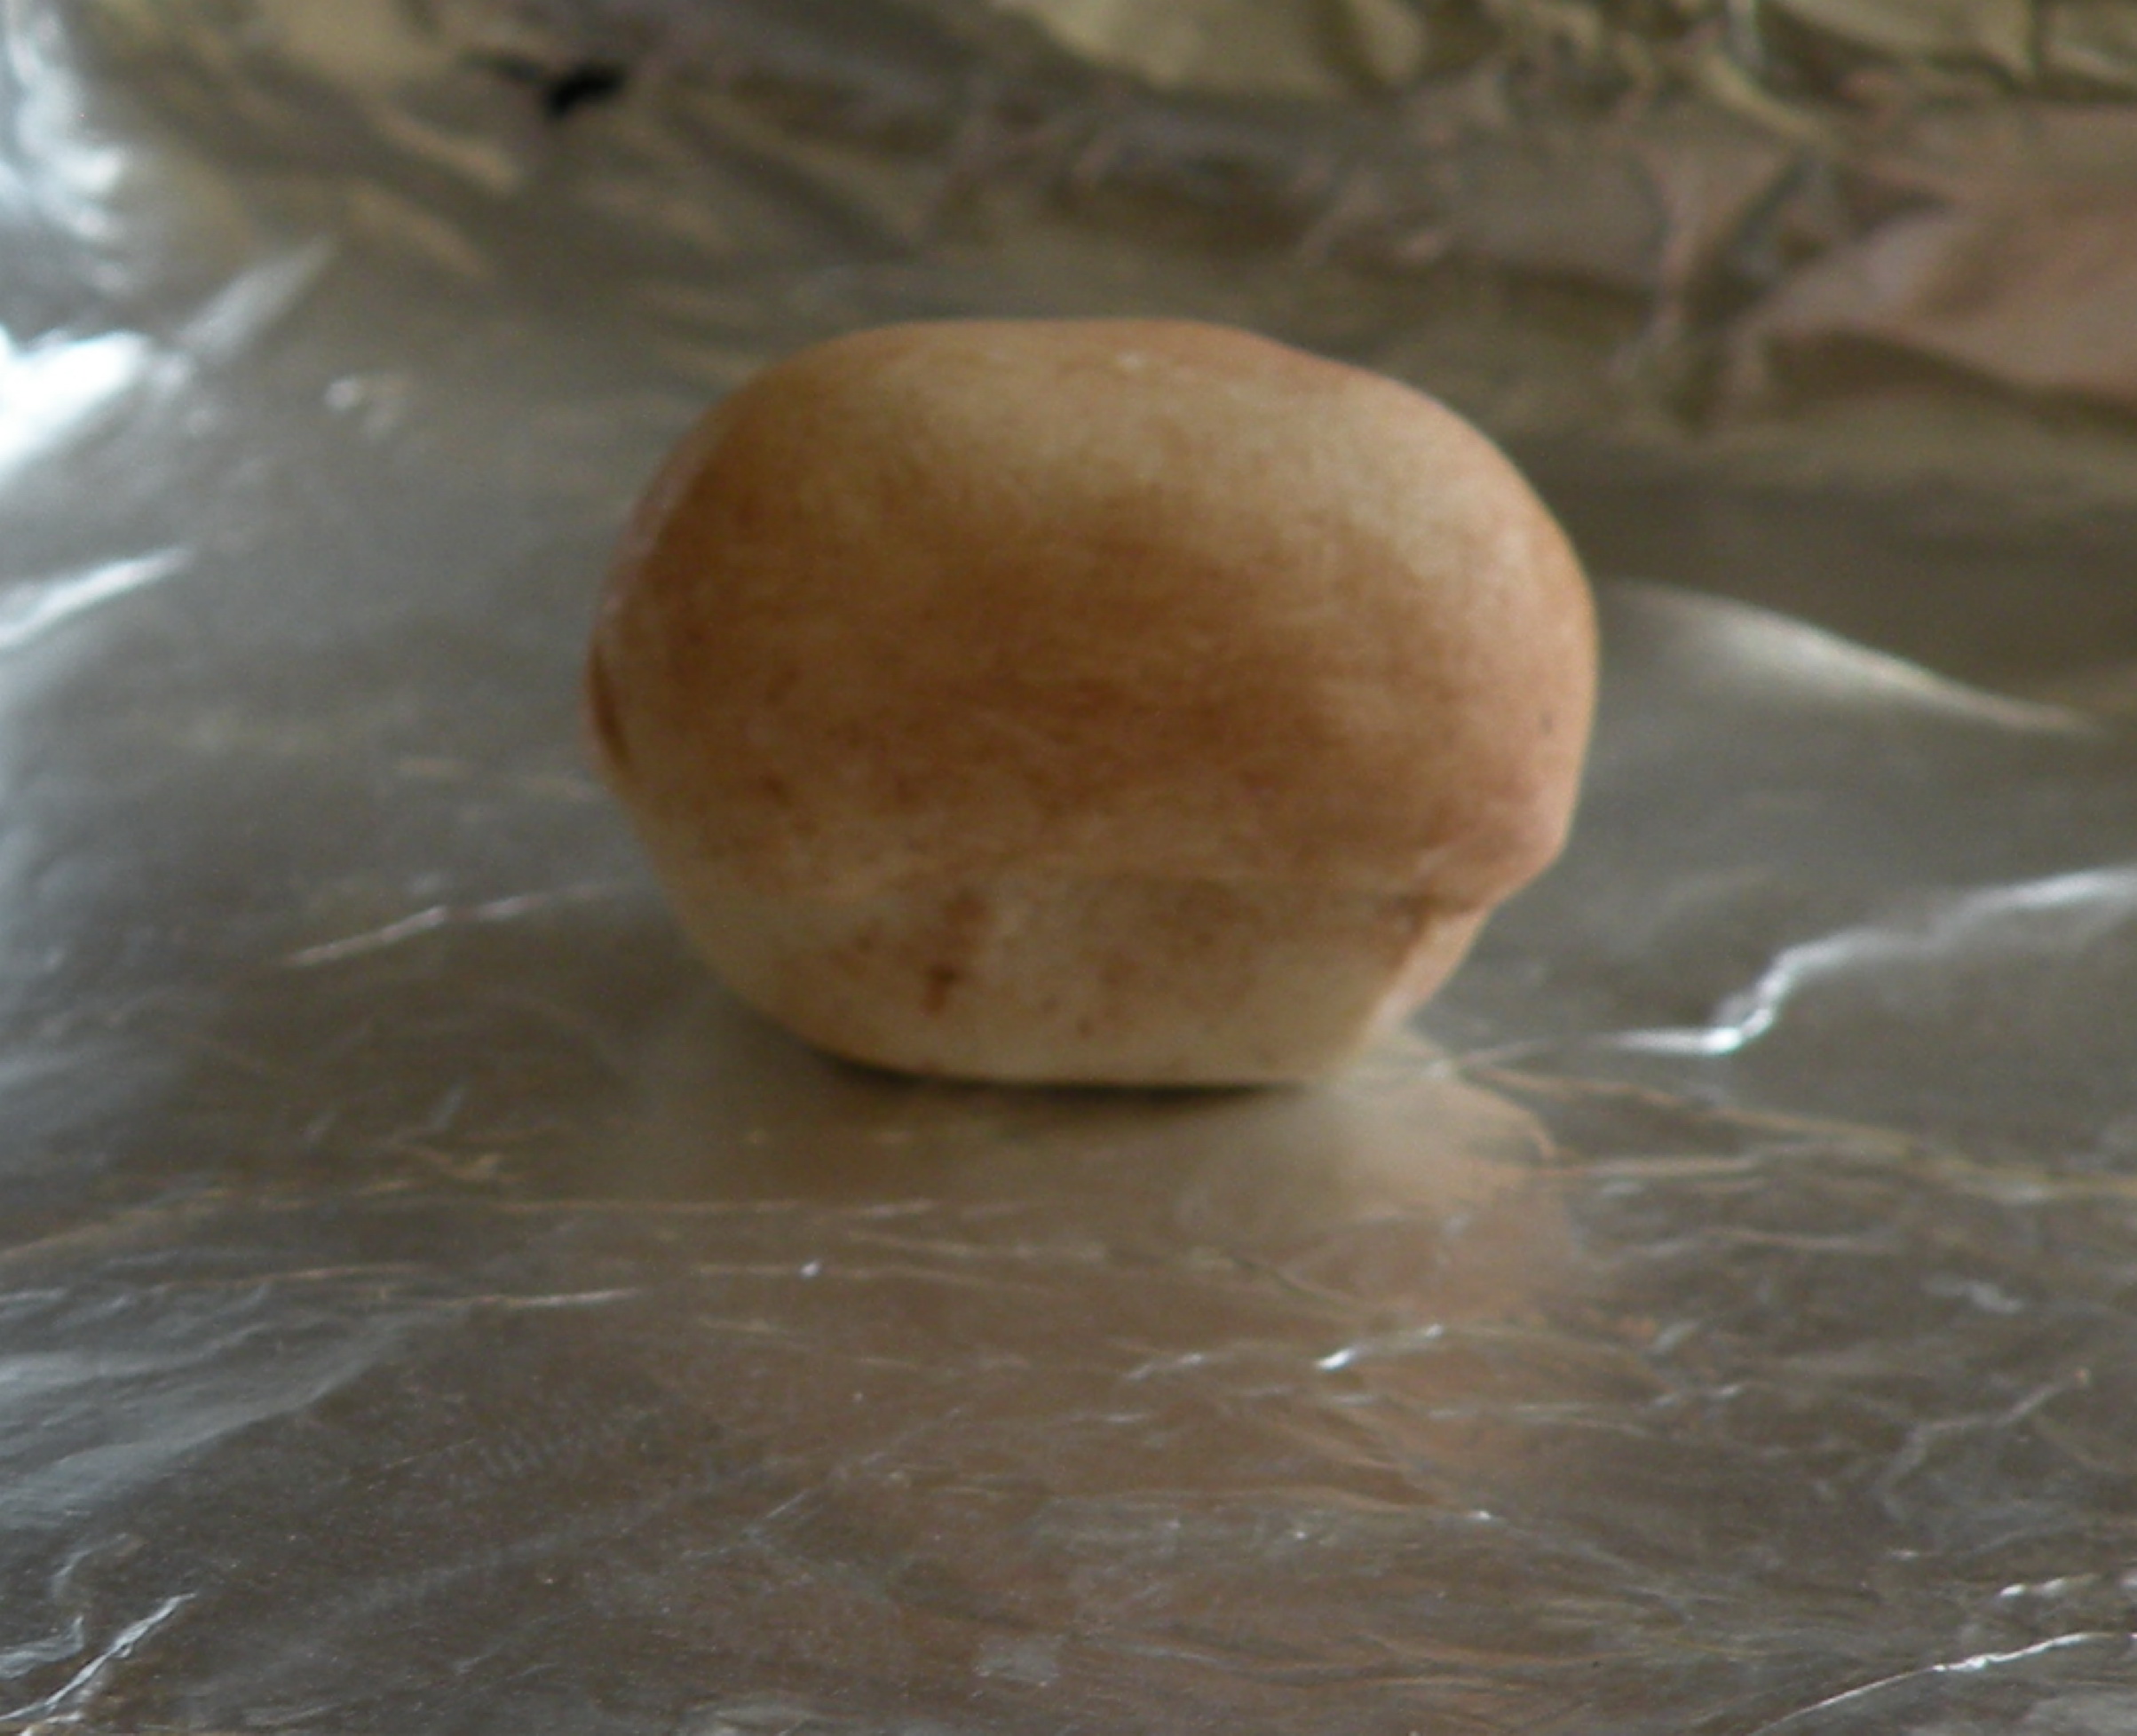
Break off a *loaf of bread* sized piece, and shape into a loaf of bread with your fingers.
Wet your fingers with water and smooth out any fingerprints.
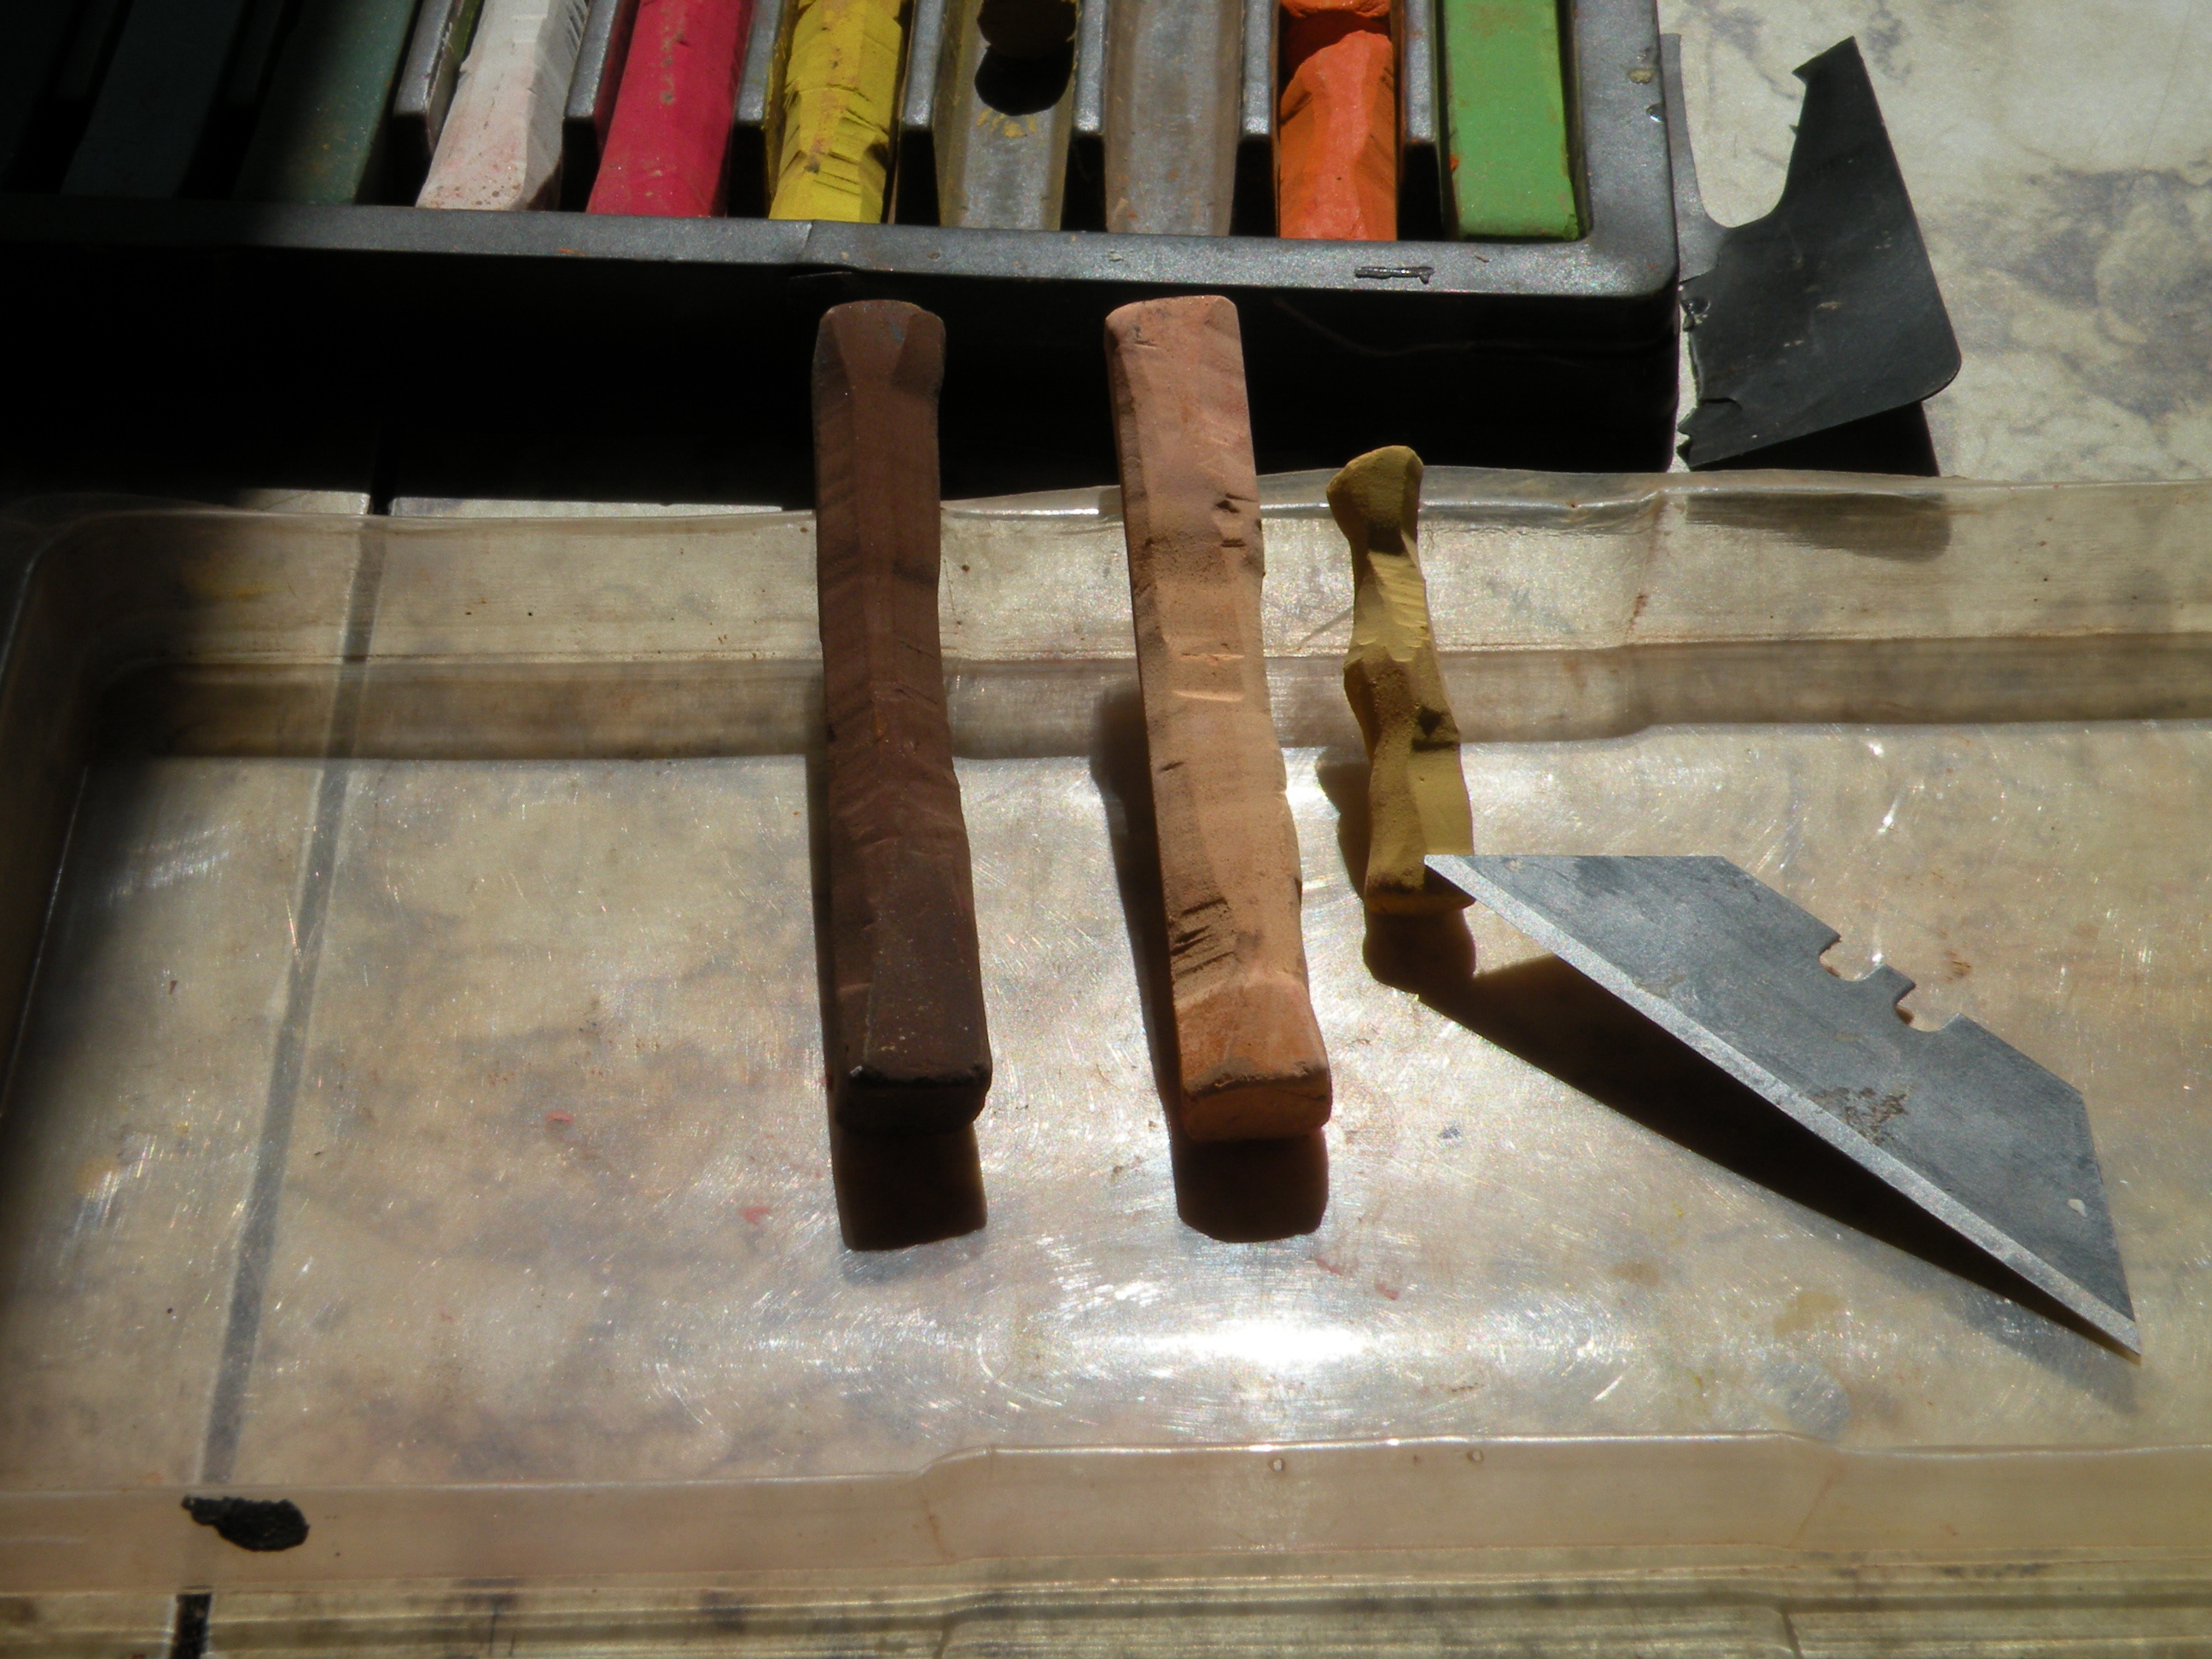
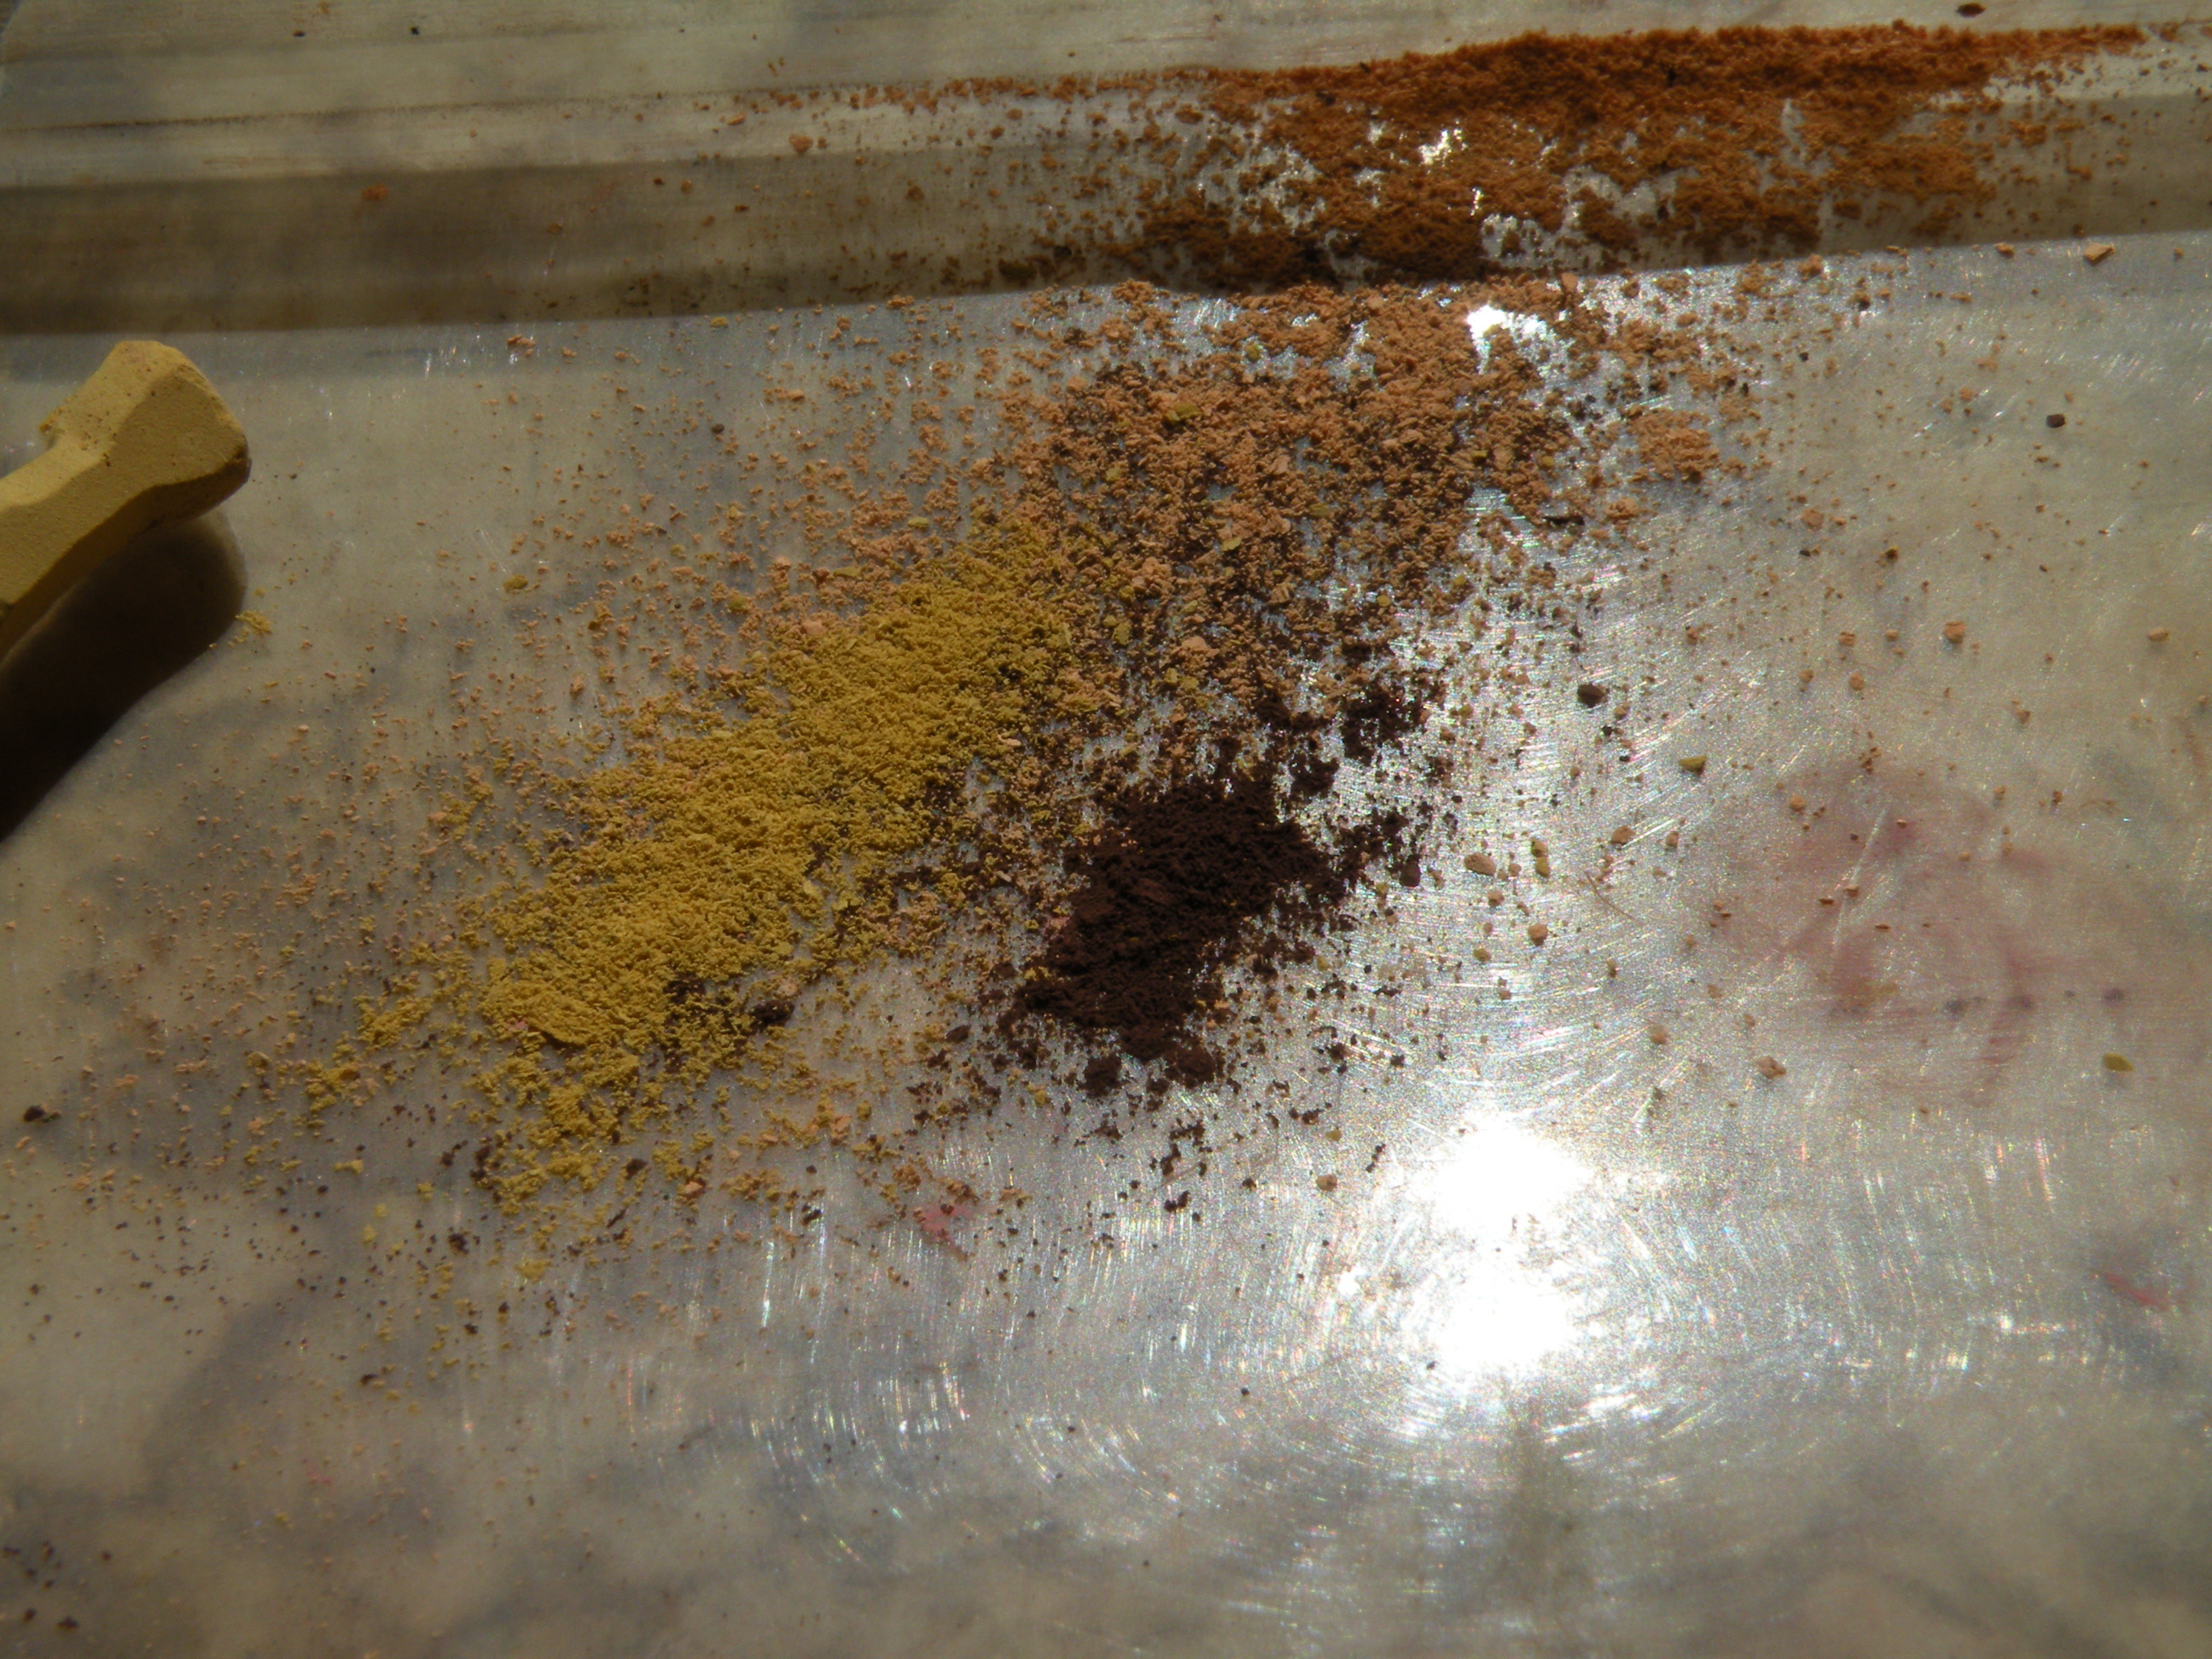
Get out your chalks and razor blade.
You will need: brown, red-brown, and ocher. Perhaps a touch of yellow.
Use the razor blade to carefully shave off the colors. Mix with your paintbrush.
Keep this on hand for the biscuits!
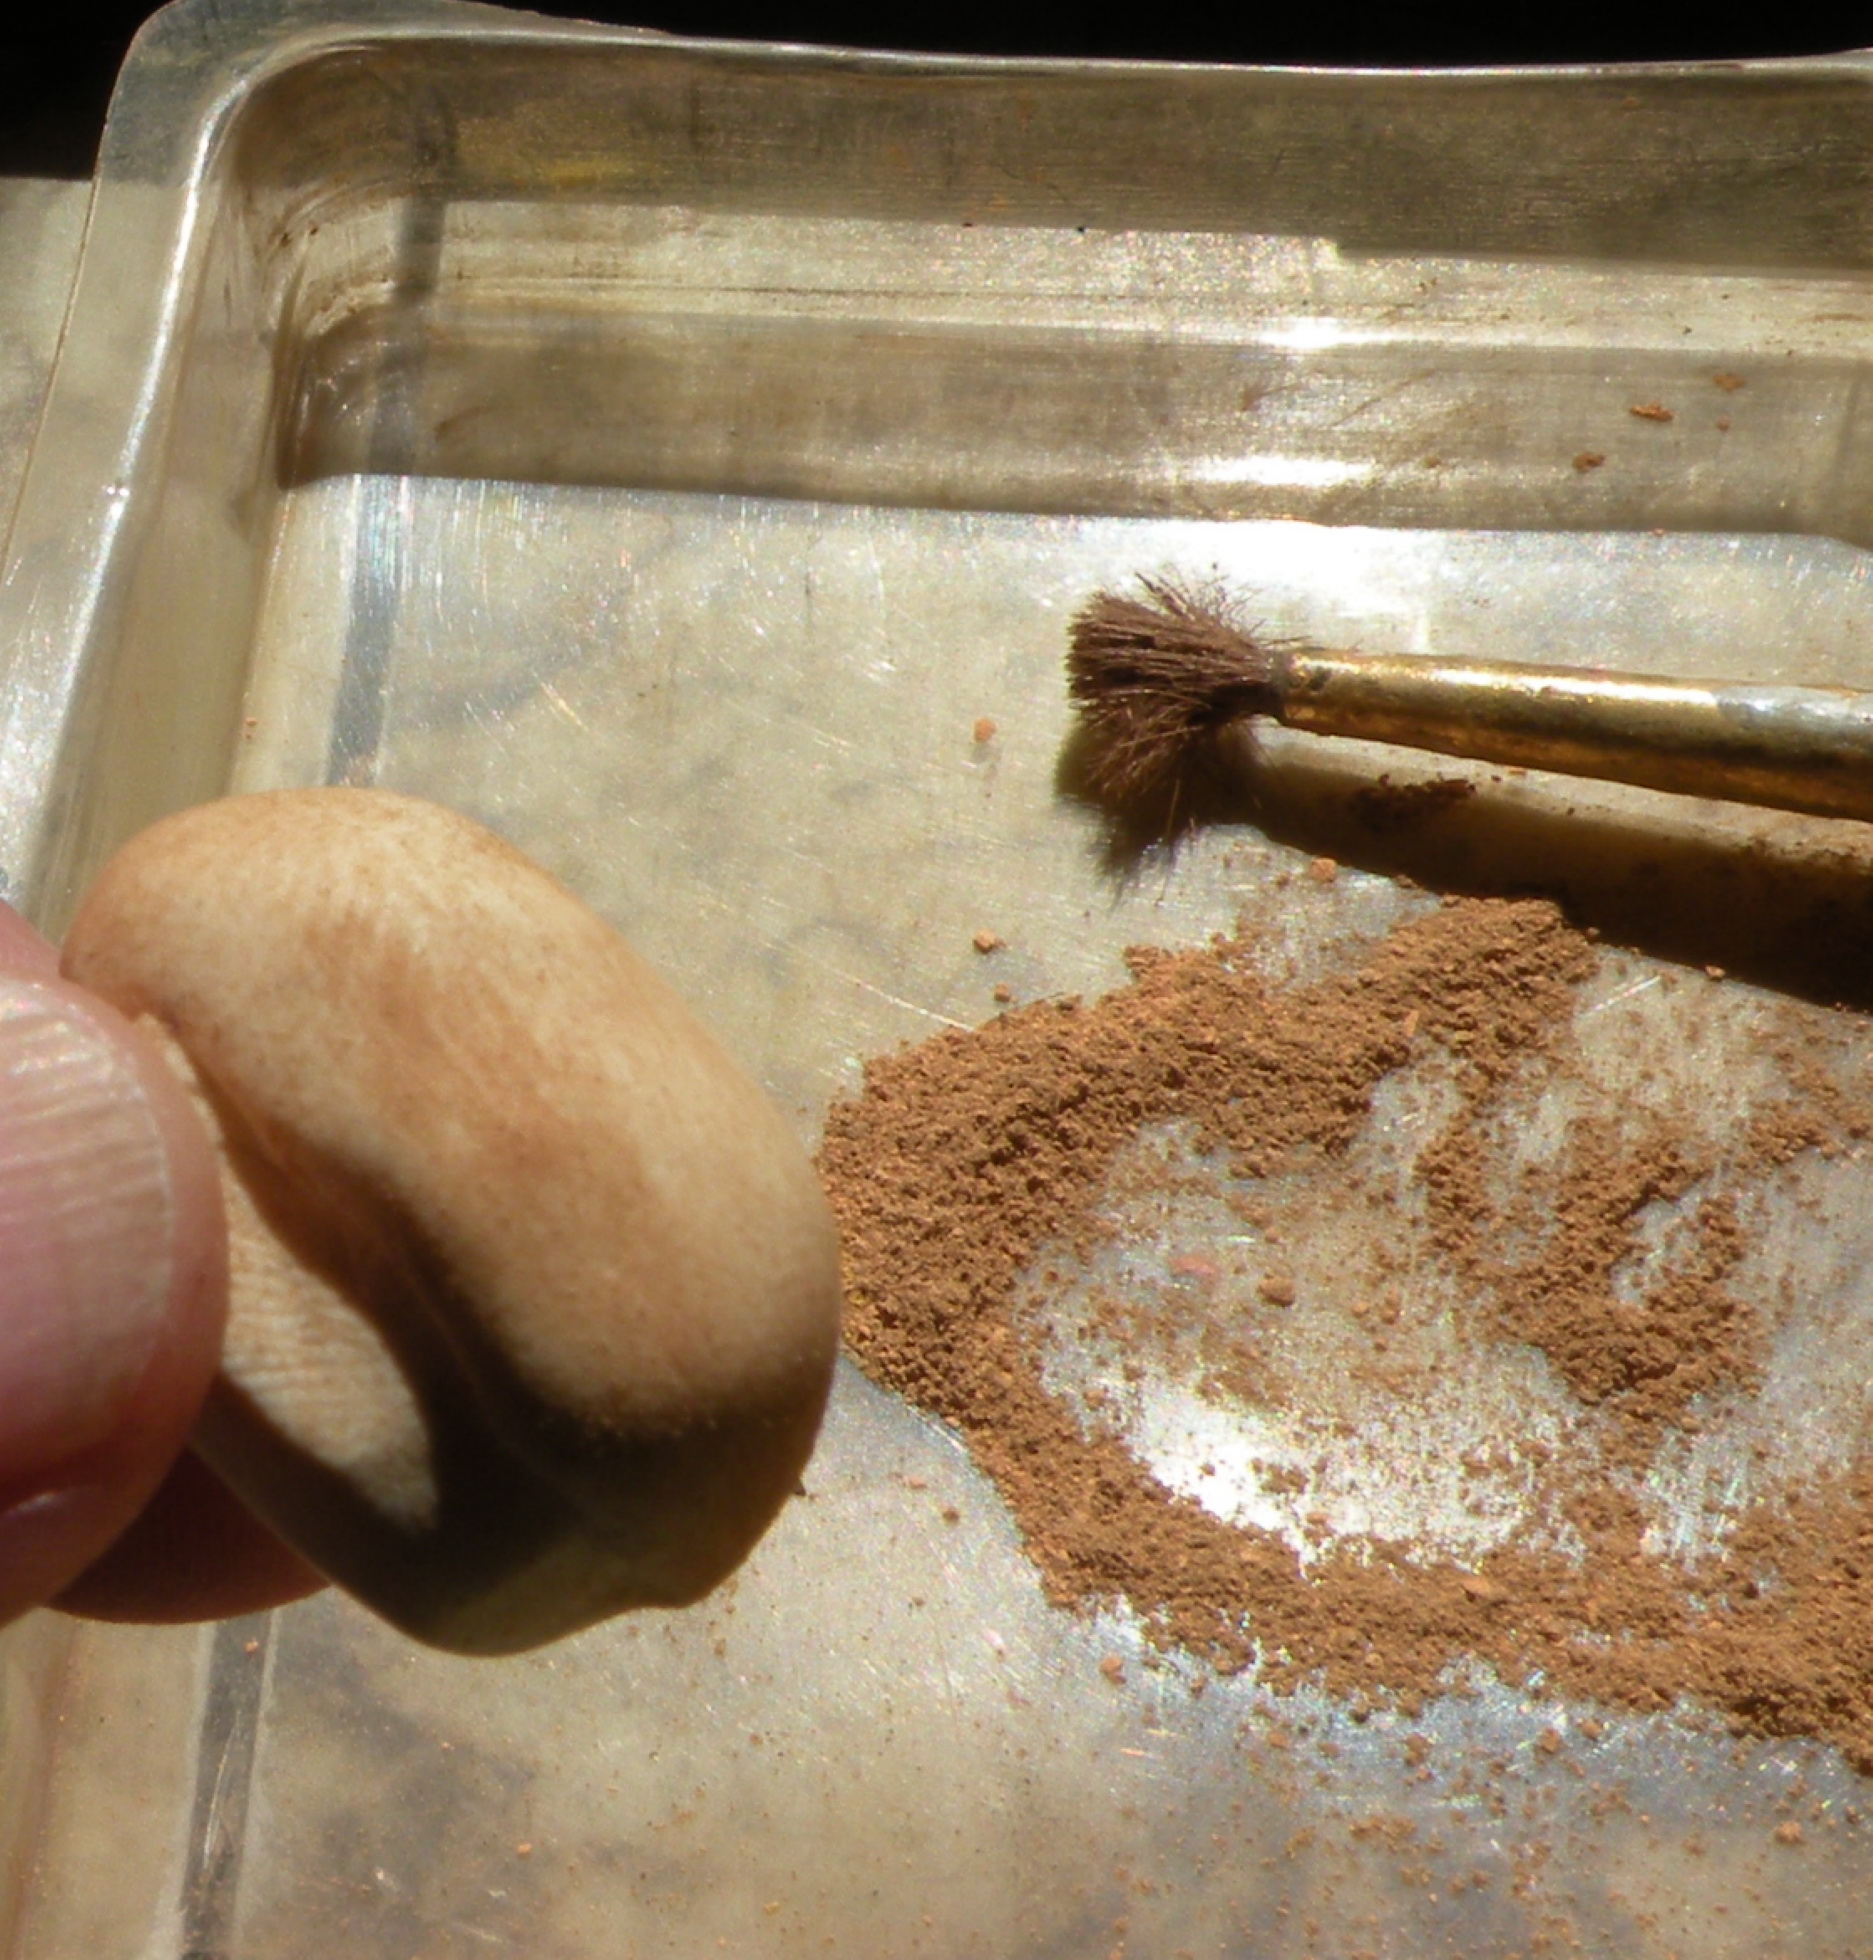
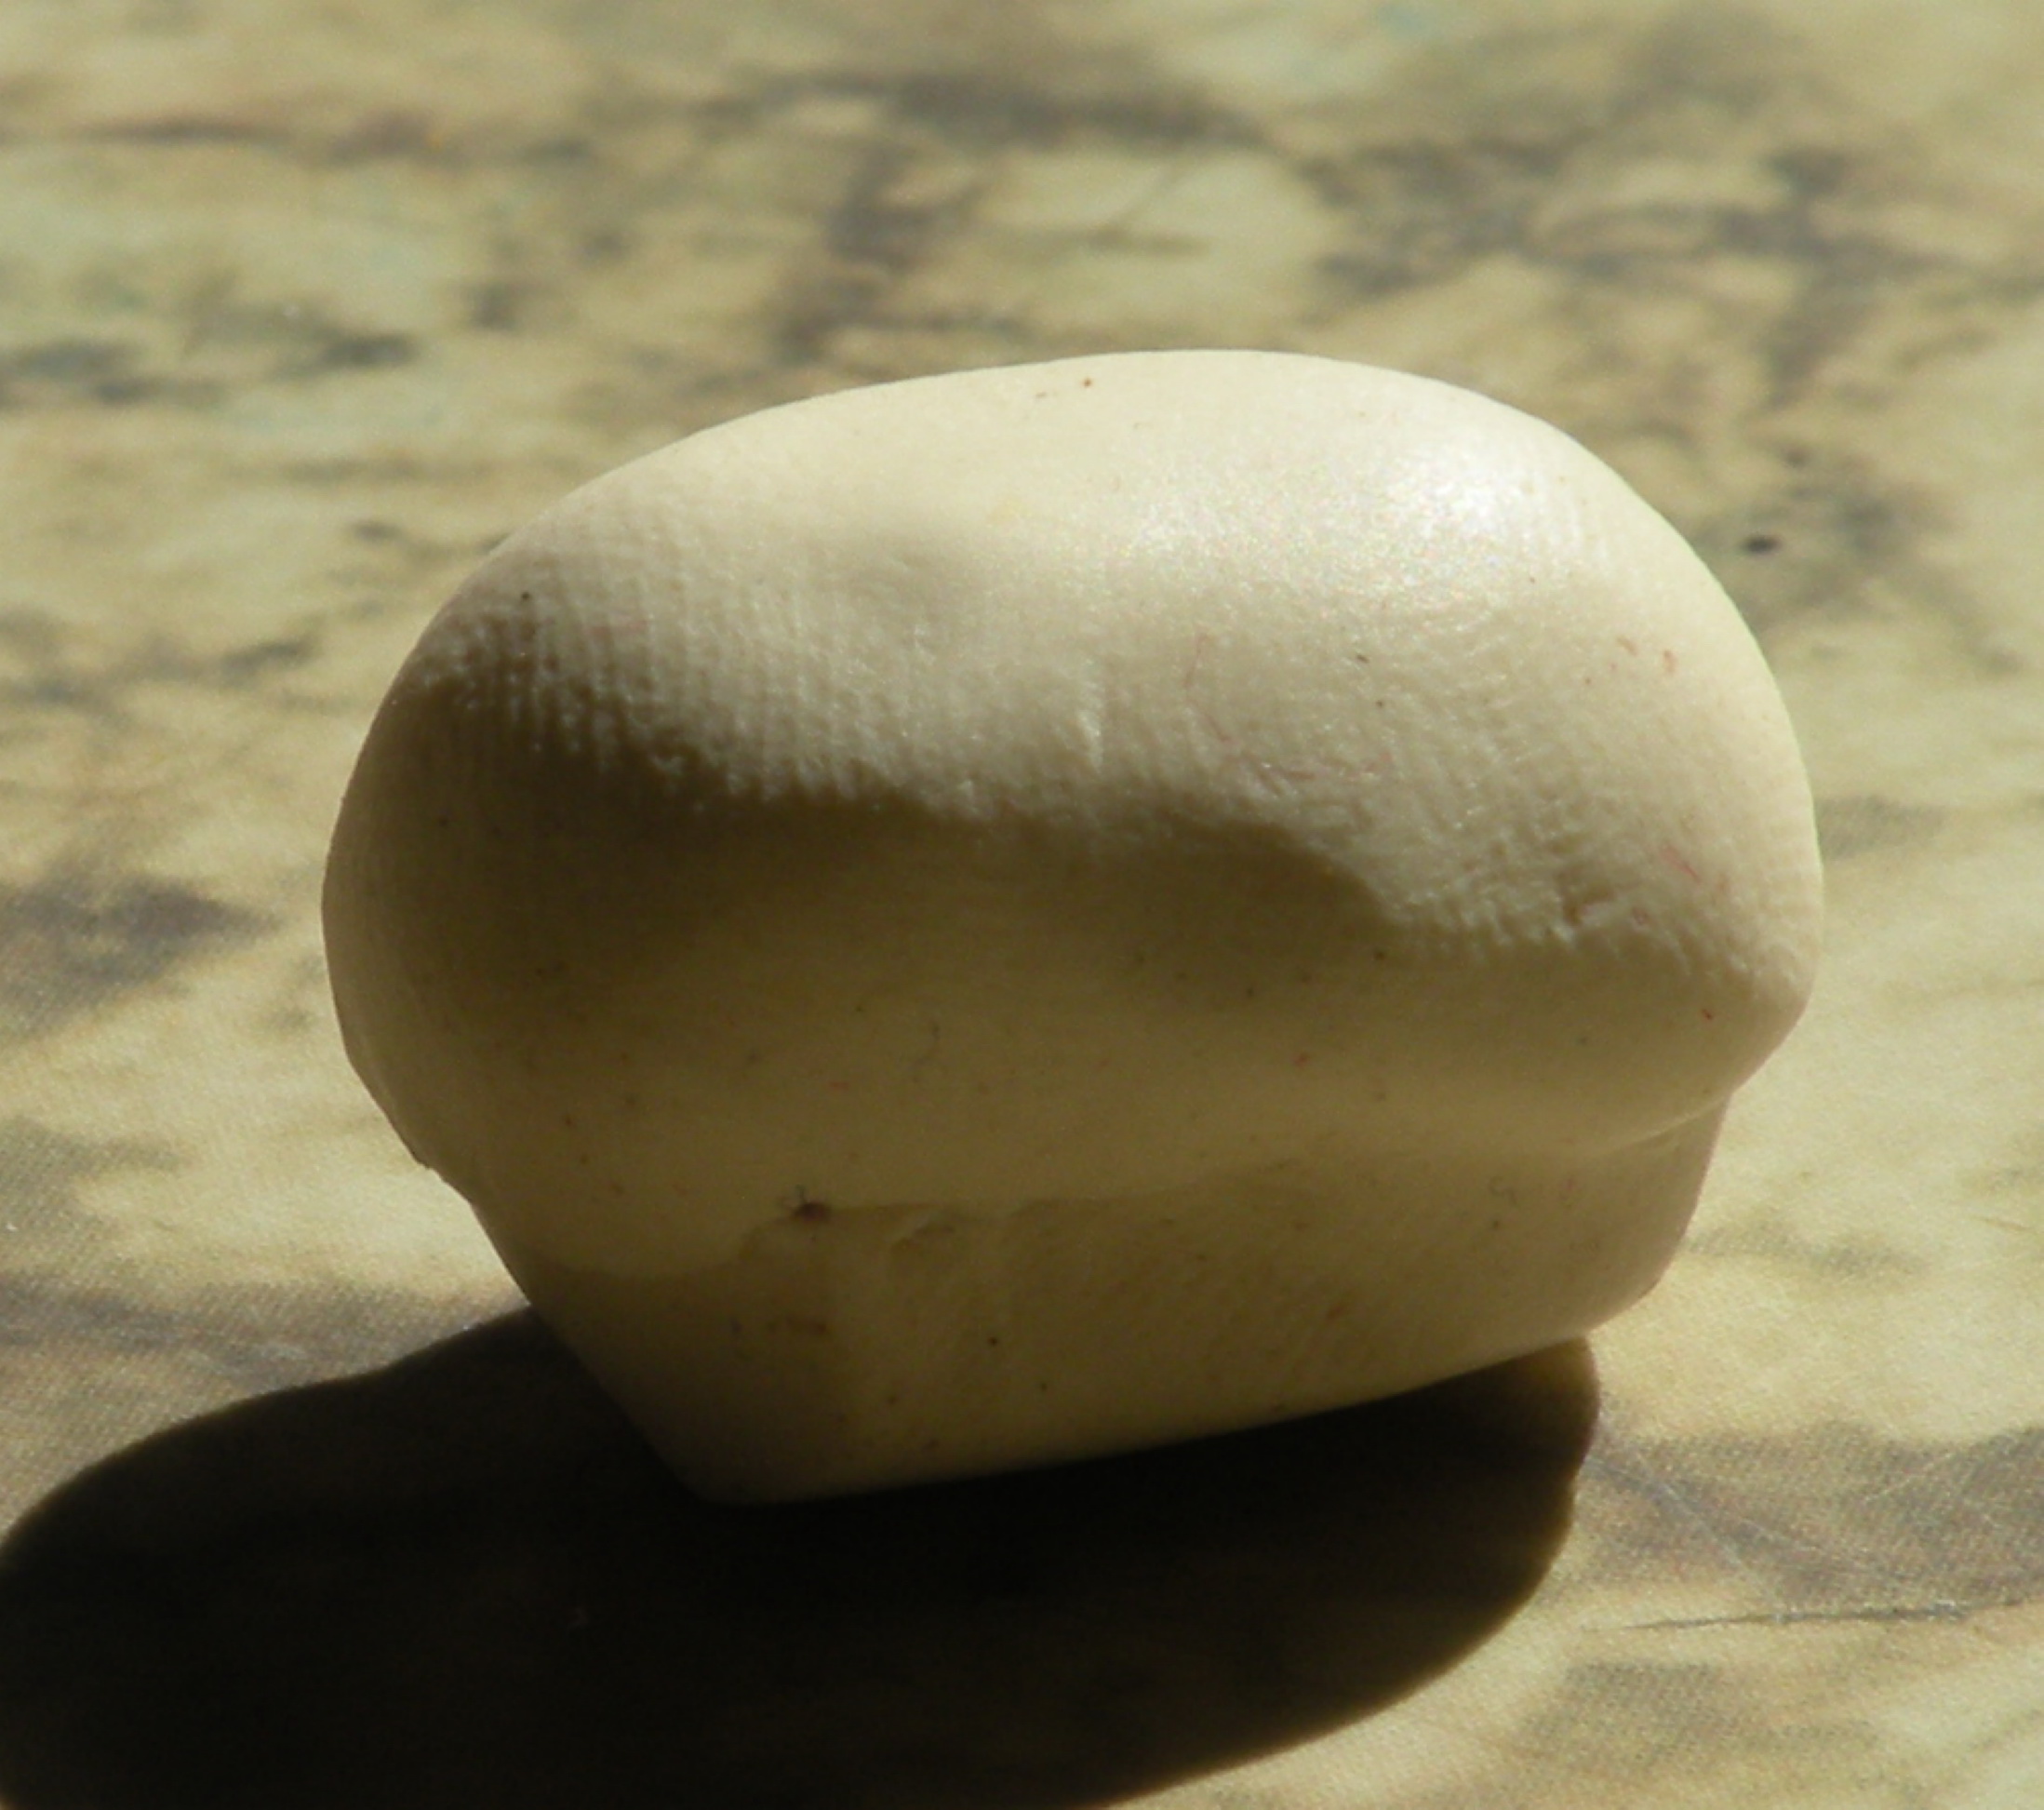
Carefully, a little at a time, brush onto the bread shape. Note where it would be browned,
if in a baking tin. For instance, the square bottom part from the tin would be considerably
lighter that the top of the loaf, which would be exposed to the oven.
Place this on your foil-covered cookie sheet and set aside until you complete today's work.
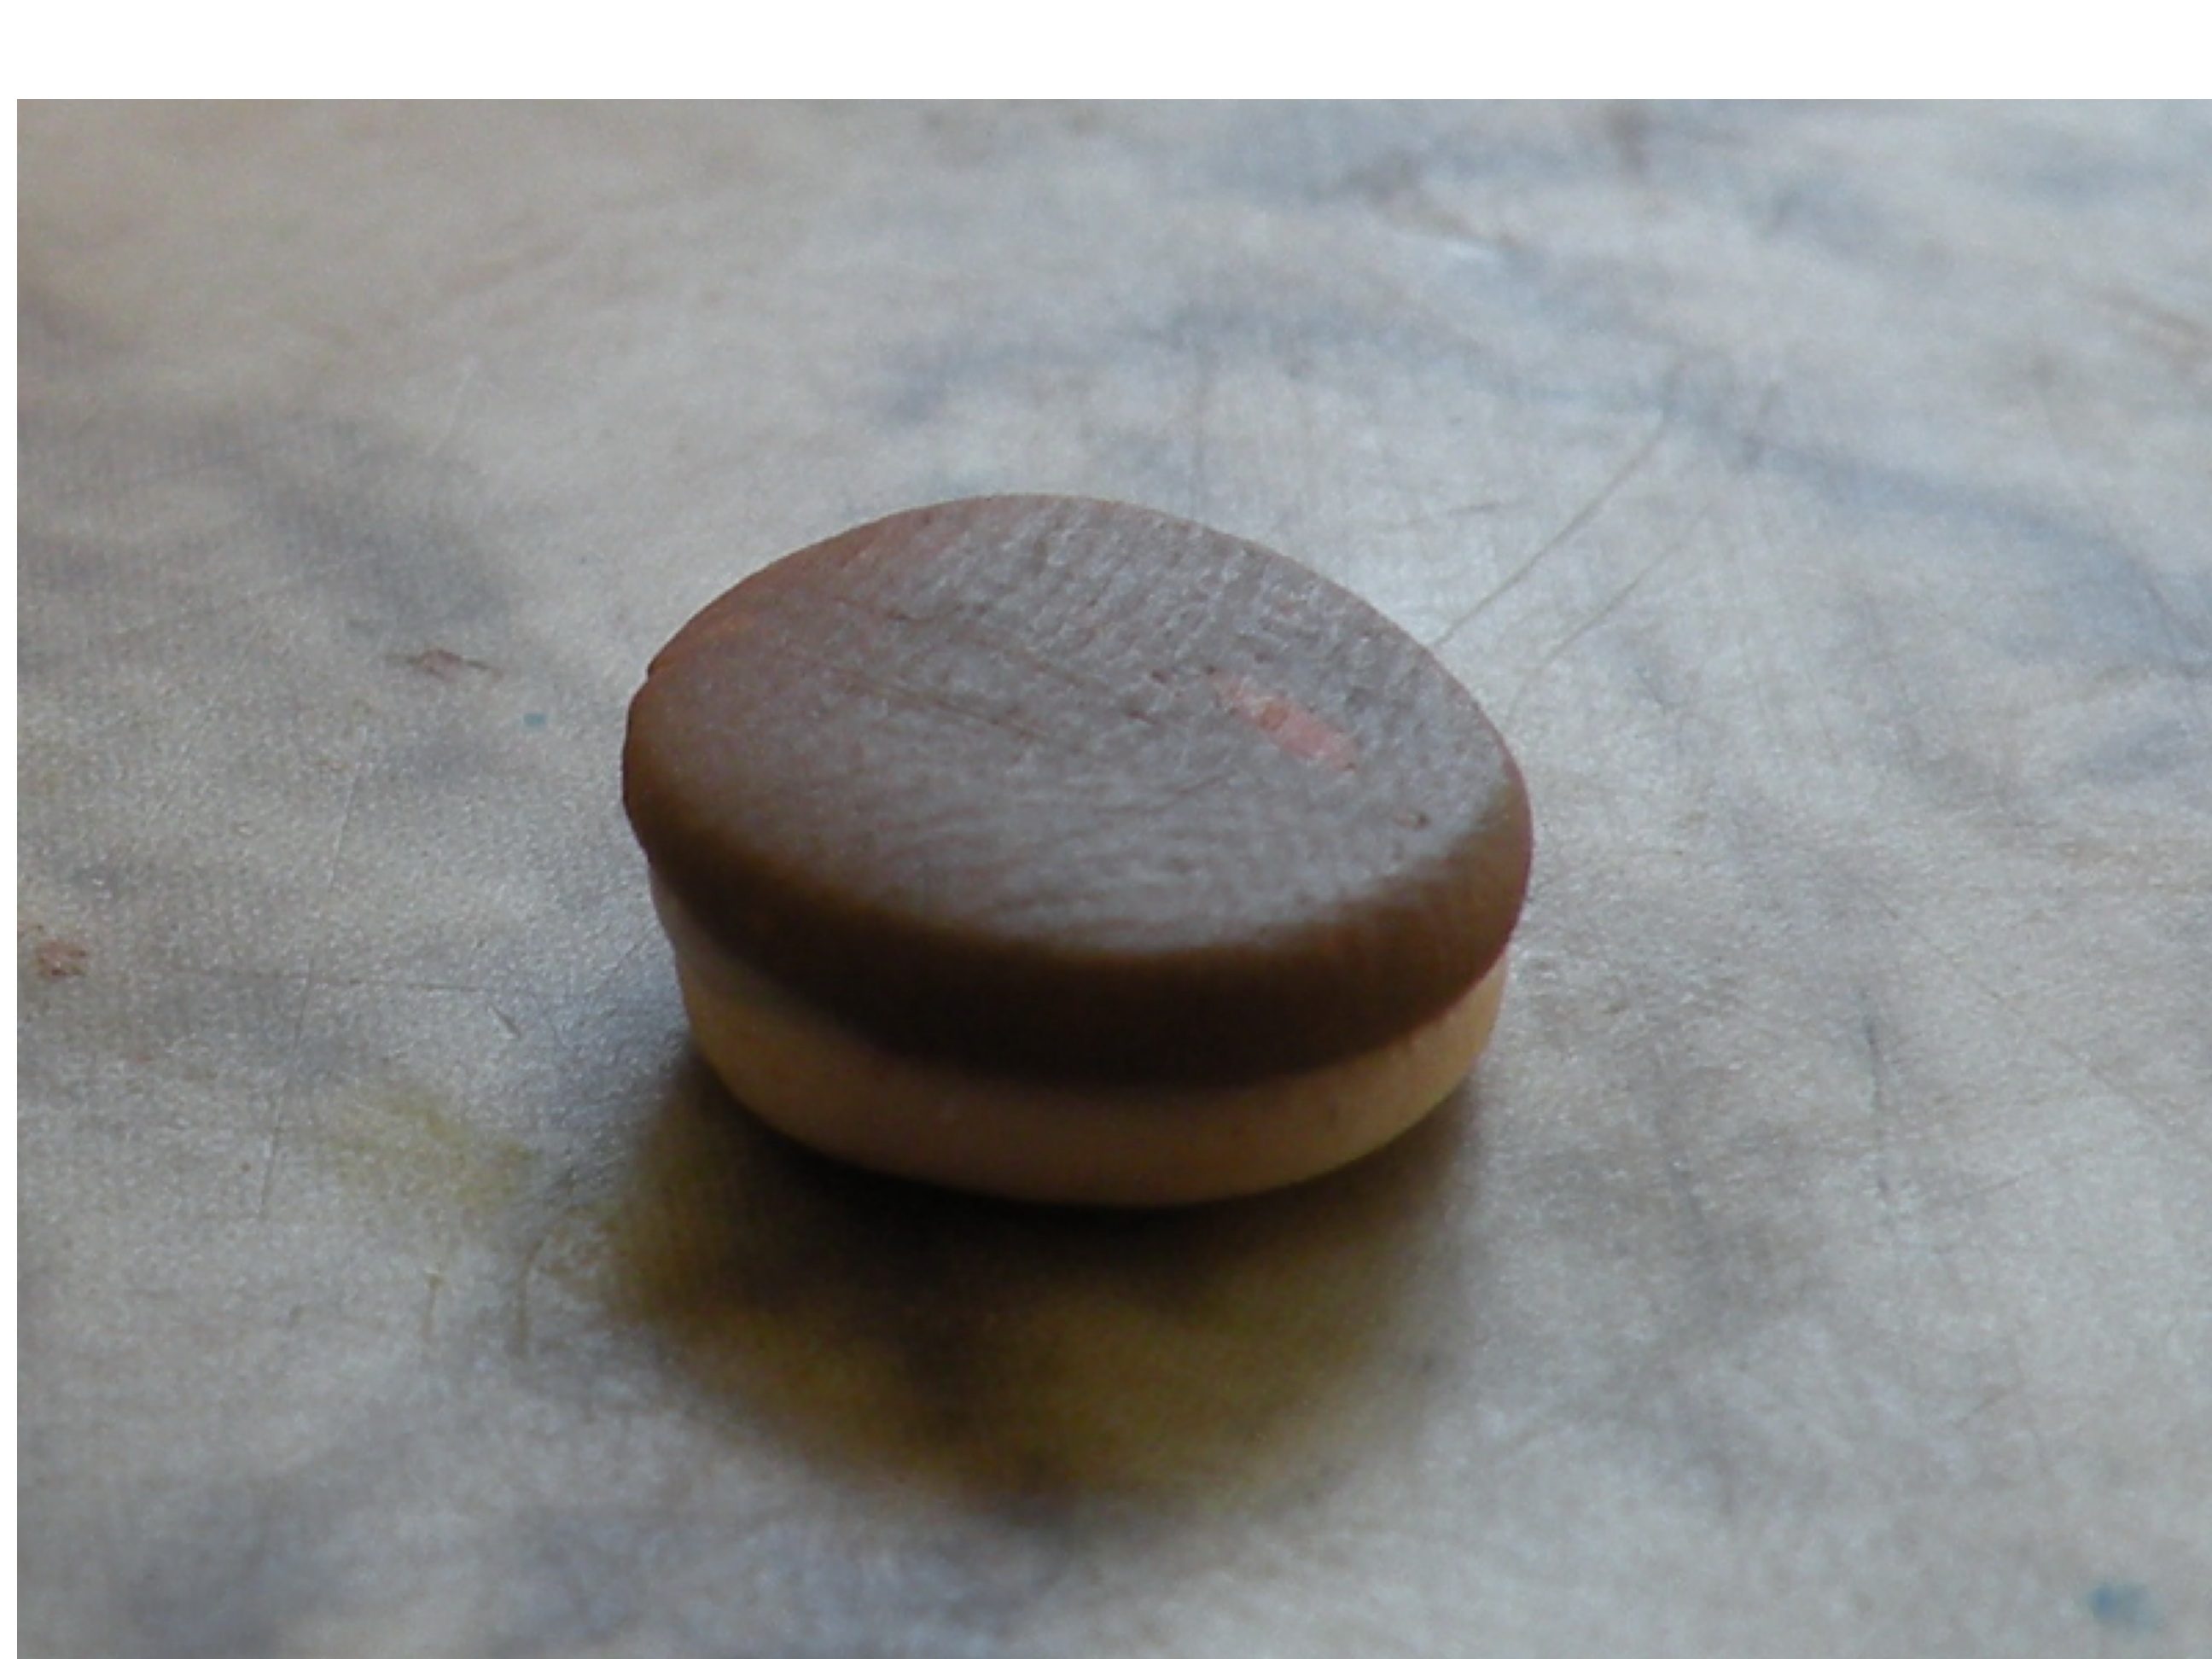
To make a cottage loaf, mix your clay a dark brown, and shape into a Cottage Loaf rounded circle.
Biscuits
Use the bread clay previously mixed
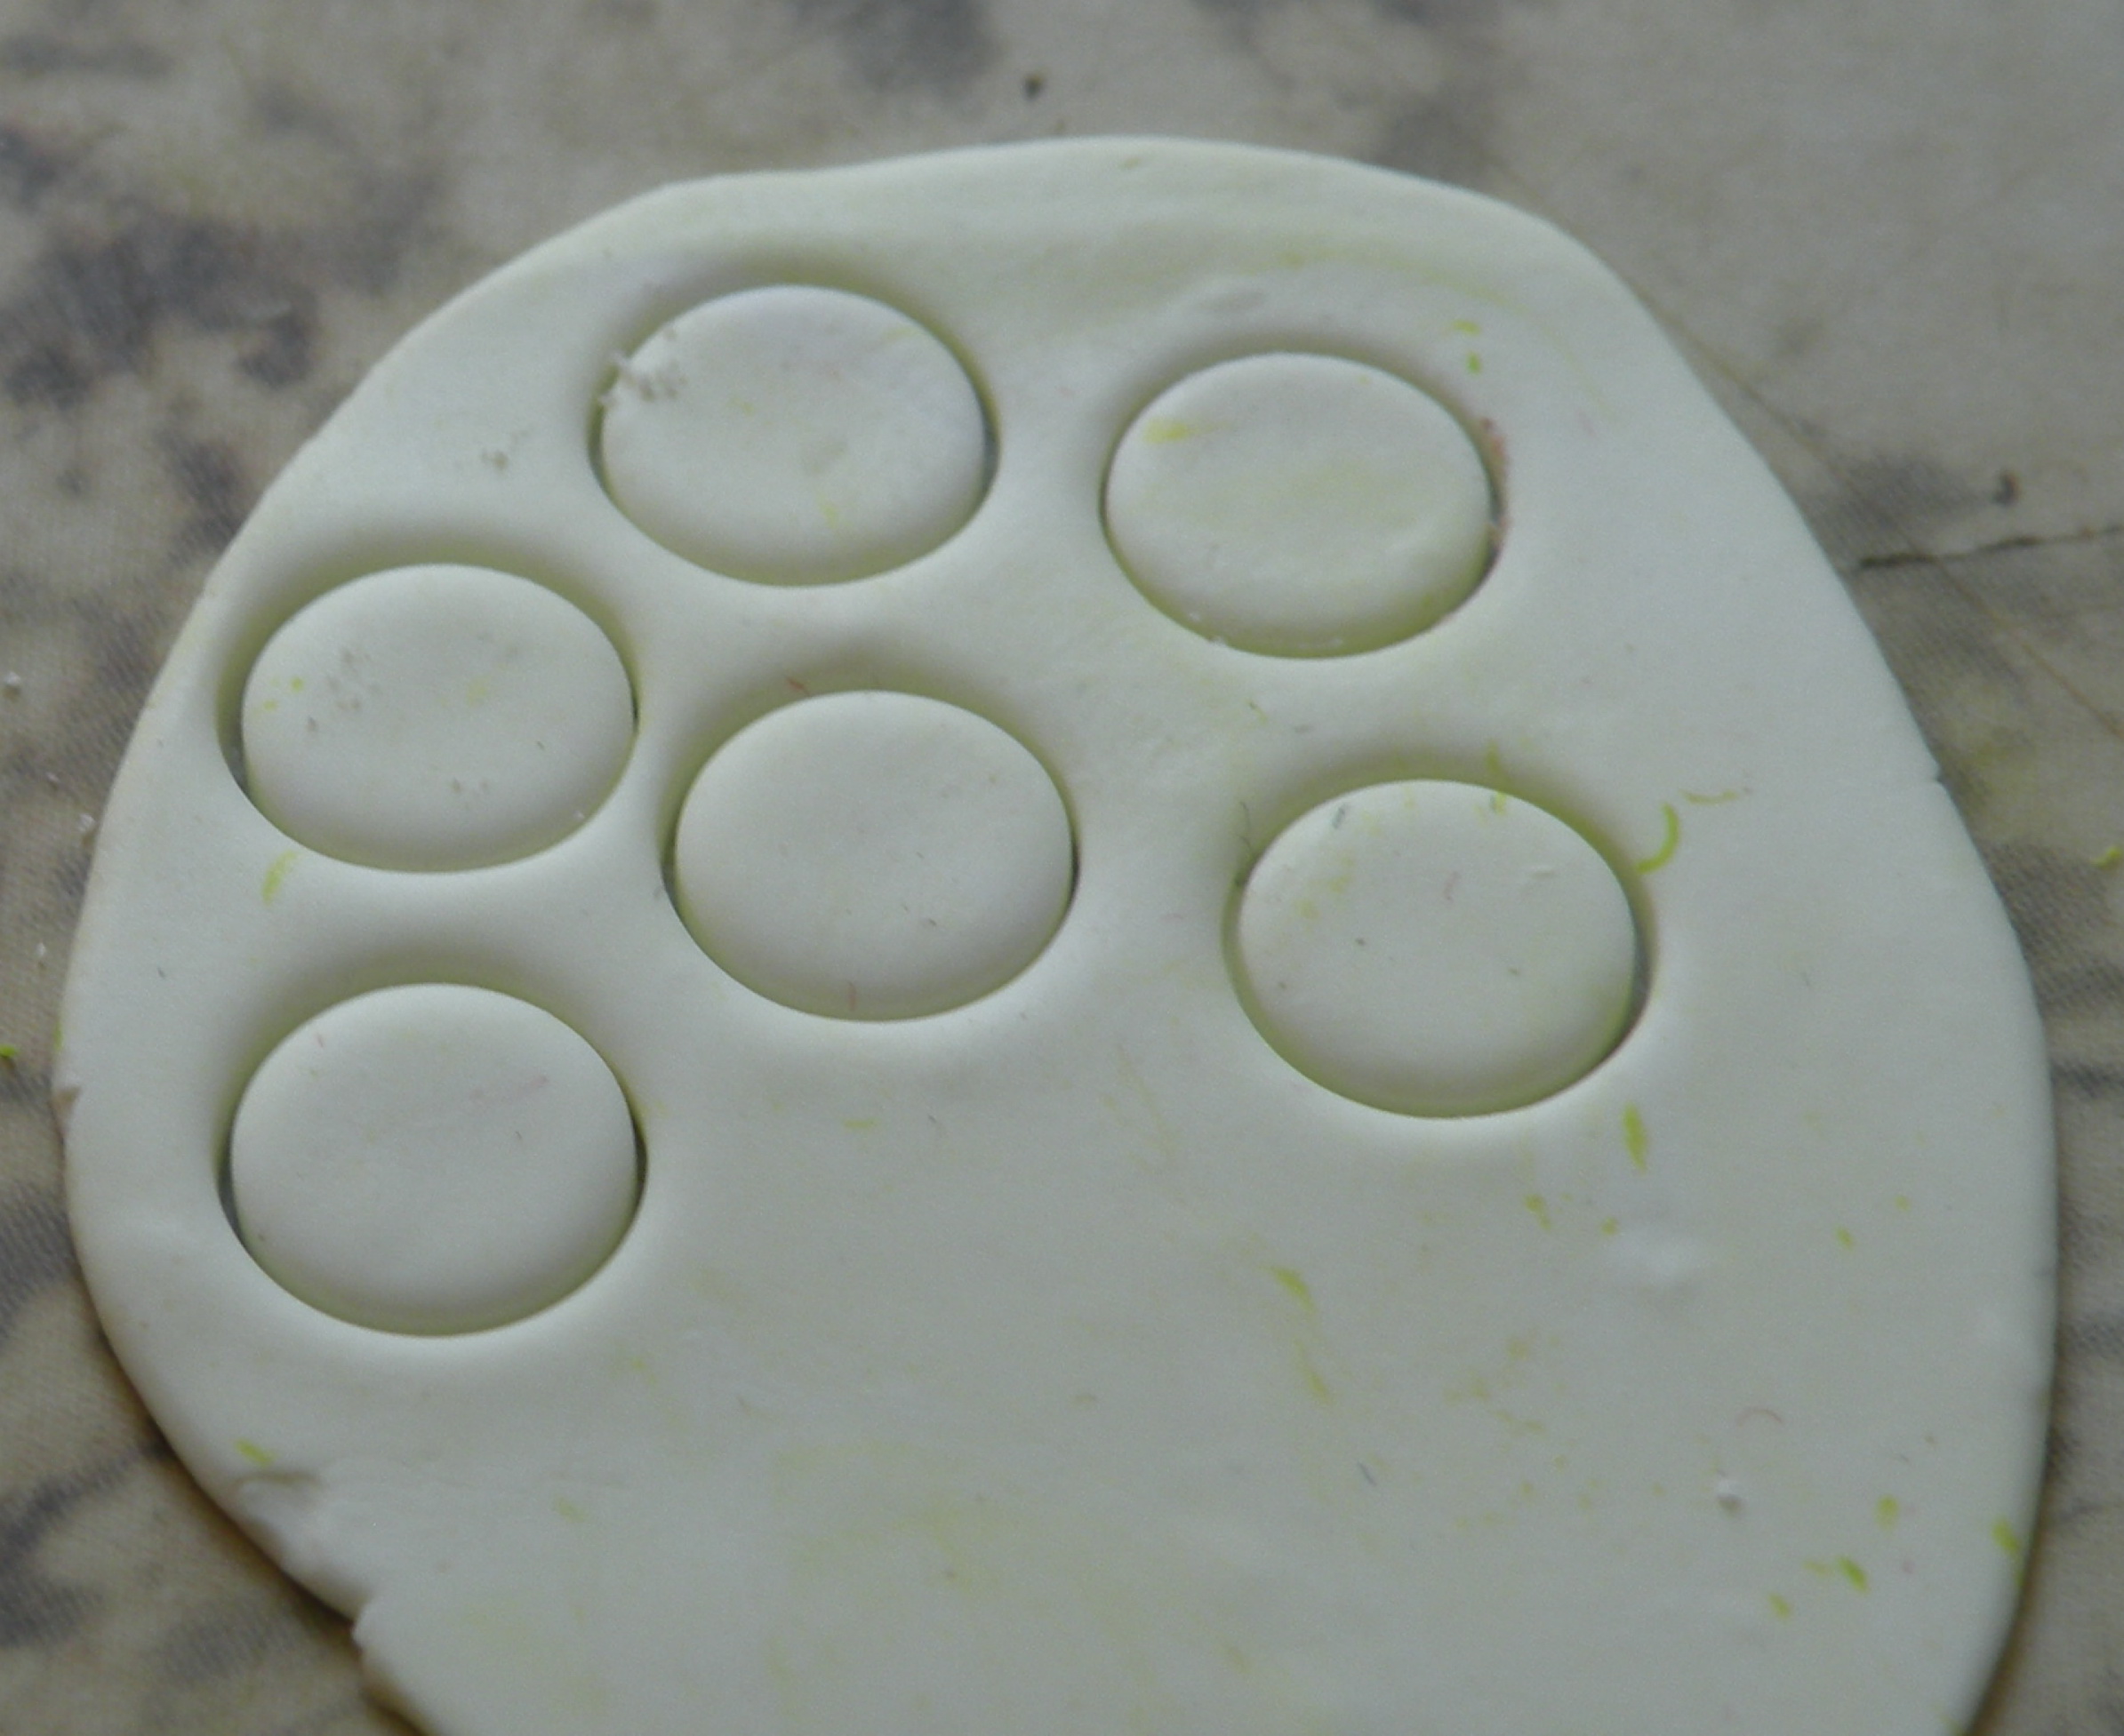
With your clay roller, roll the clay to a thickness of *about* 1/4". This does not have to be precise.
Using the same chalks you previously mixed, cover the entire top with a thin layer.
Flip it over so the chalk-covered side is on the bottom.
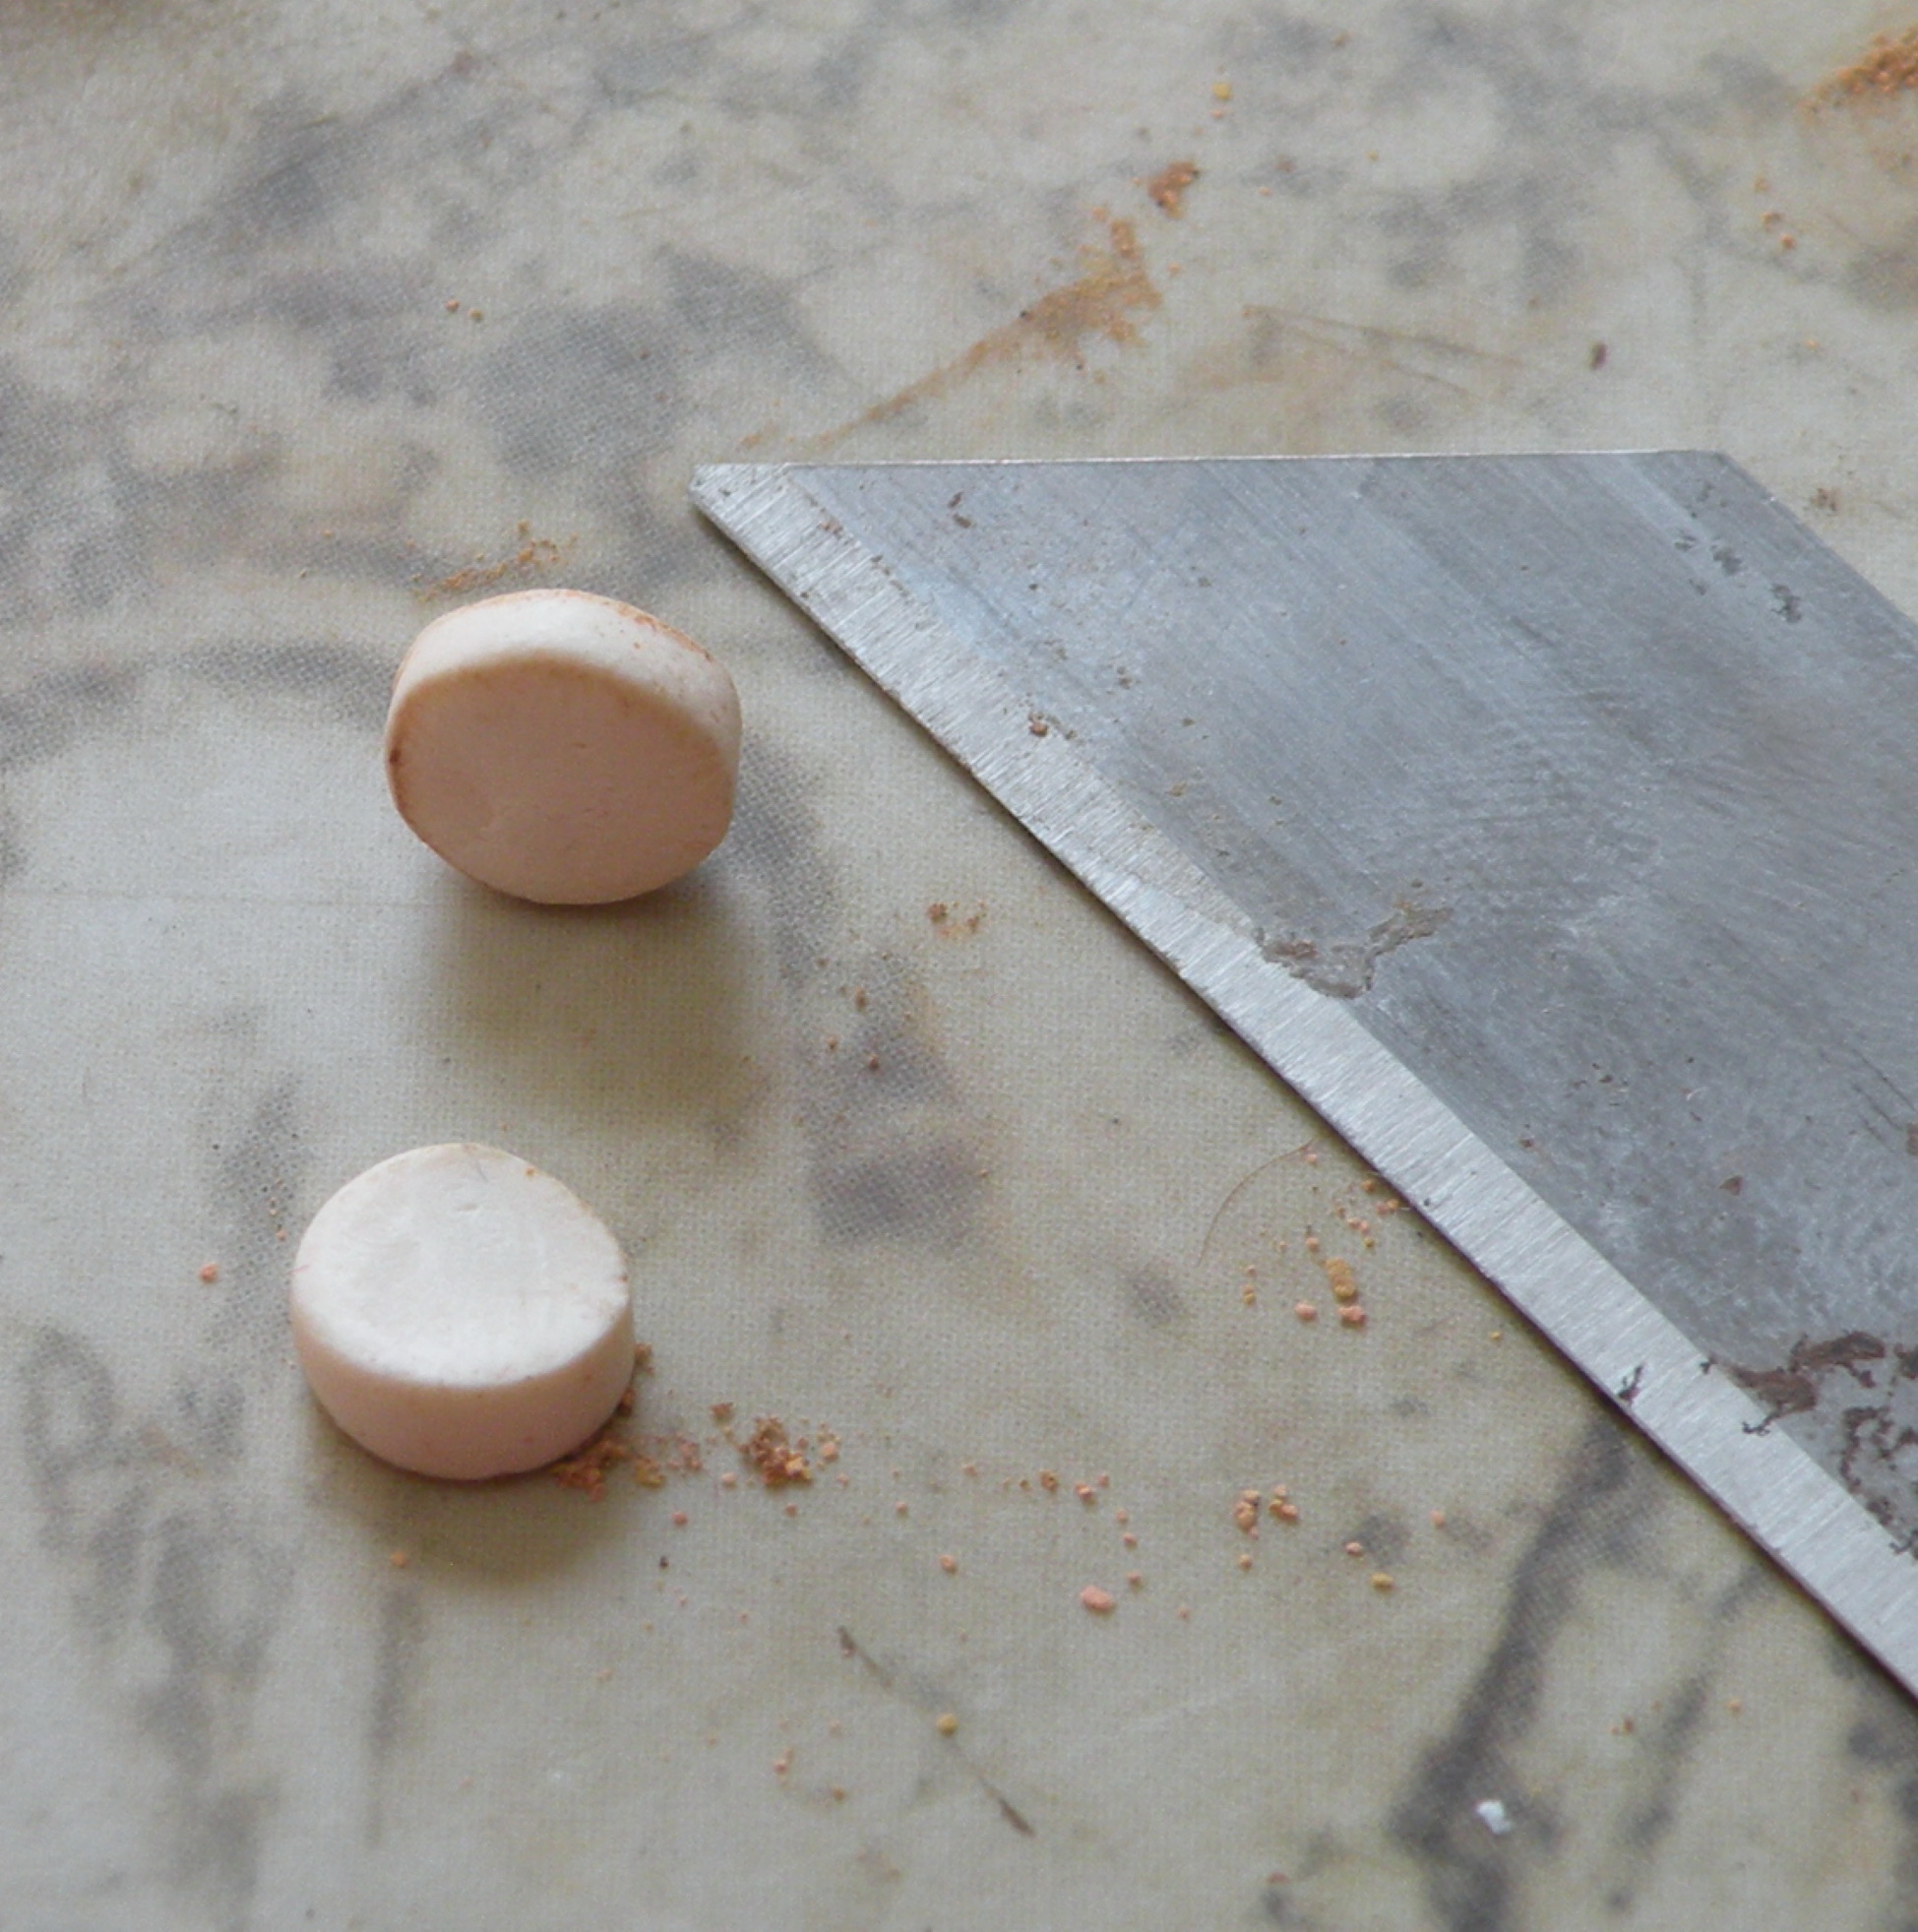
Use your cutter (or the straw) to cut out the biscuits.
Take each biscuit and gently-gently pinch down a bit on the edges, to give it a biscuit shape.
Real biscuits vary in shape, so don't stress on getting this perfect!
Set several onto the foil-covered cookie sheet to bake as biscuits.
Set some aside to use in the Strawberry Shortcake and the Hamburger.
Hamburger
black and terracotta, yellow
white, translucent, green, red clays
Take your remaining biscuits, and gently cut one in half.

Take a small lump of black clay and a large (walnut-sized) lump of terracotta, and
mix them together as previously described. This is for the actual hamburger patty,
so mix to your taste in color.
Shape your patty, and place it on the lower half of the biscuit you previously cut in half.
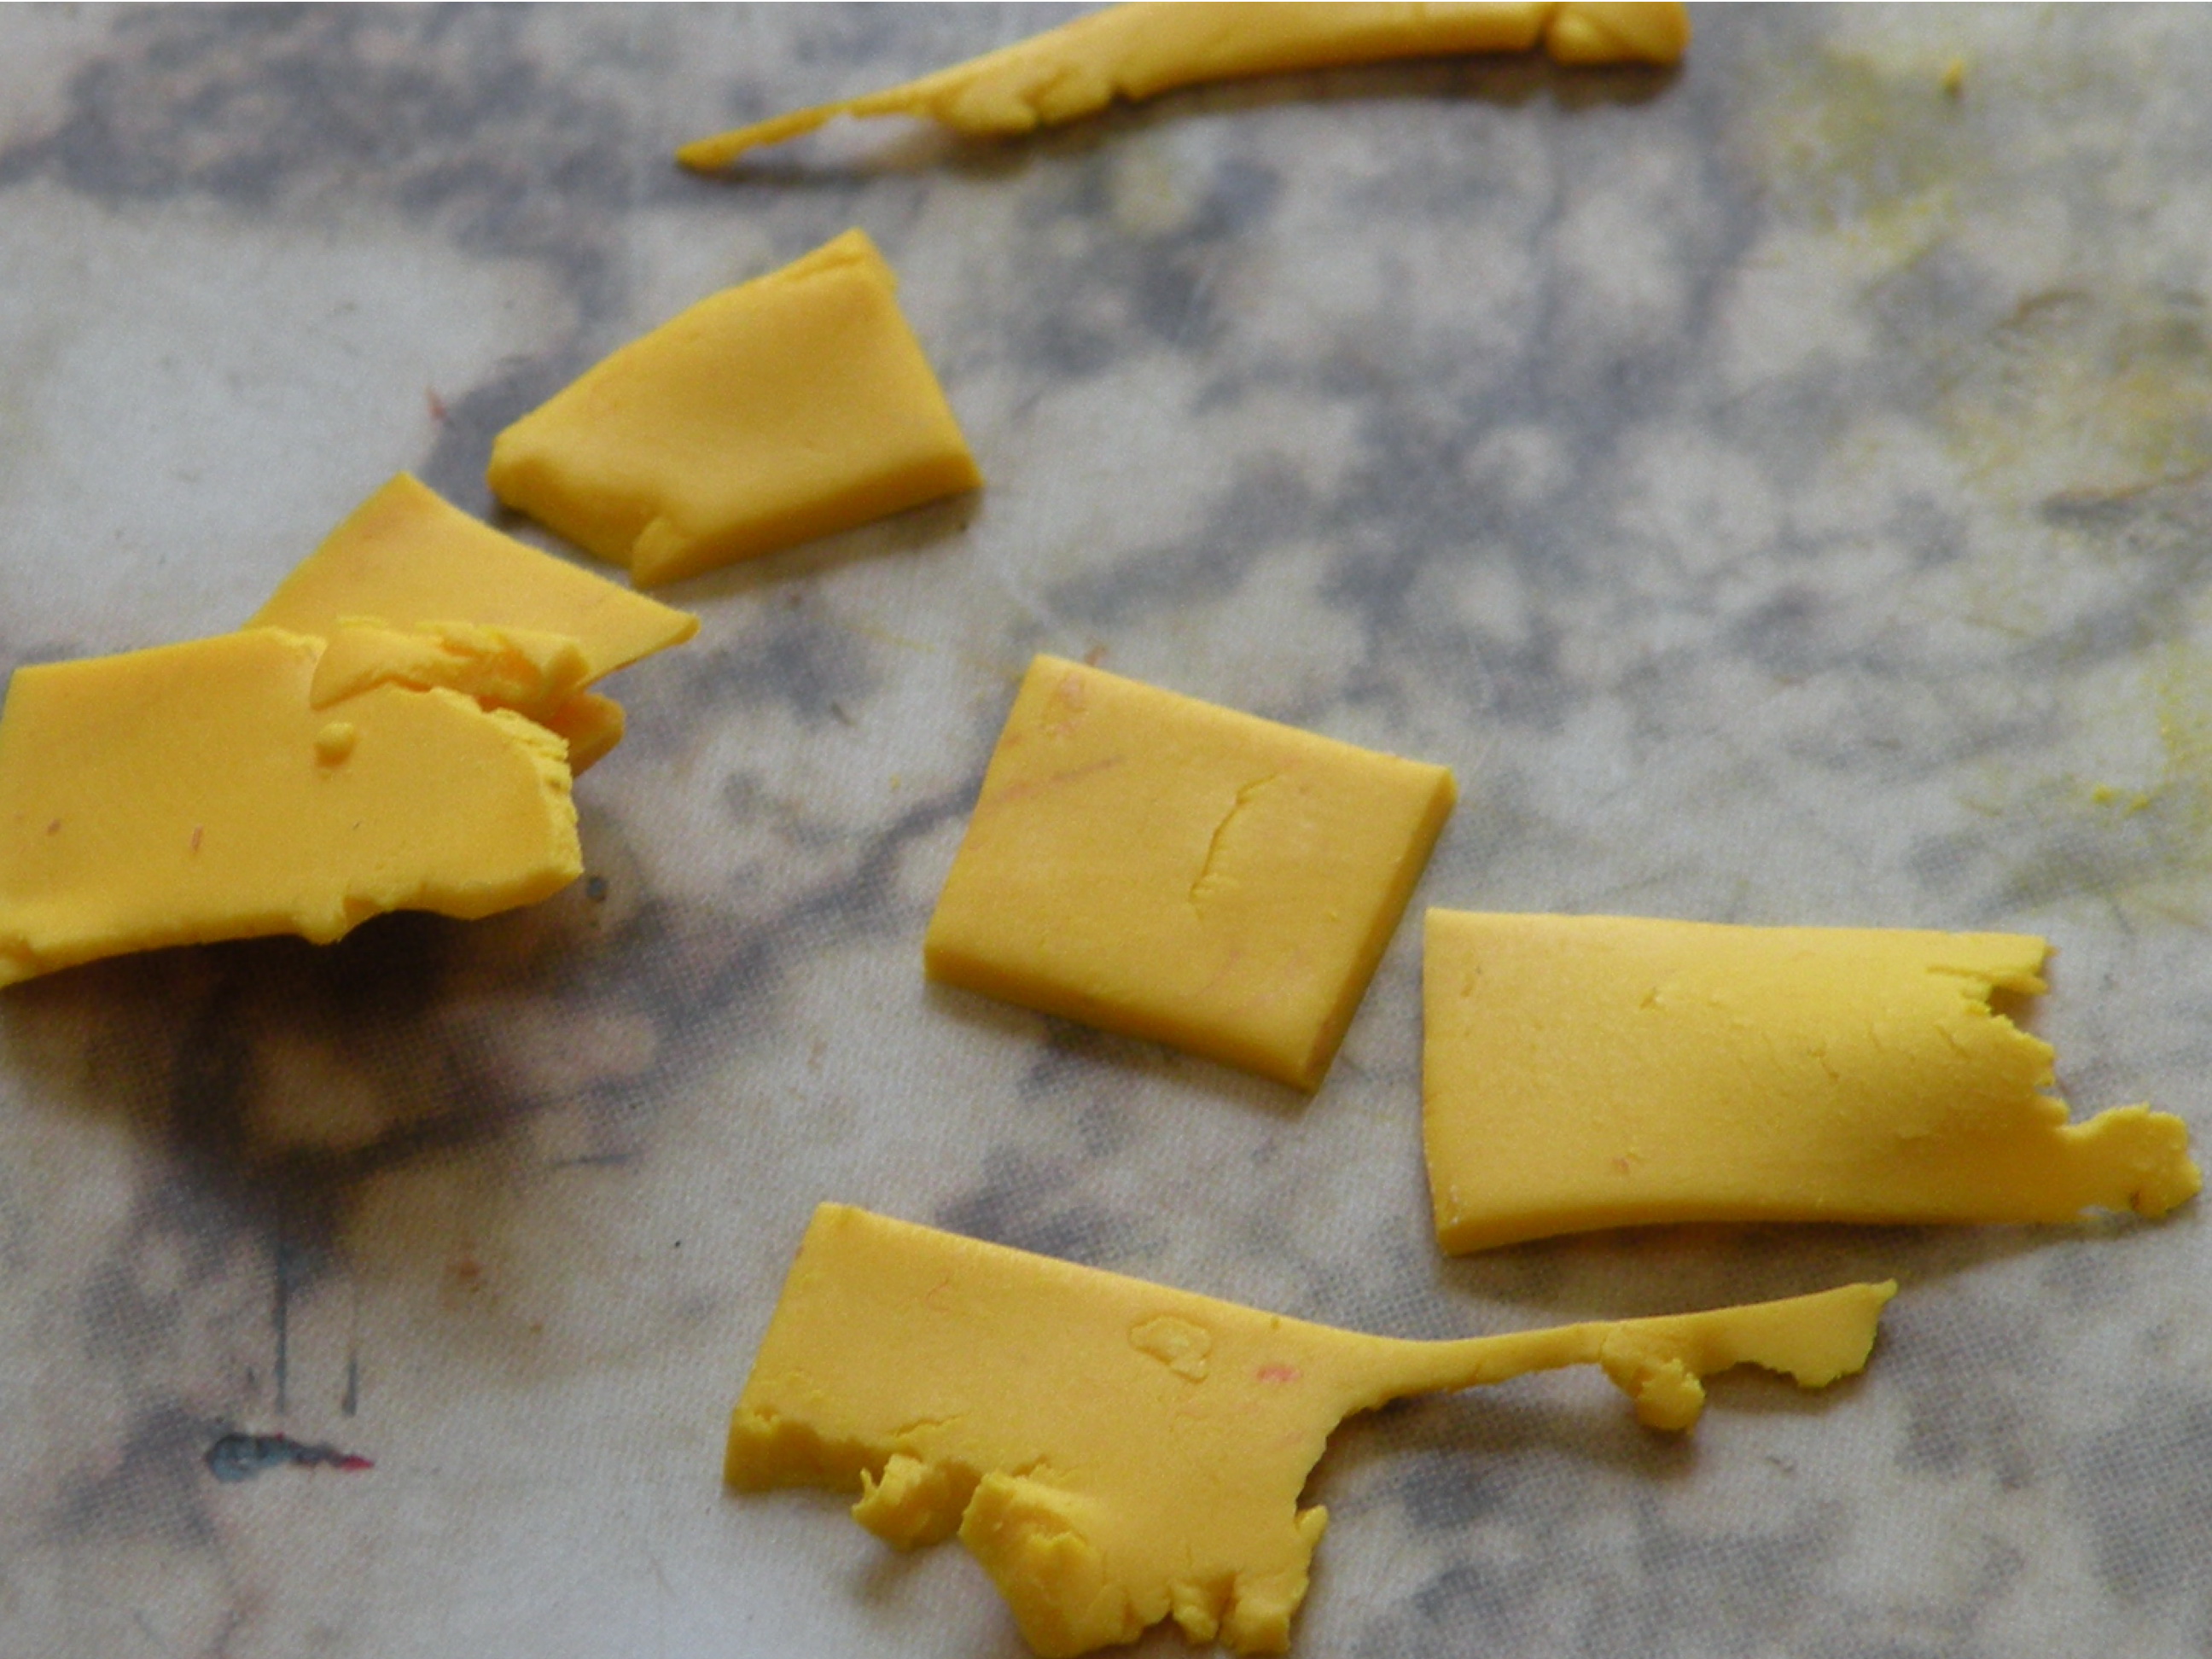

Take any yellow, roll very thin, and cut out a square of cheese. Place on the patty.
I see there is a tear in my cheese, but since this won't show, I will ignore it. :)
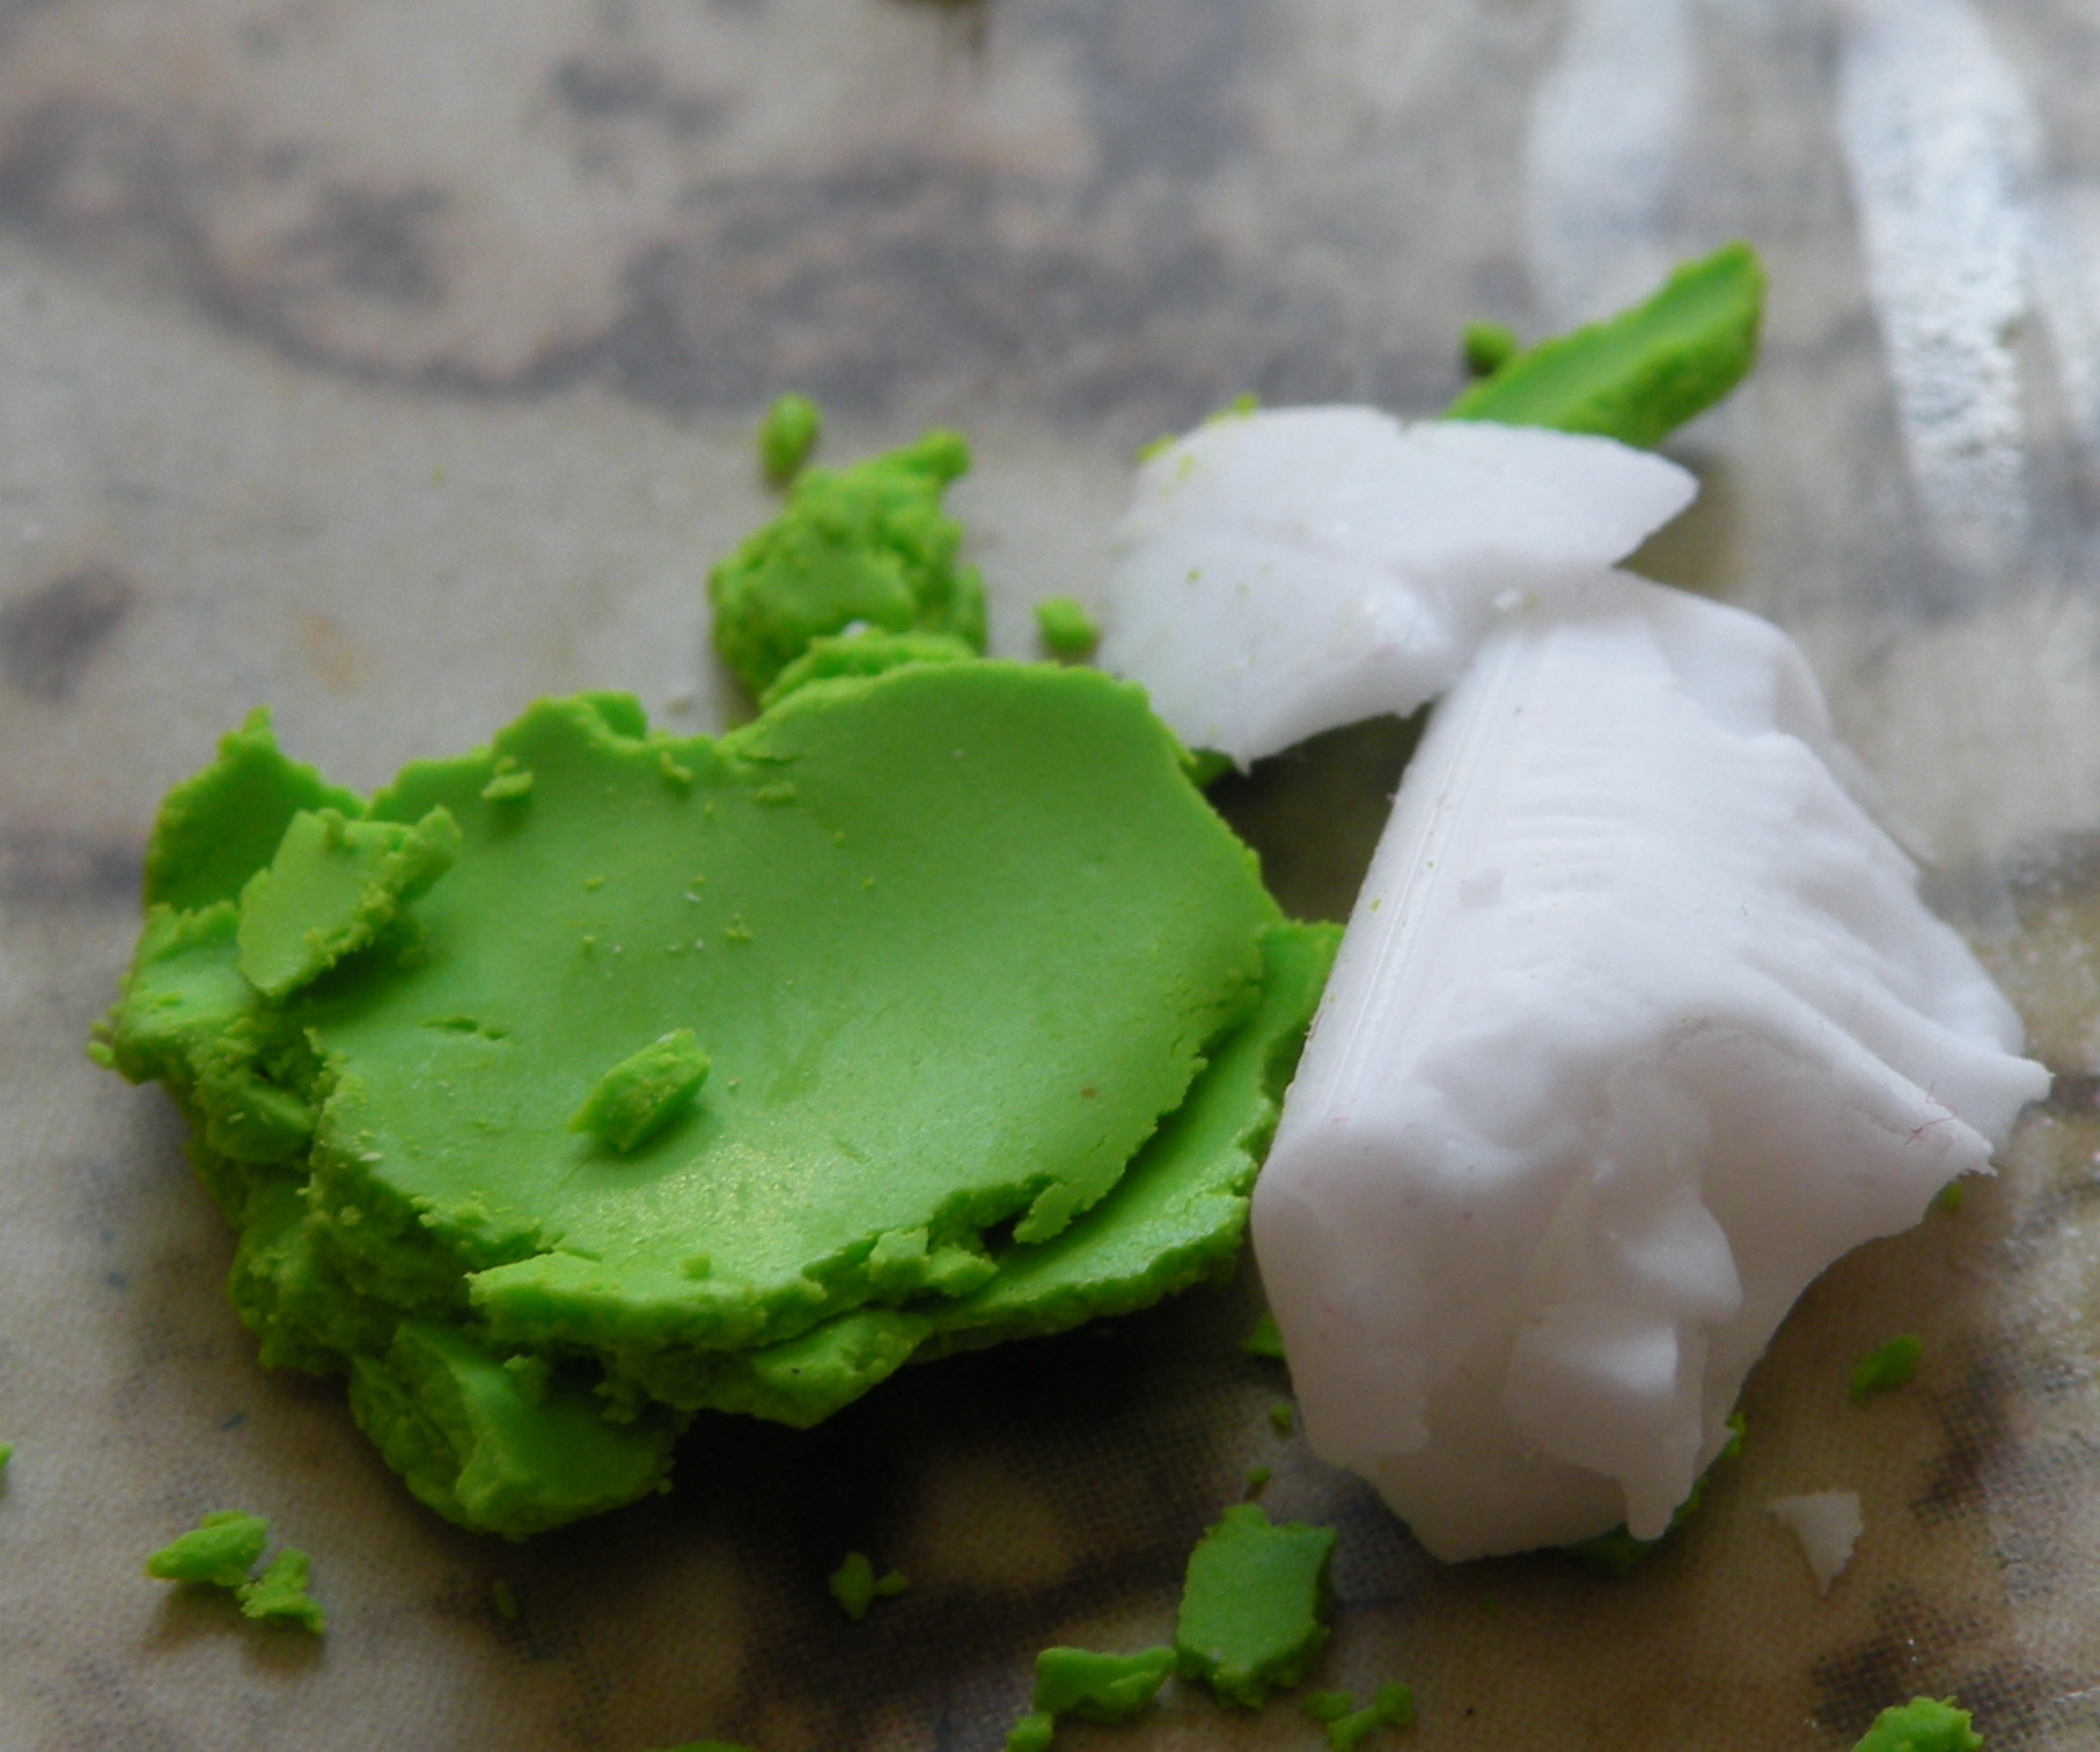
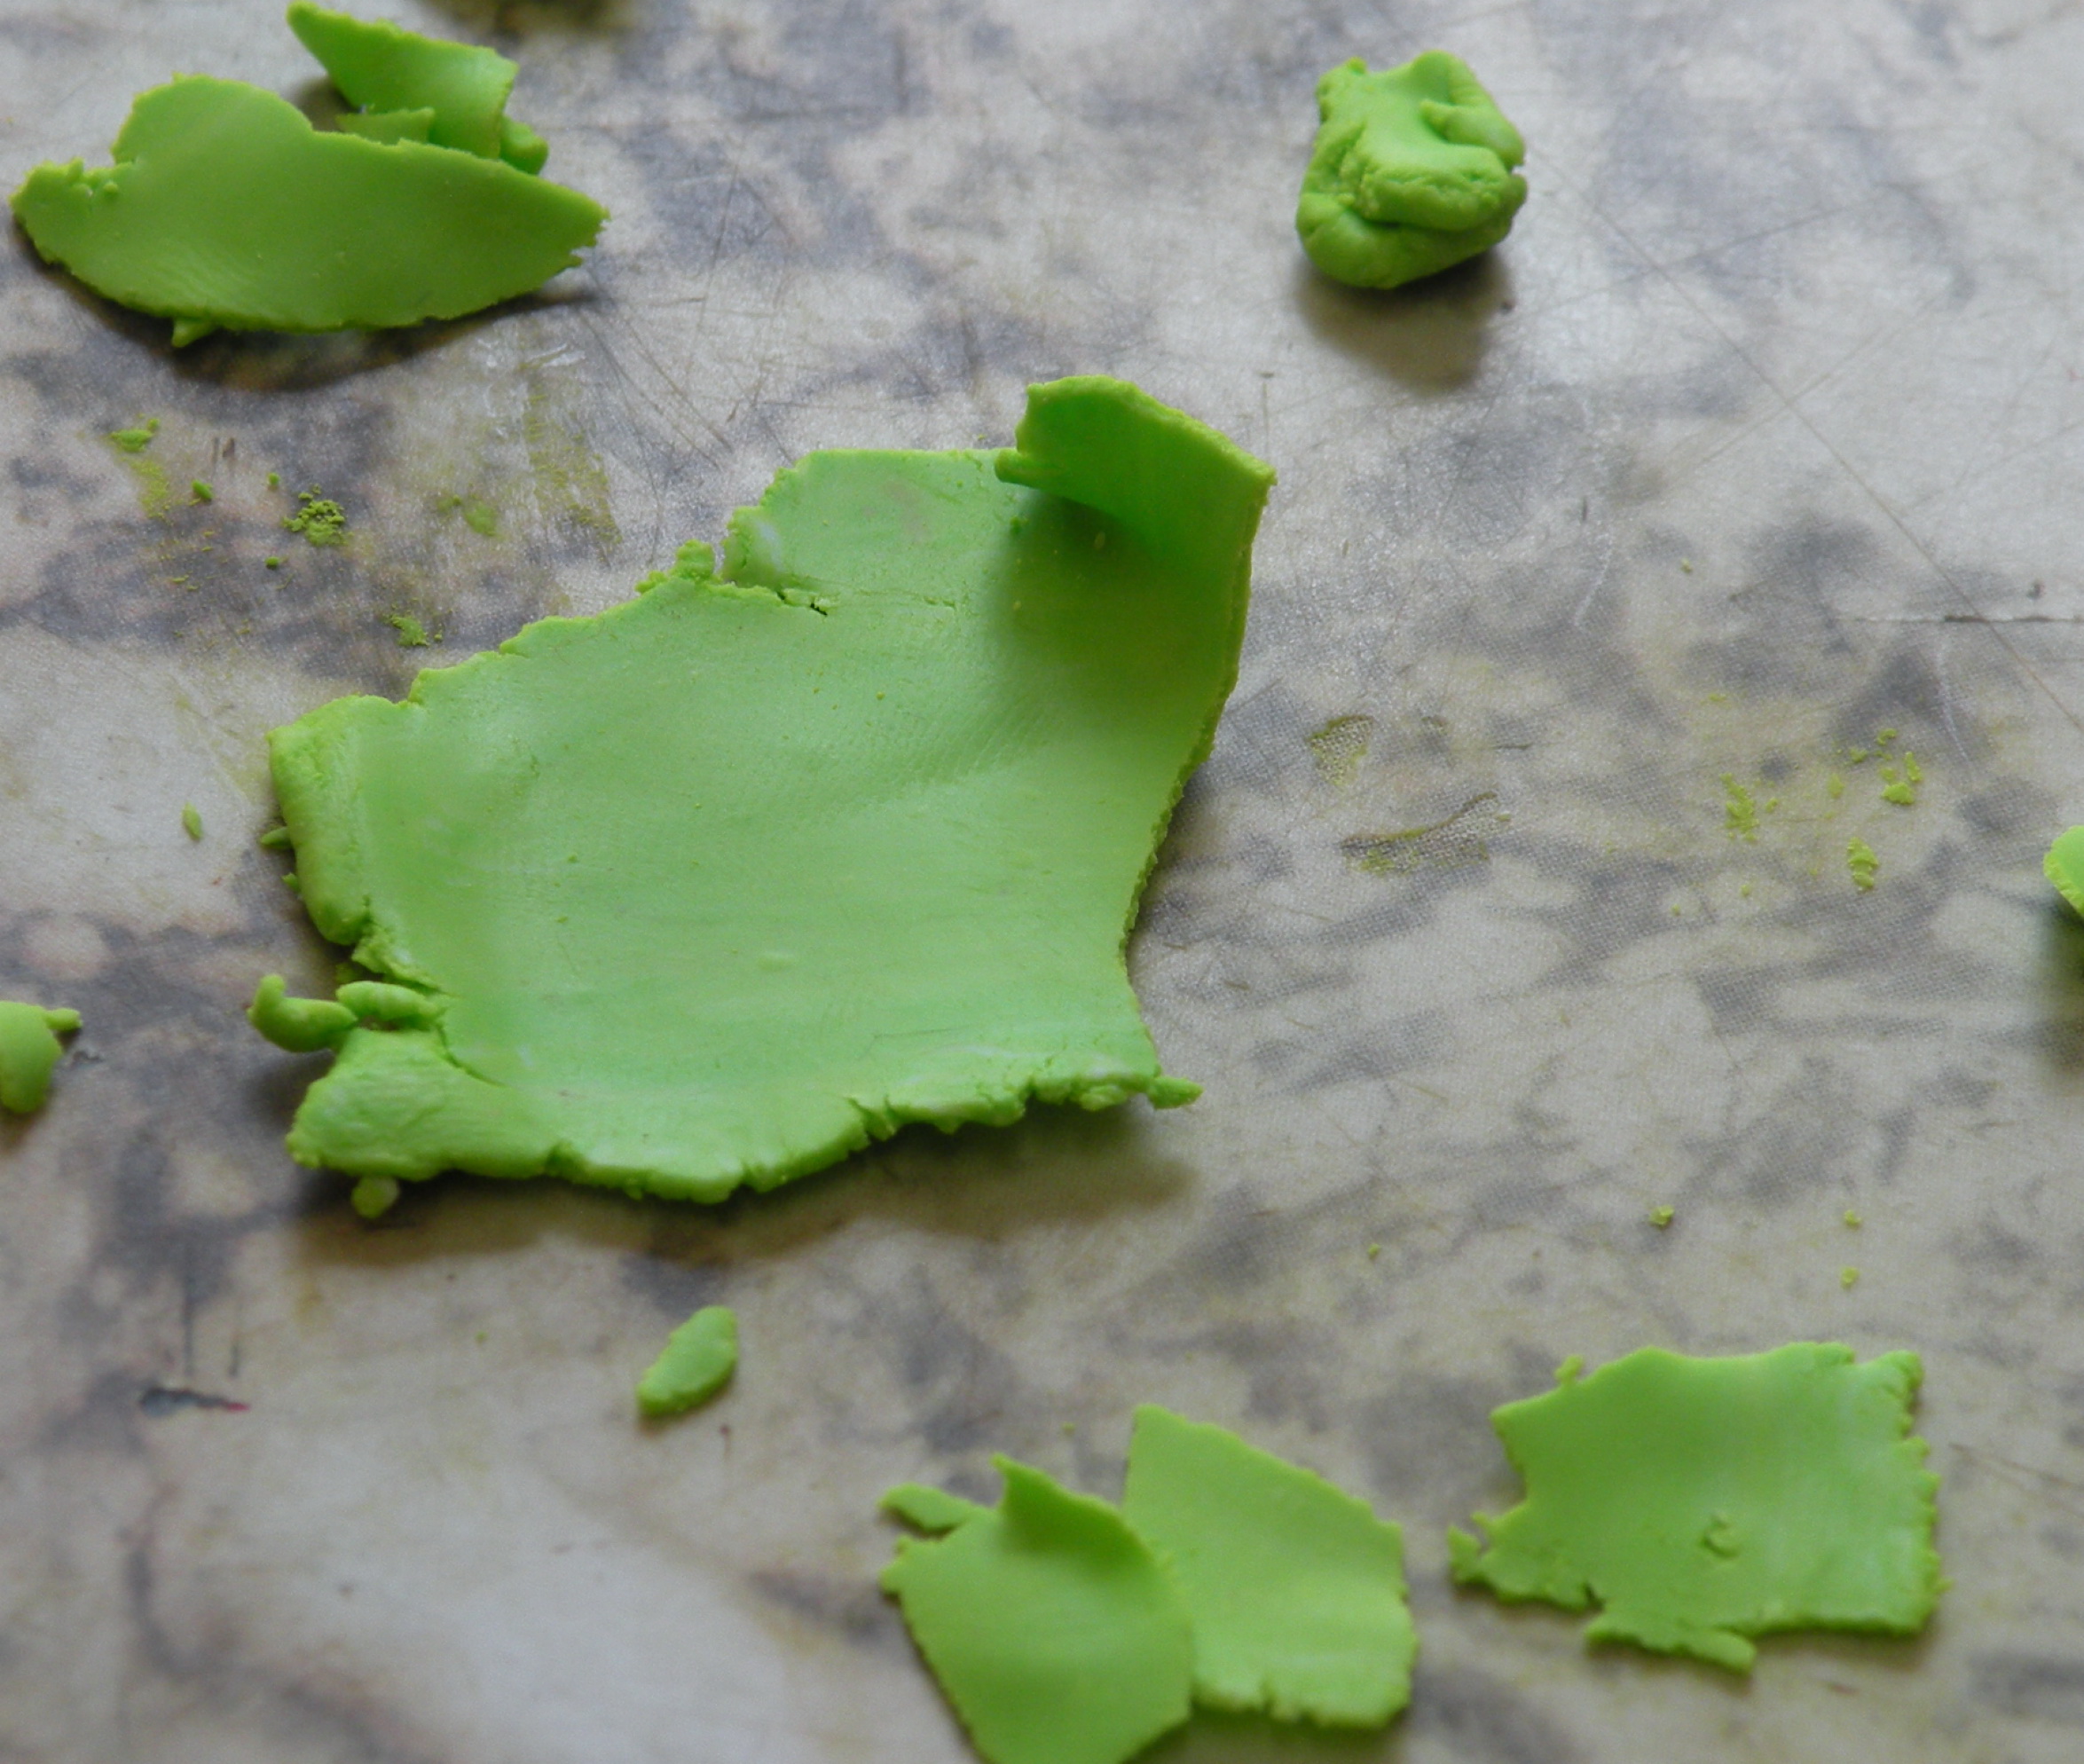
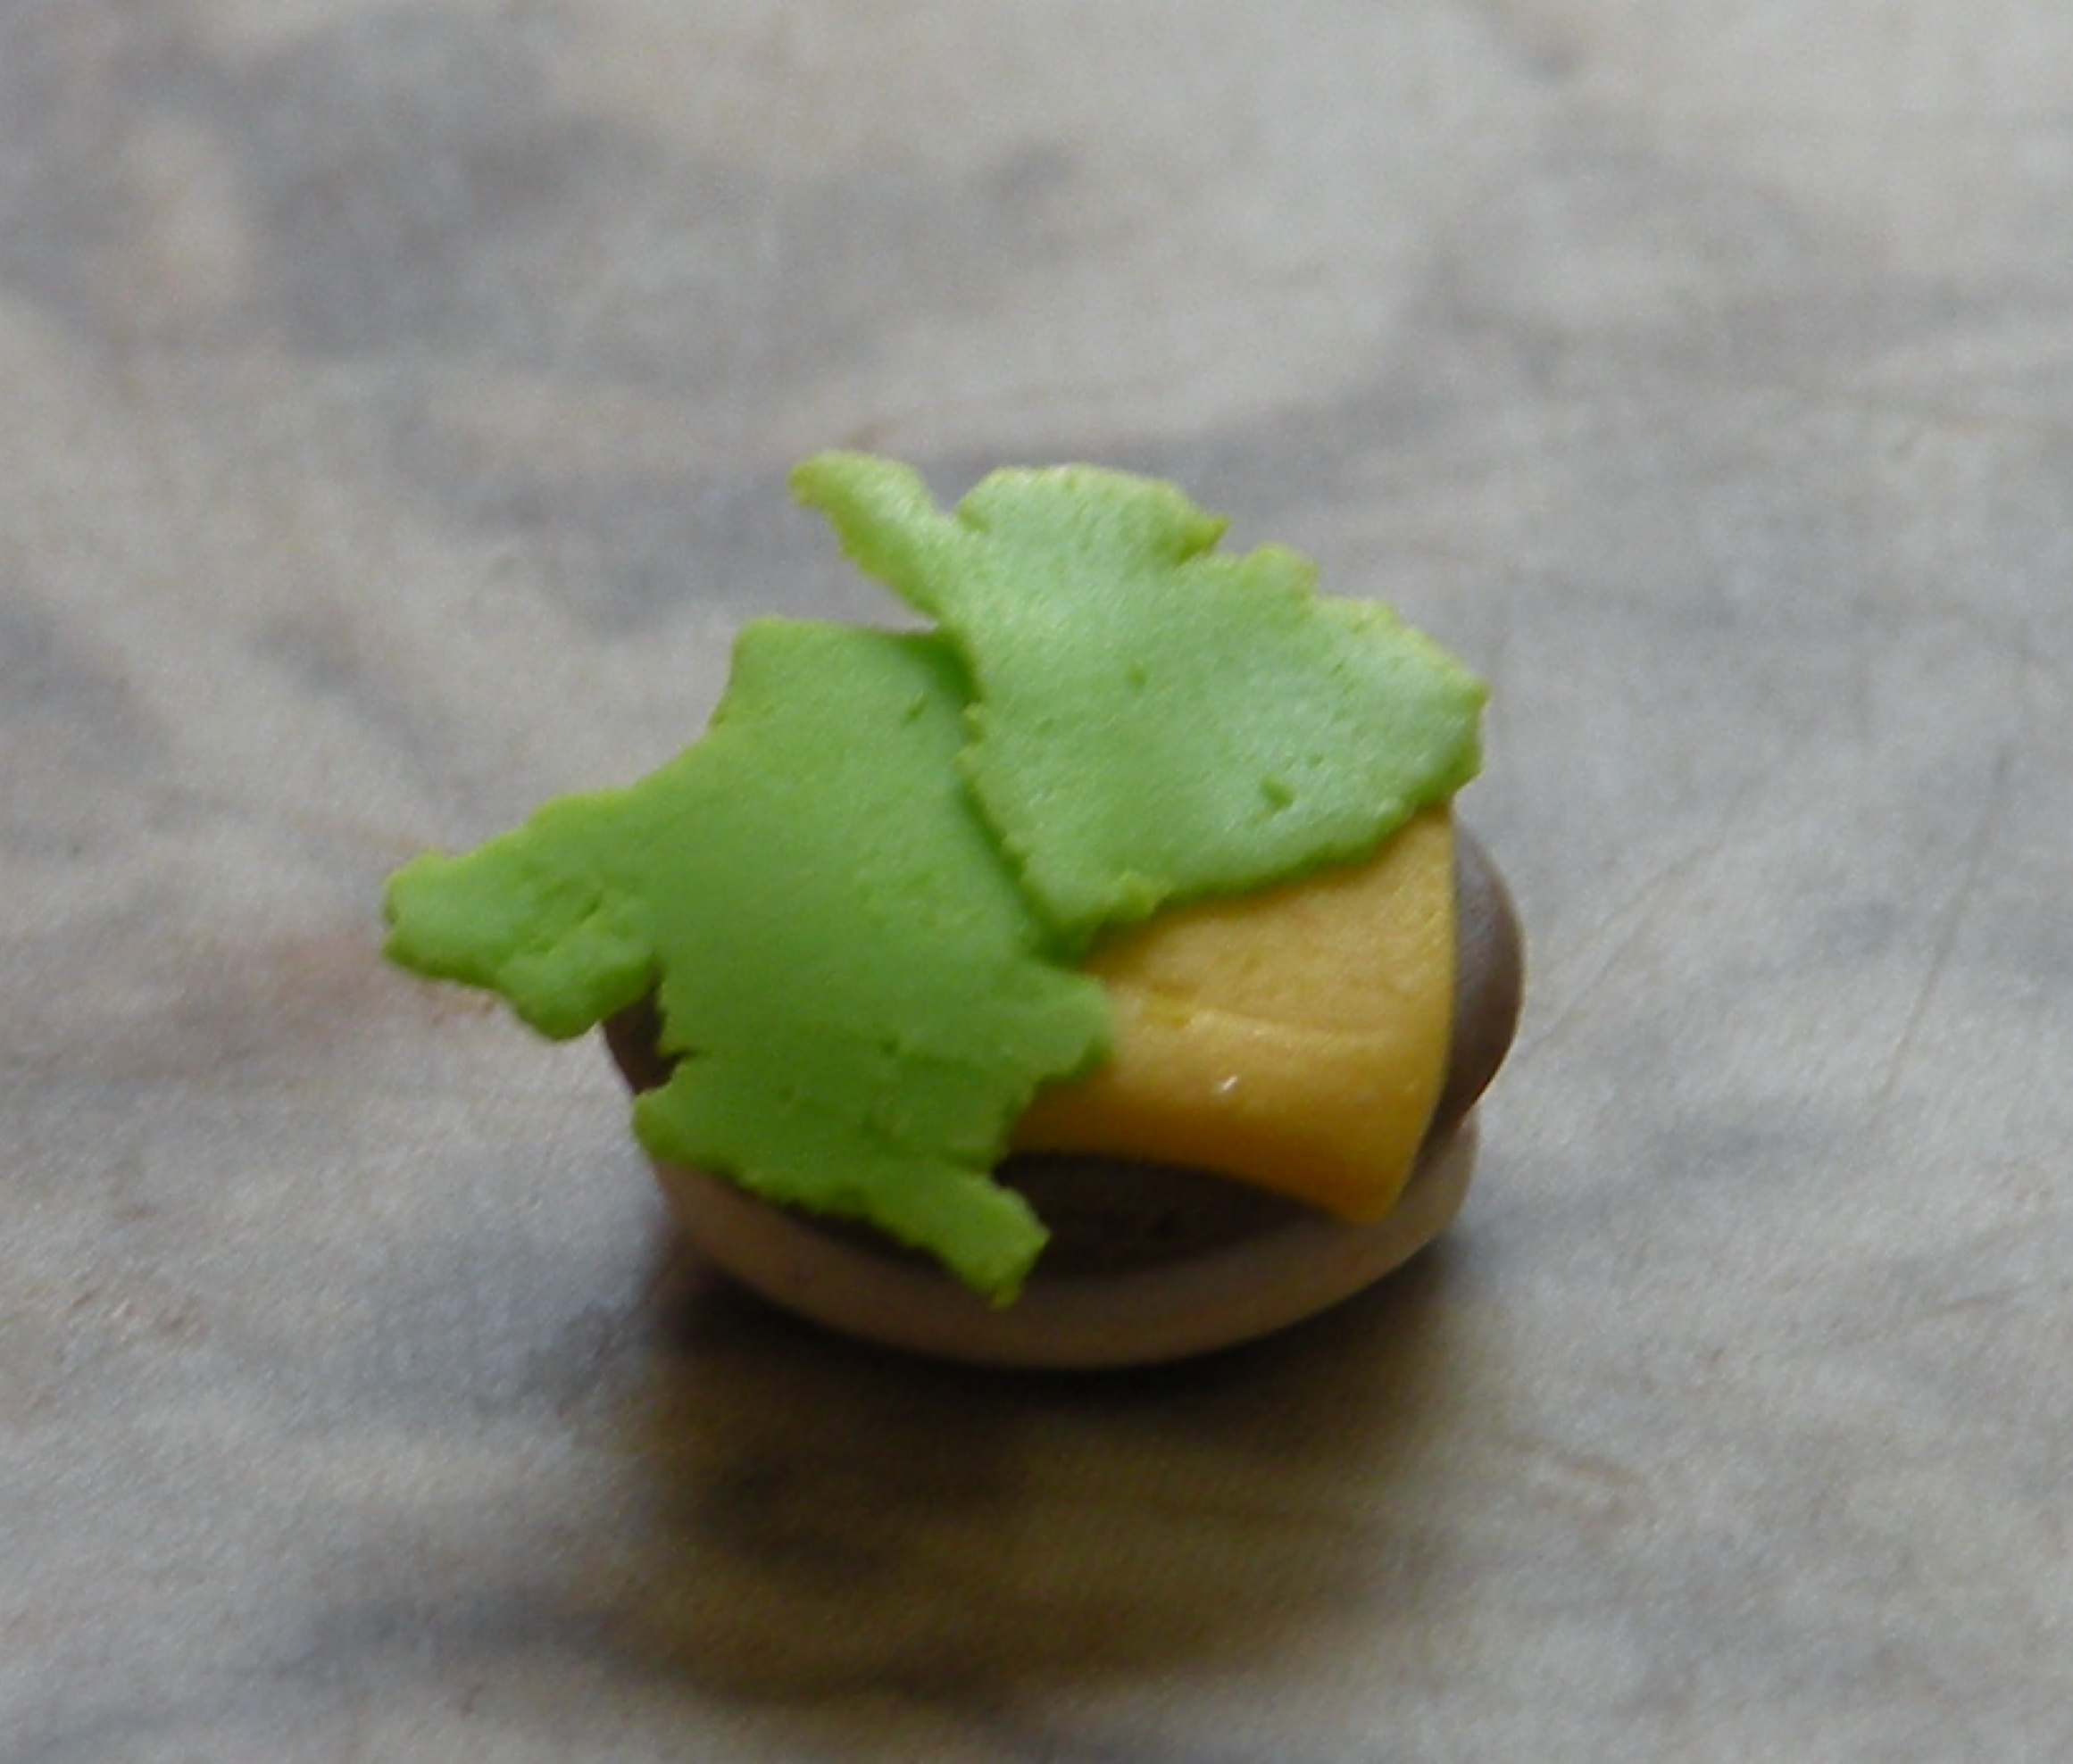
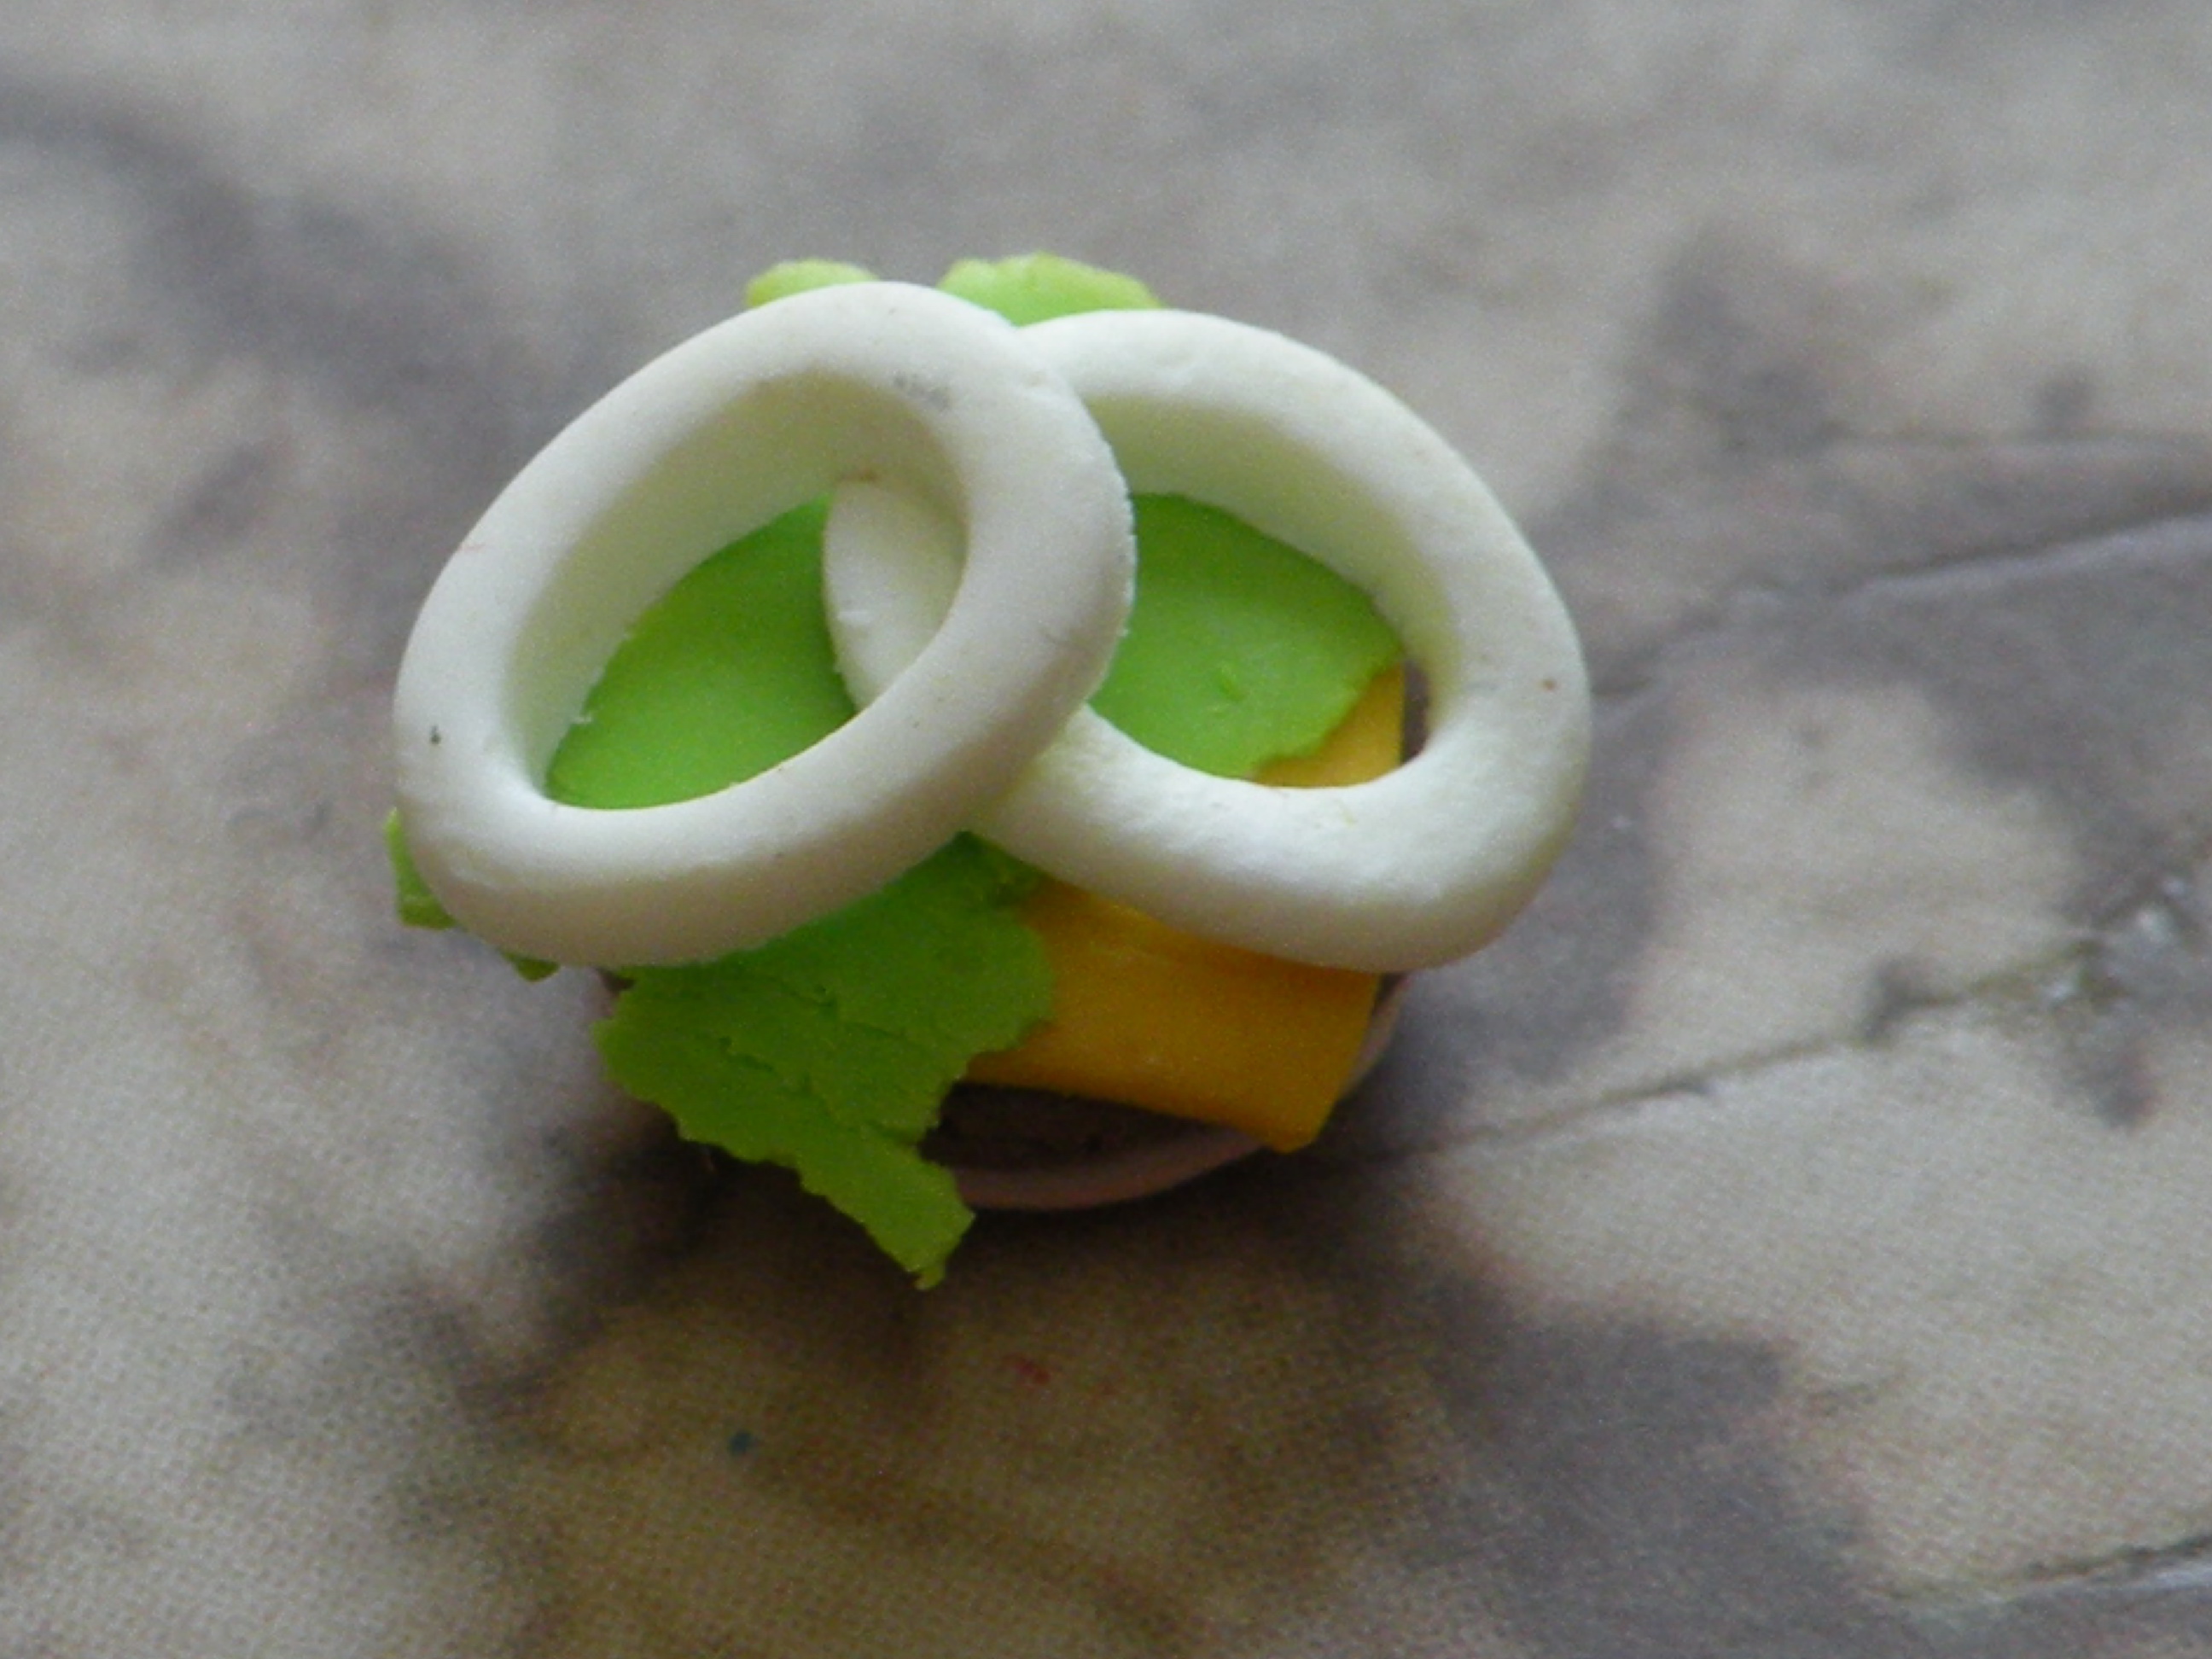
Take the lettuce green clay and a *same size* lump of translucent, and mix as described above.
Roll very thin, and tear off pieces, making sure you have a raggedy edge.
Place pieces on your burger.
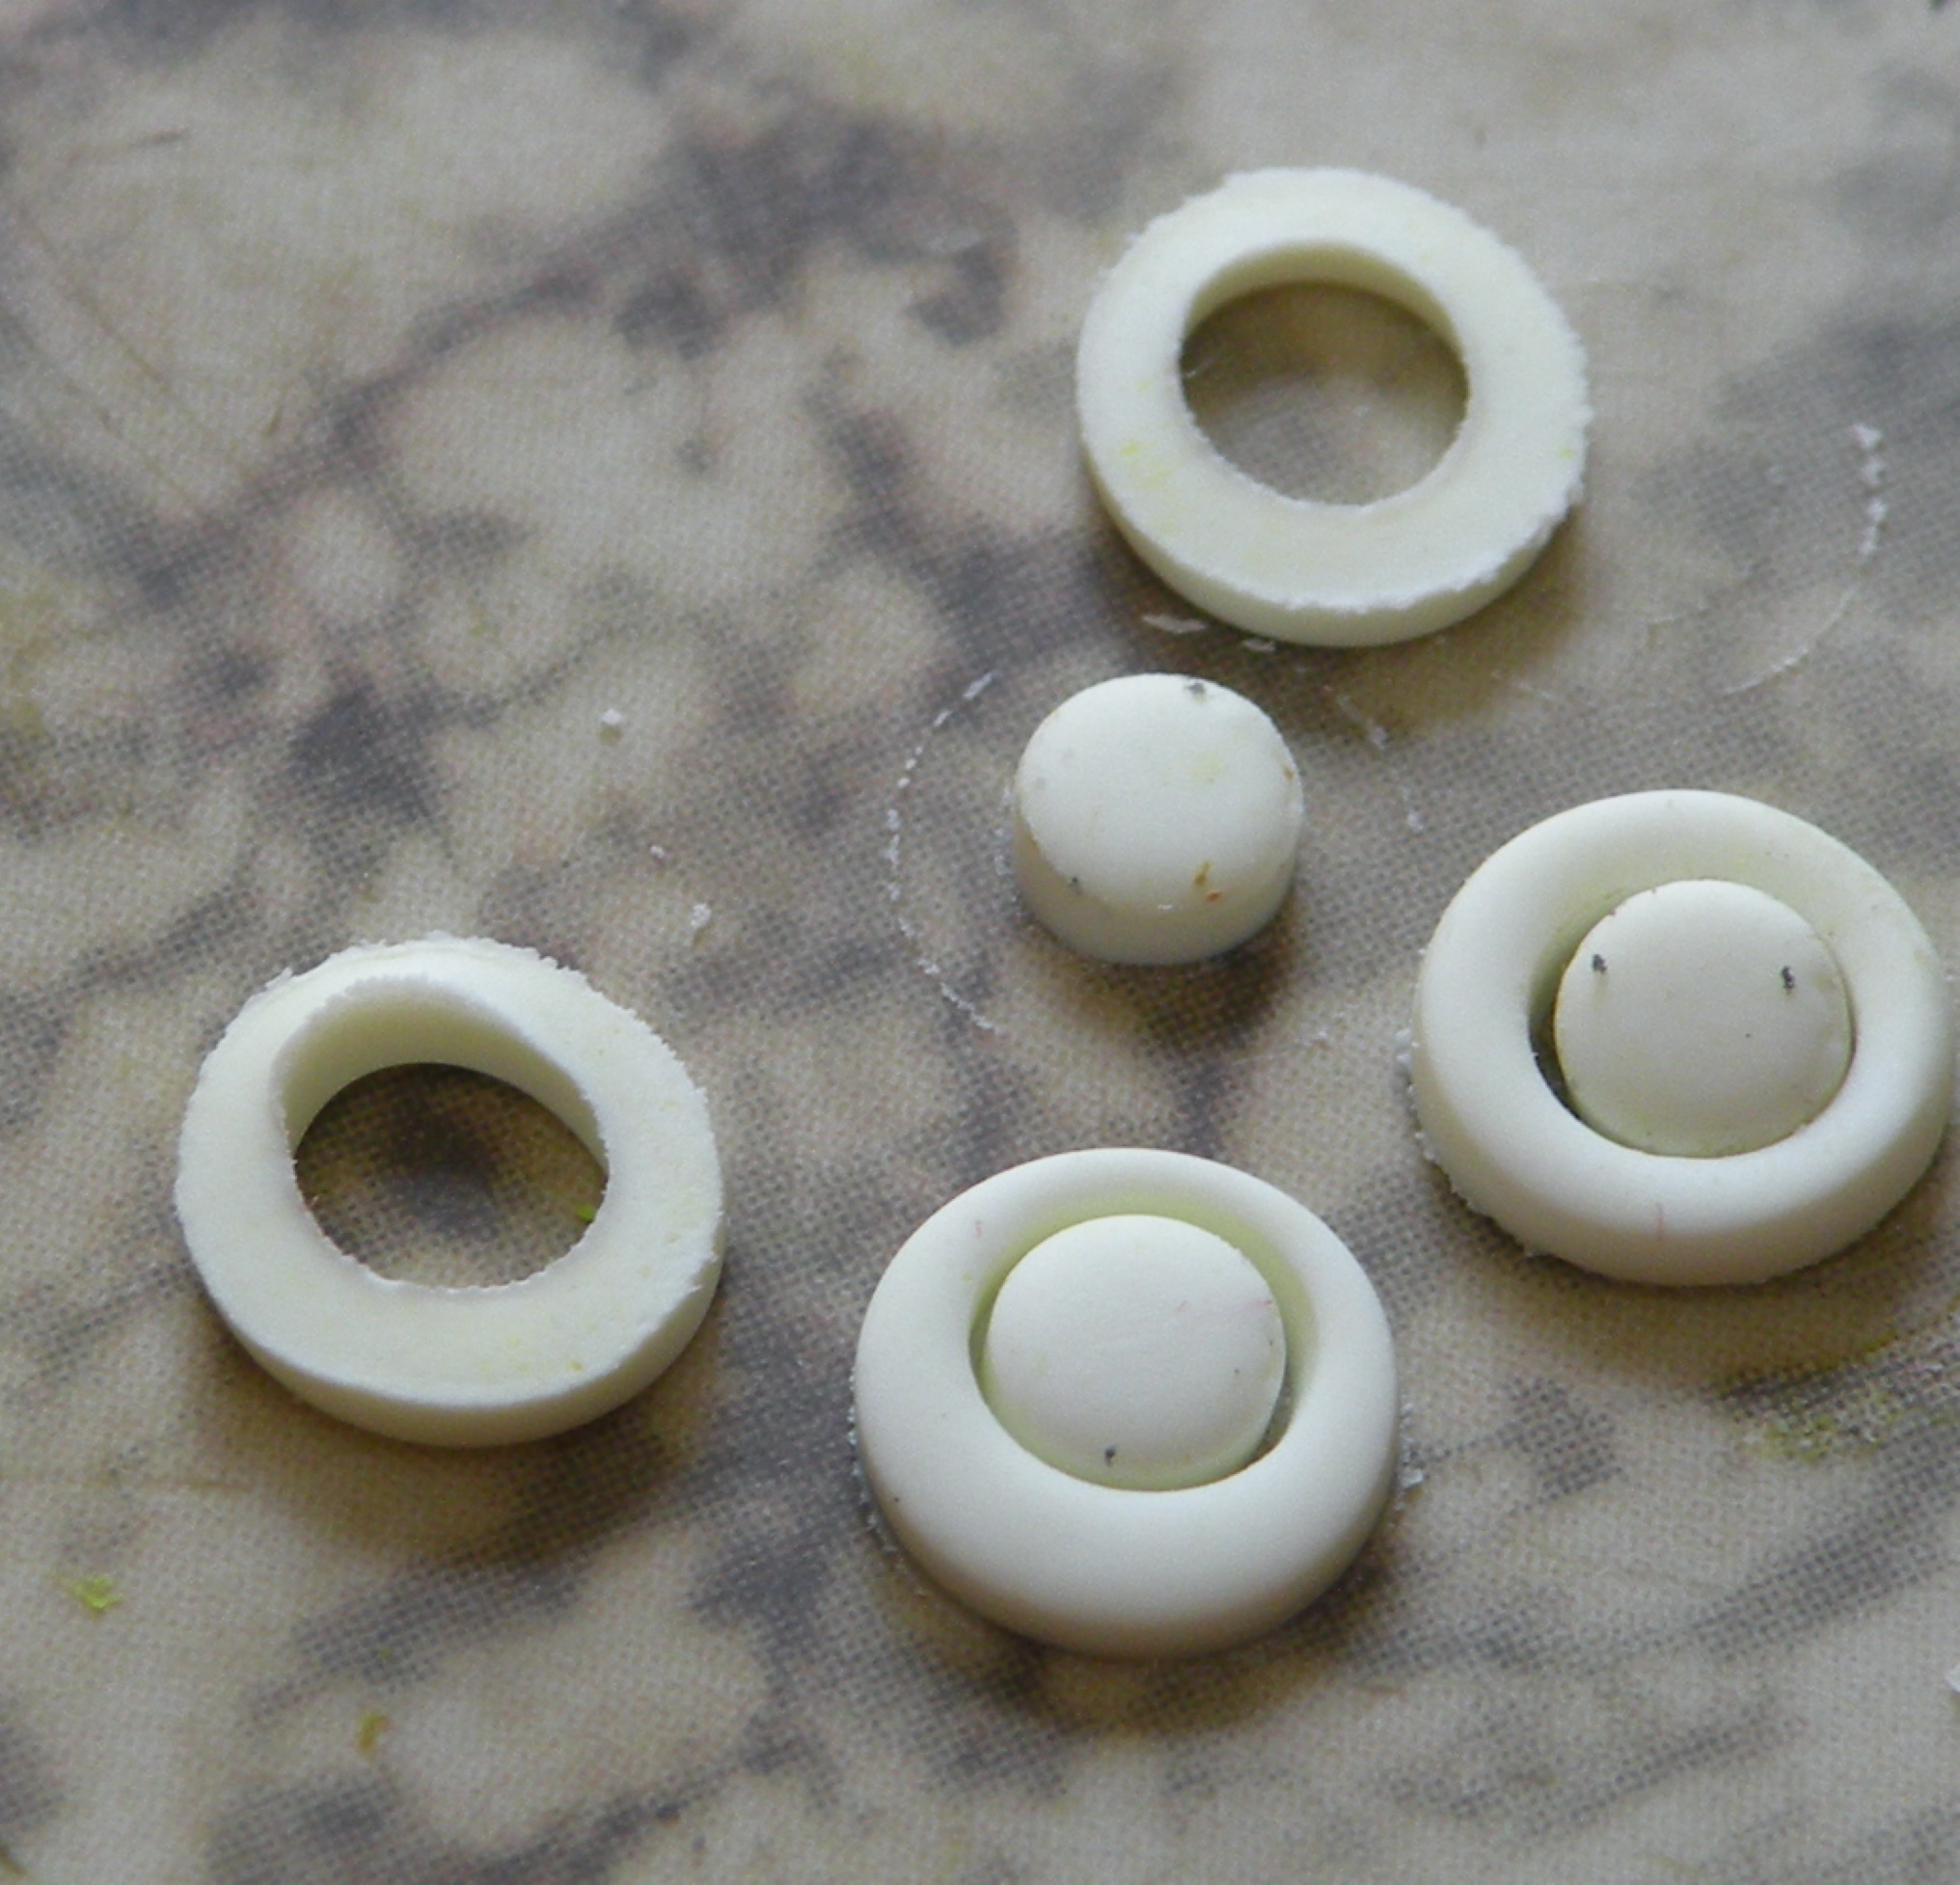
For a few slices of onion, take a large(ish) lump of white, and translucent and green as shown above.
Roll very thin. Using your cutter, cut out several circle. Take the straw and cut out the centers.
These above in the picture look very large, but in RL they are small and oniony.
Place on burger.
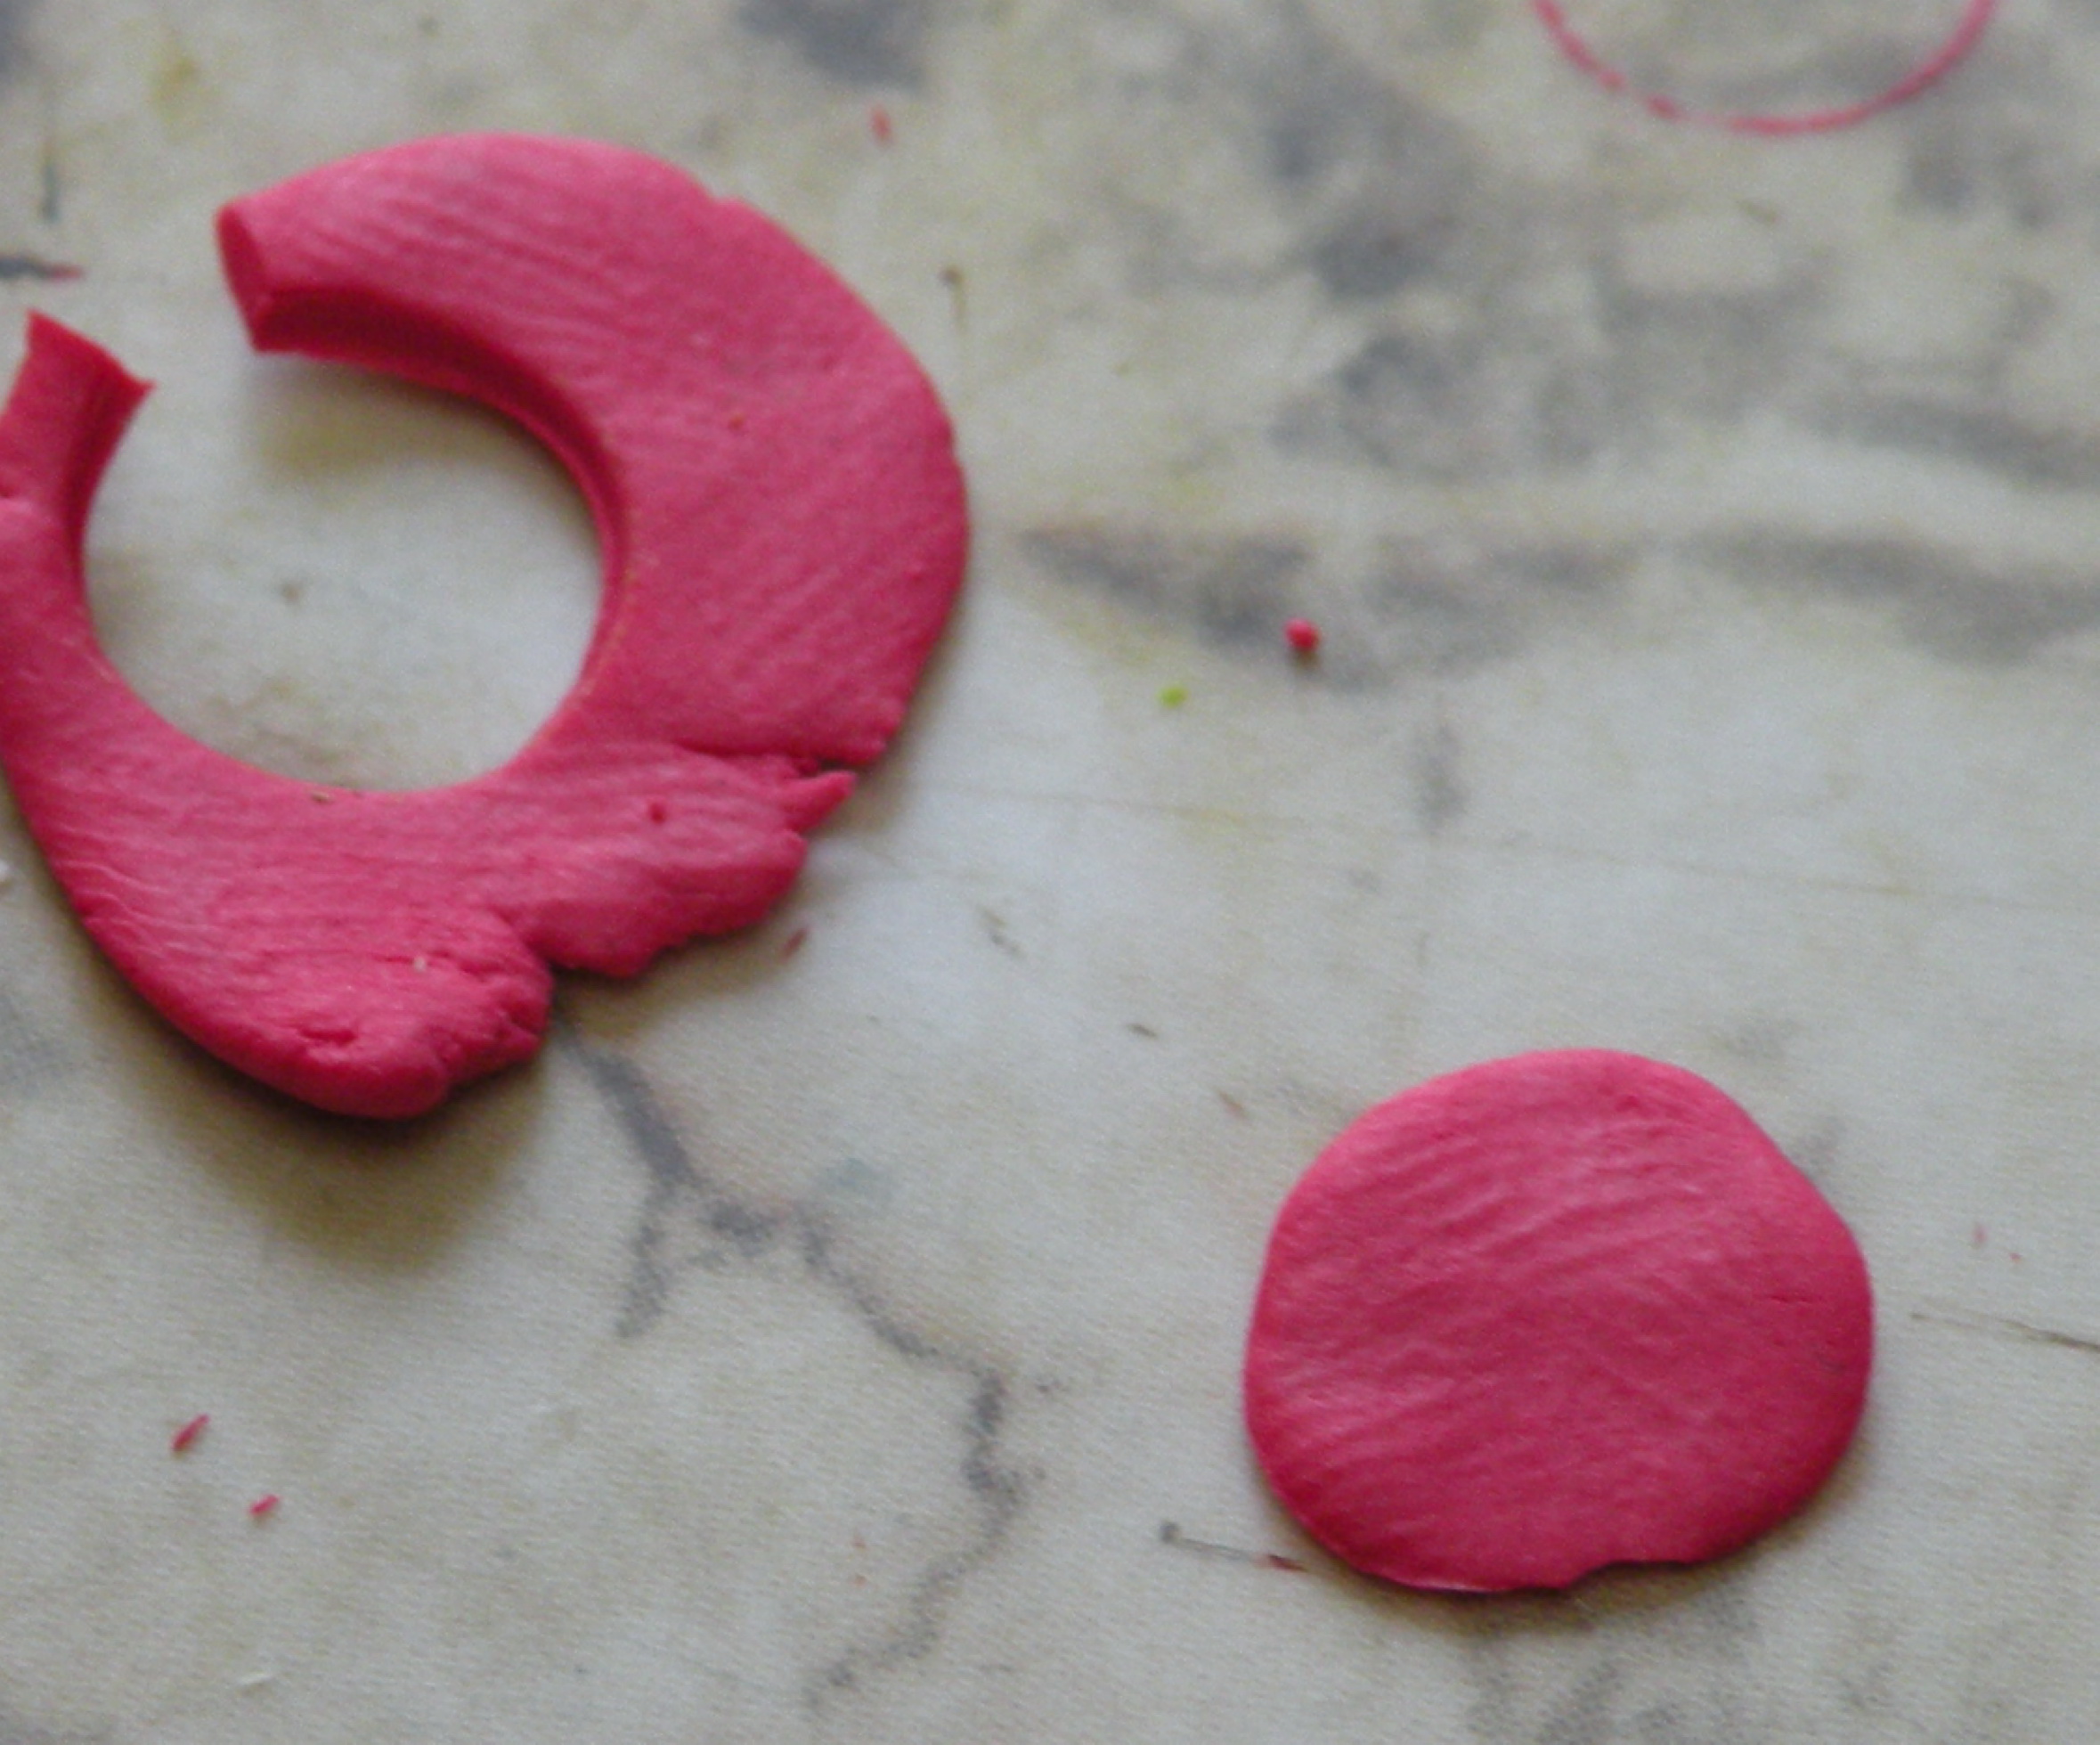
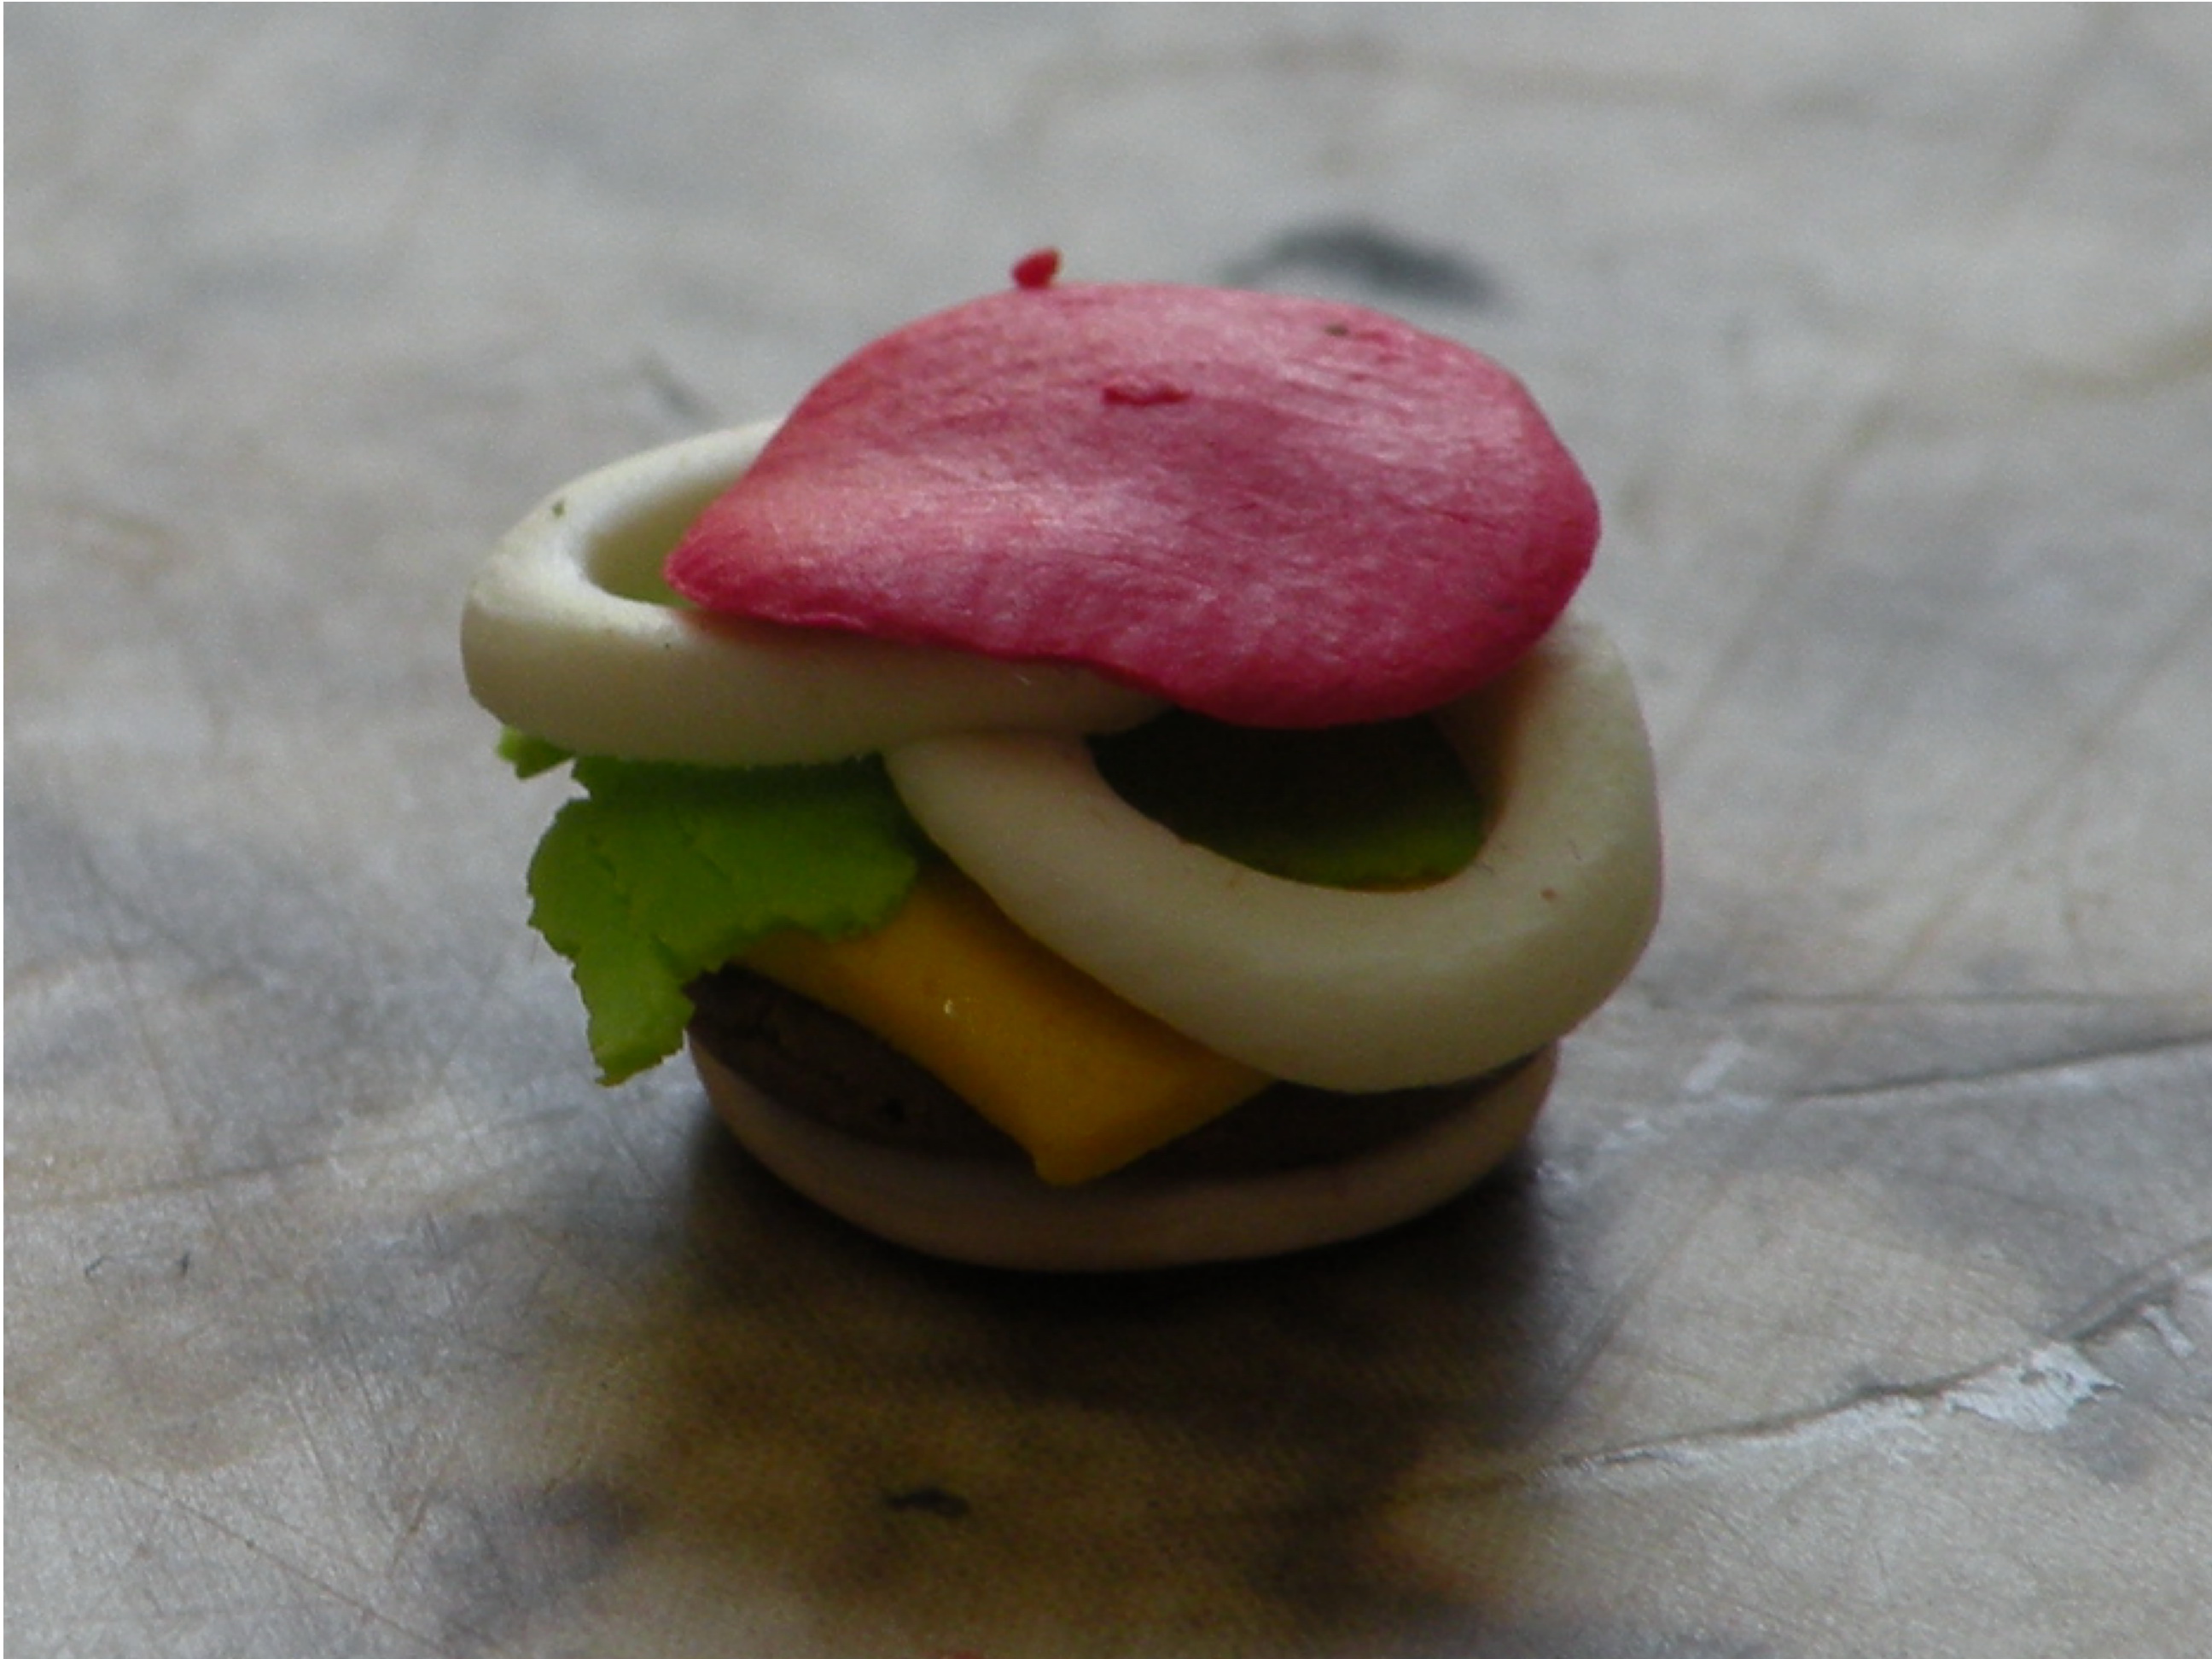
Roll or push a piece of tomato red clay flat. Cut out a circle, and place it on the burger.
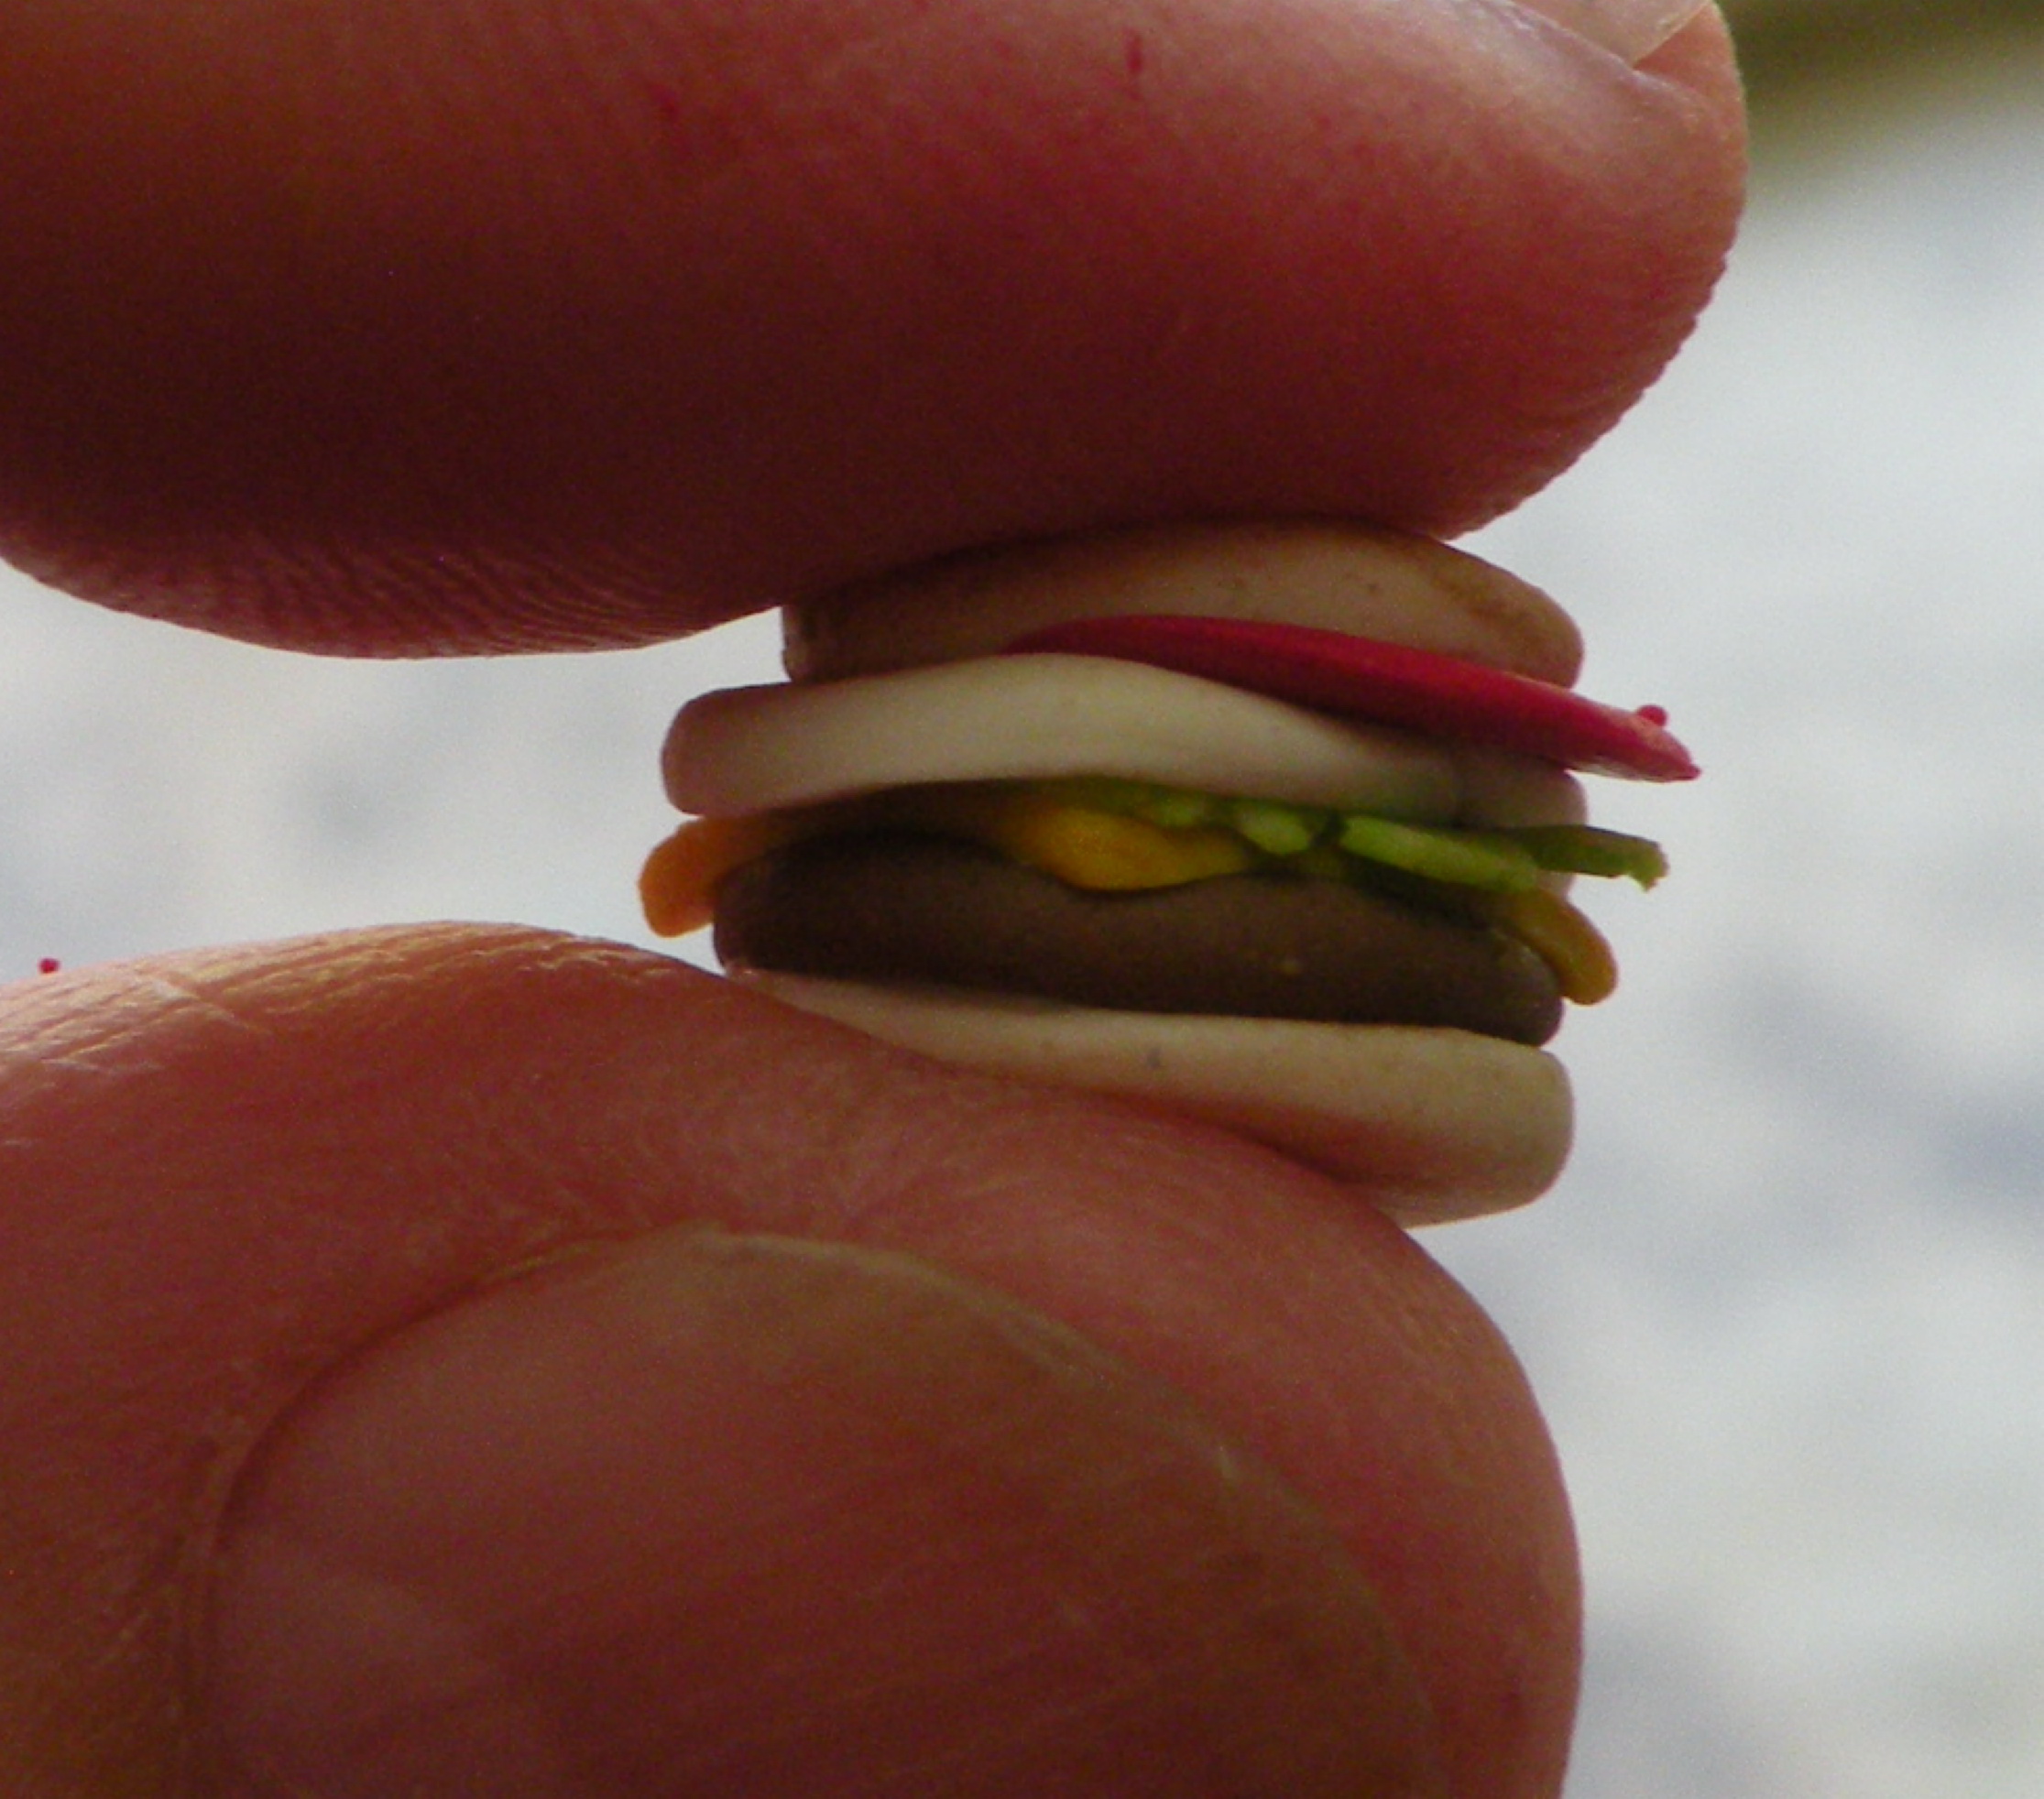
Place the top of the biscuit on the burger and gently gently gently push the burger together.
Place on your foil-covered cookie sheet and set aside.
Strawberry Shortcake
Biscuit from previous tutorial, cut in half
glass or paper plate (NOT plastic!)
Strawberries cut from cane
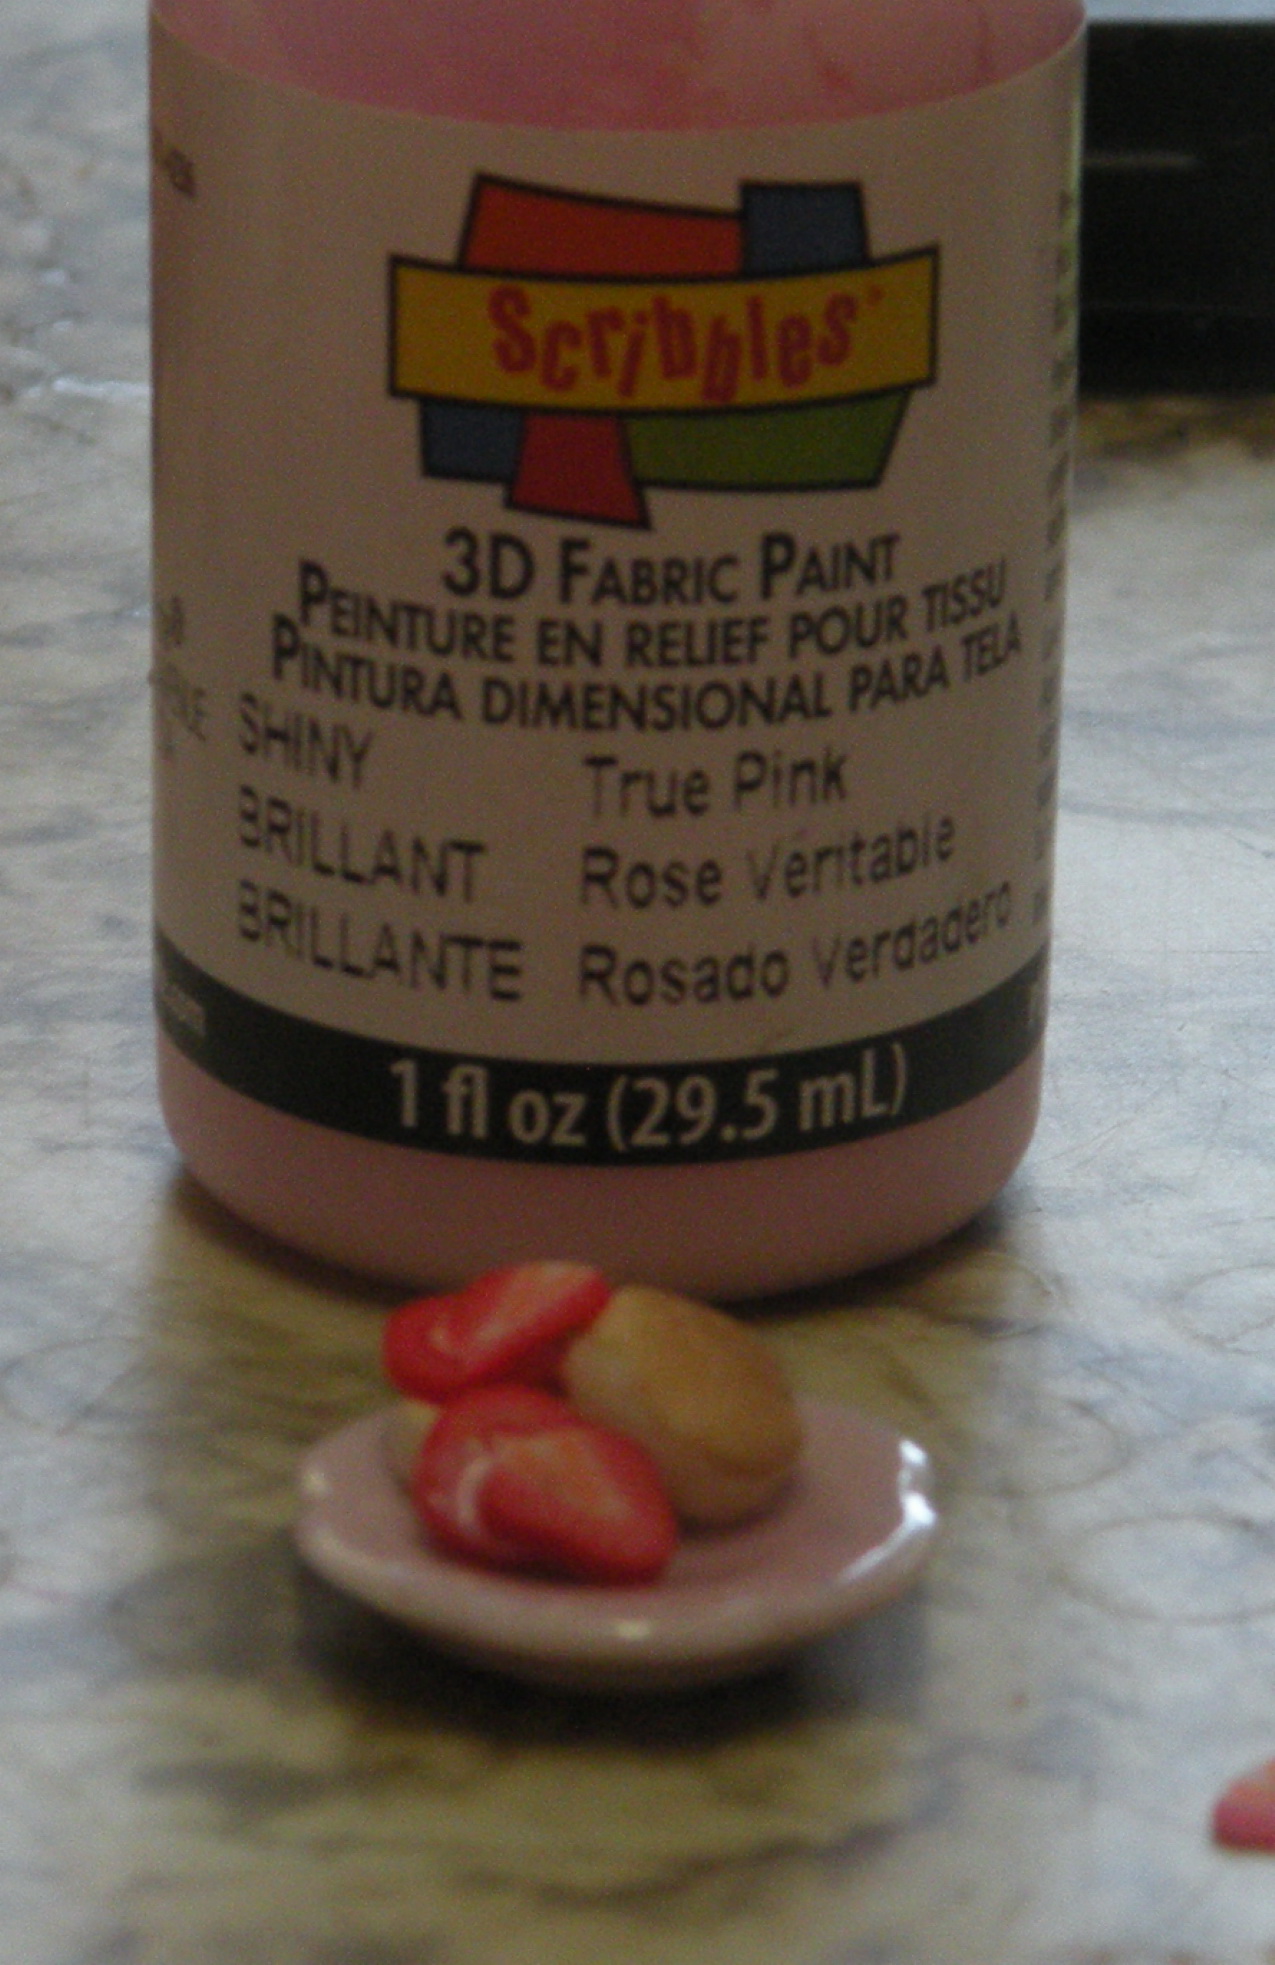
White or pink Scribbles 3-D paint
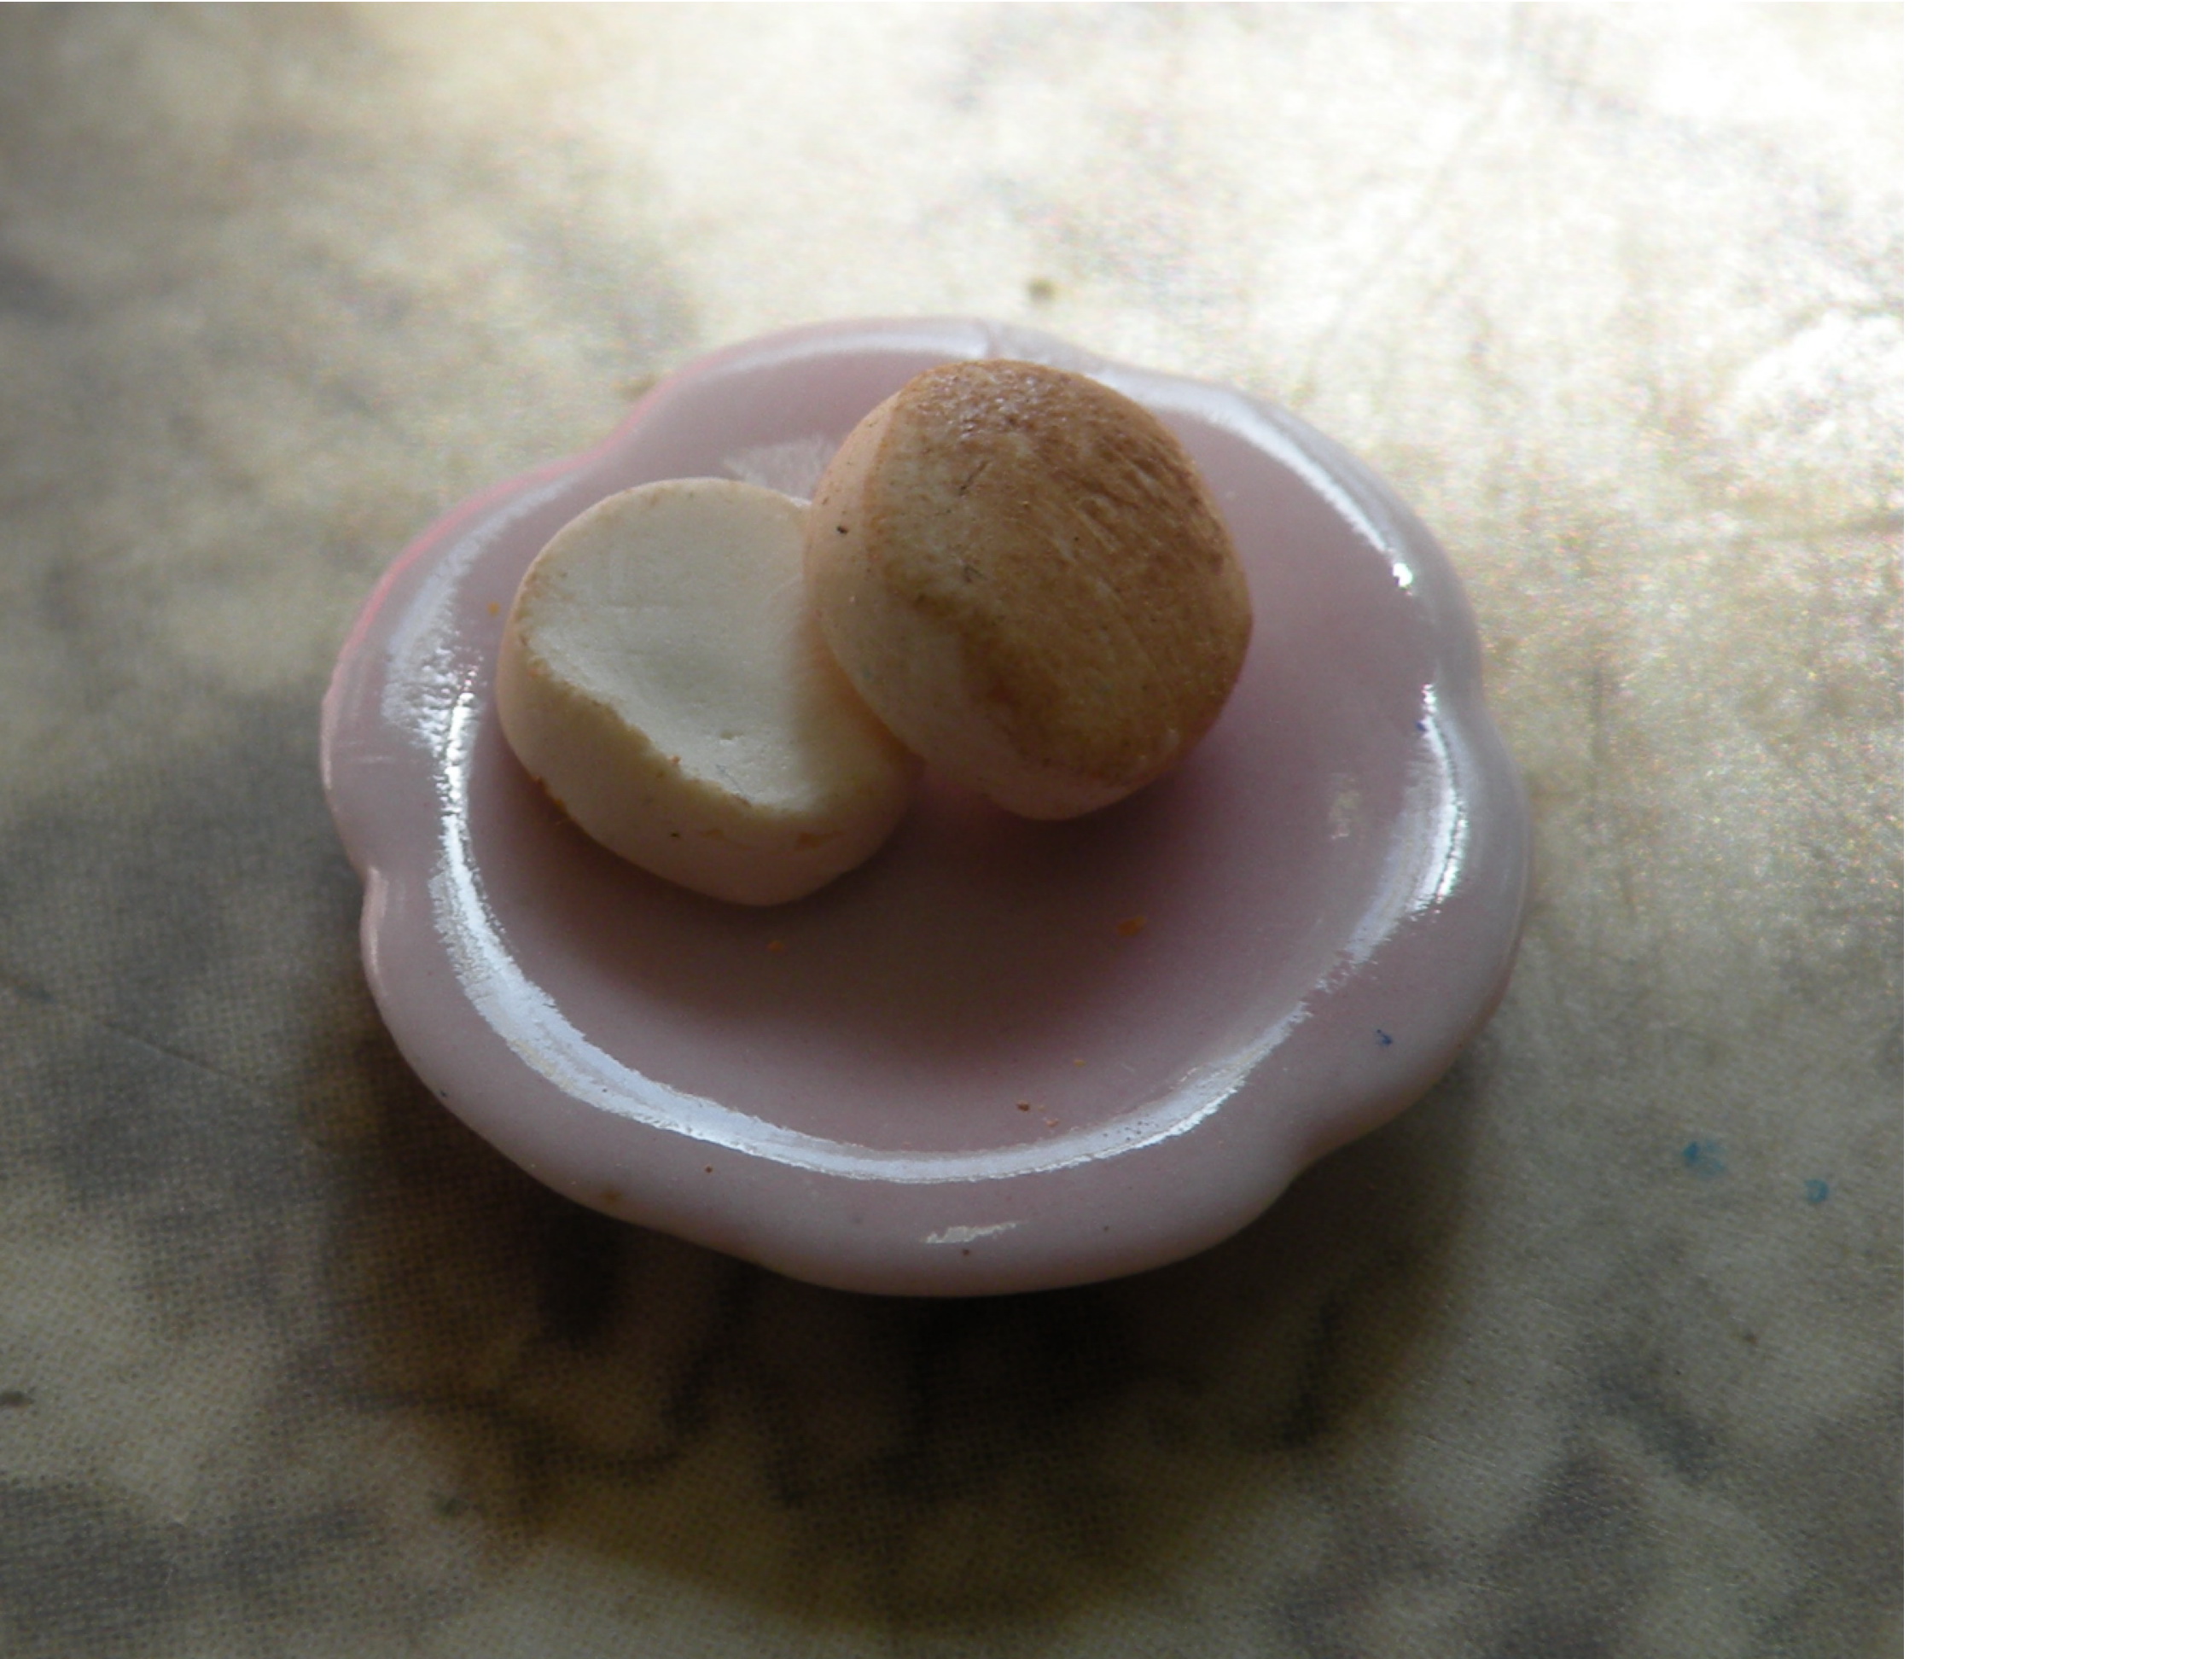
Place on plate, as desired.
Set aside until baked.
Pies!
Two-crust pie
Bread clay from previous tutorial
Piece of foil
Bottle cap from Scrap-booking aisle
(You *can* use a bottle cap from a real bottle, but it won't be fluted out.)
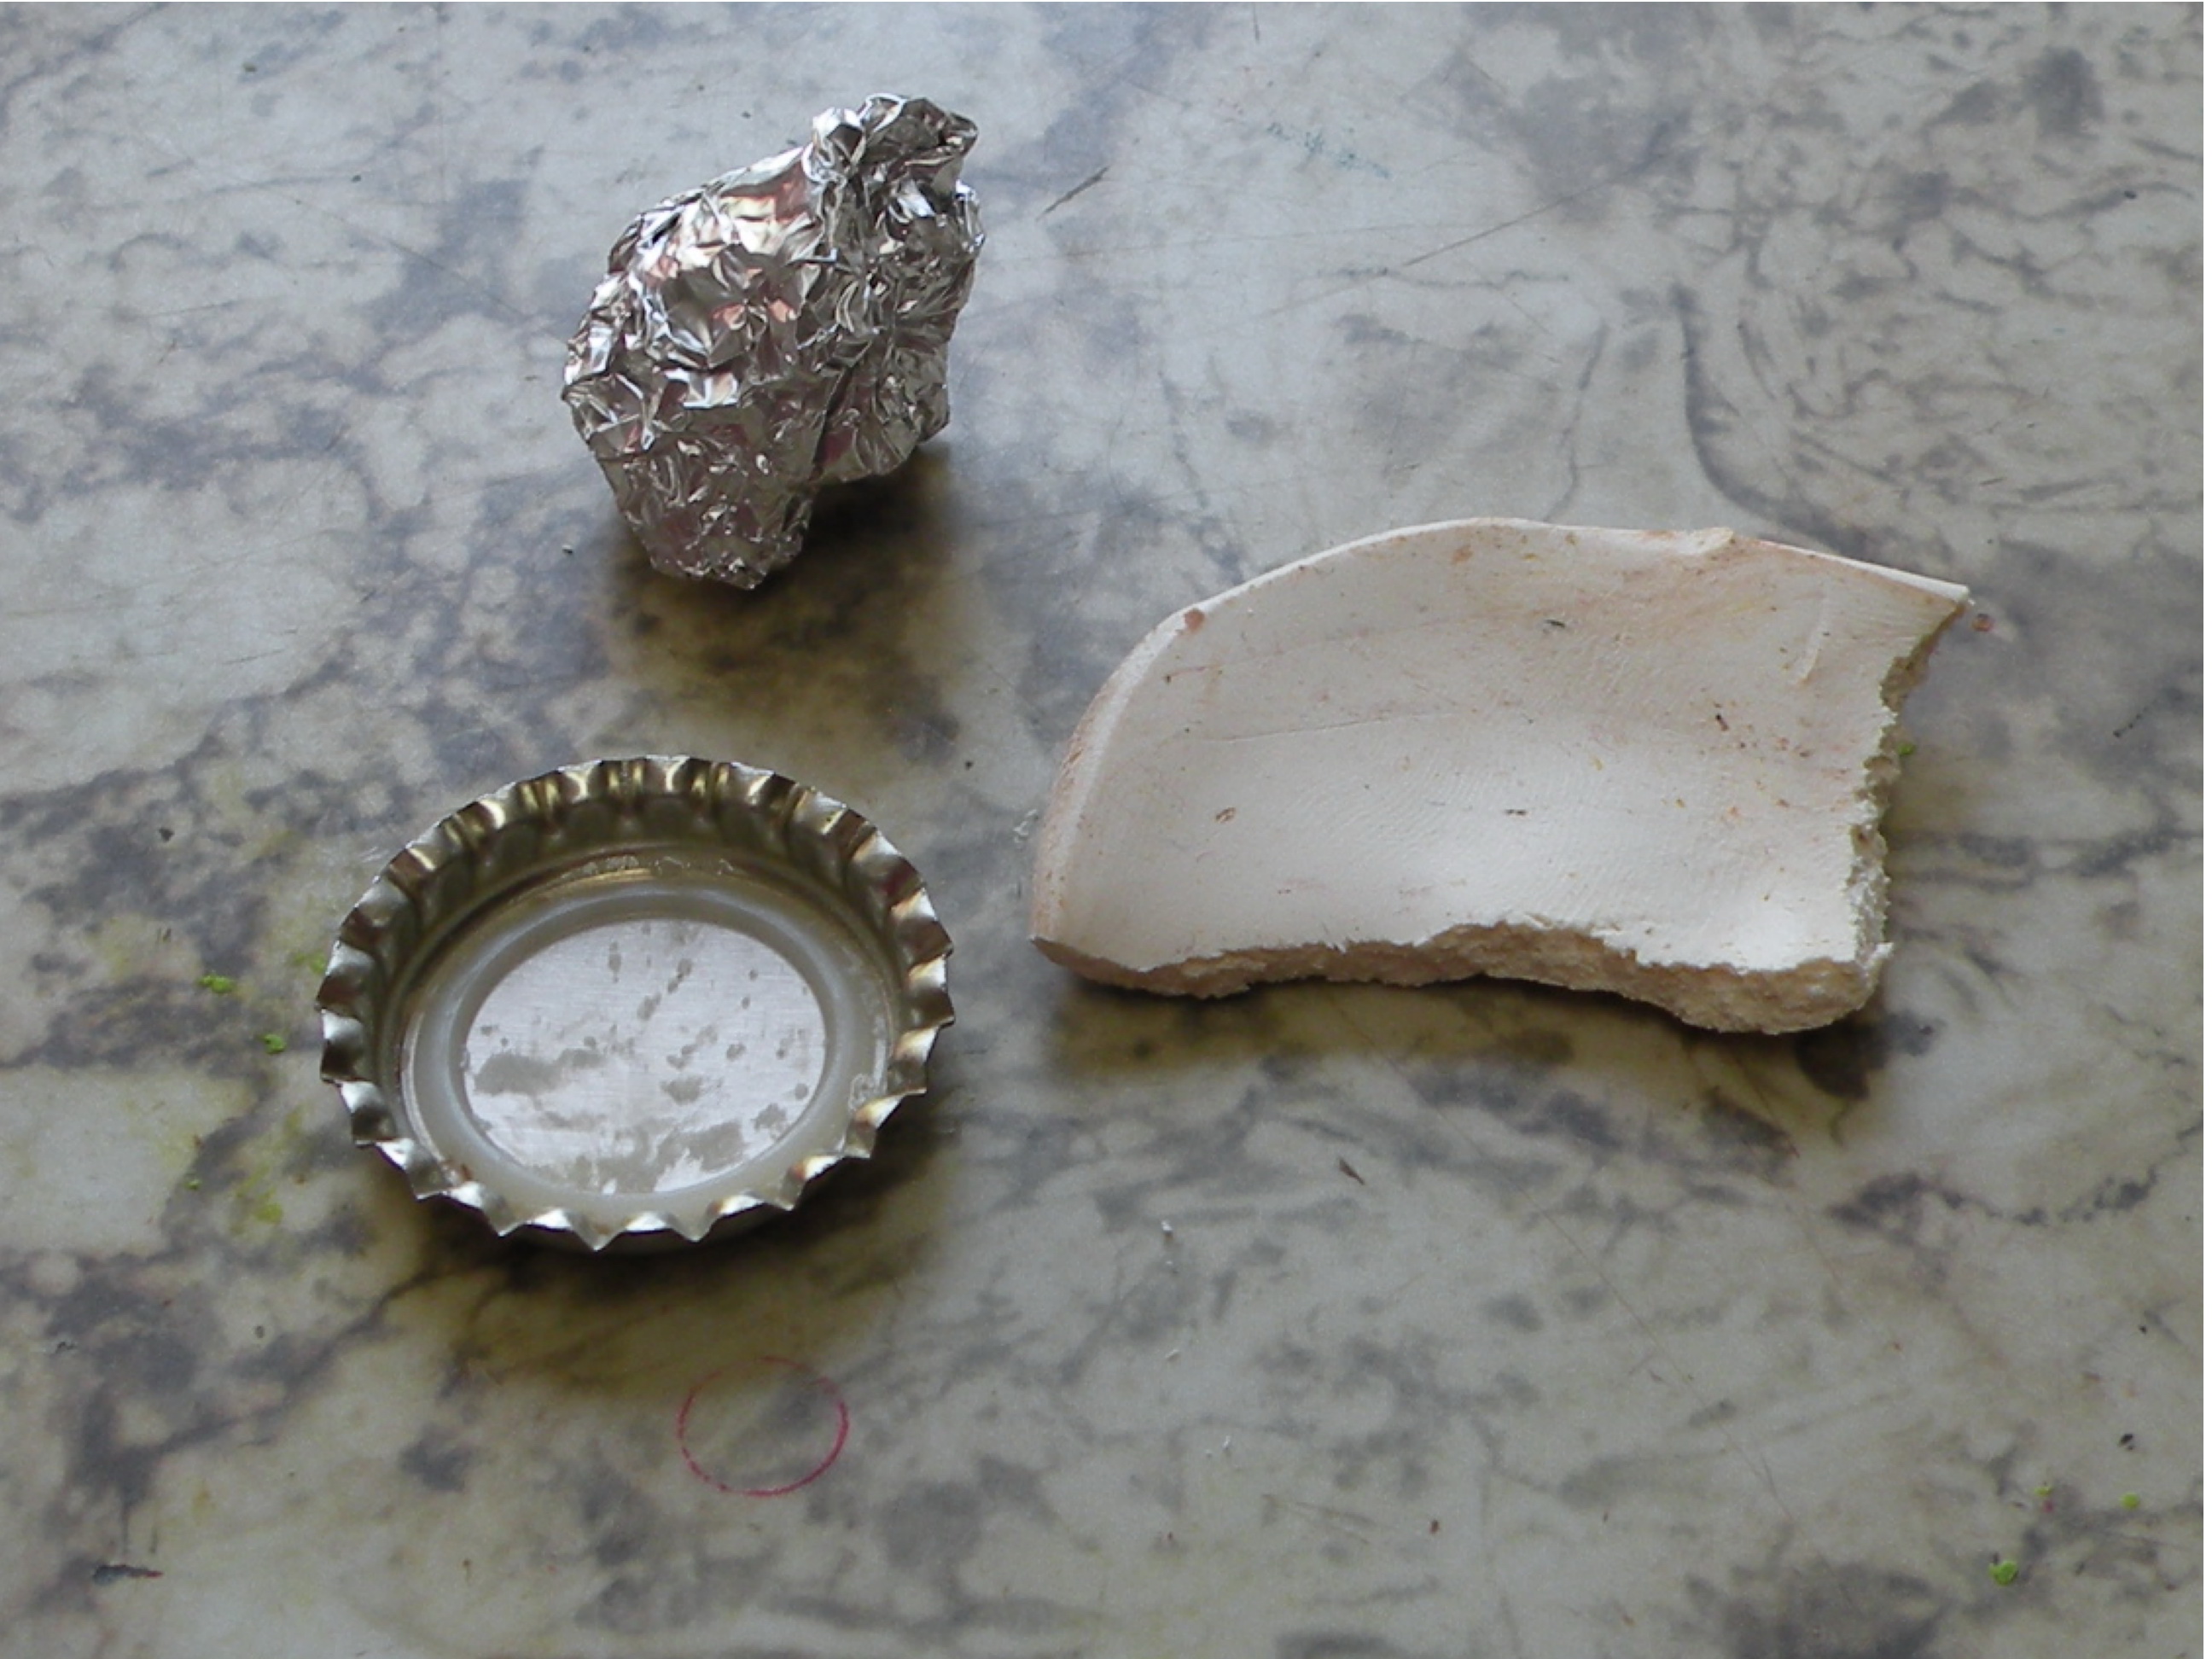
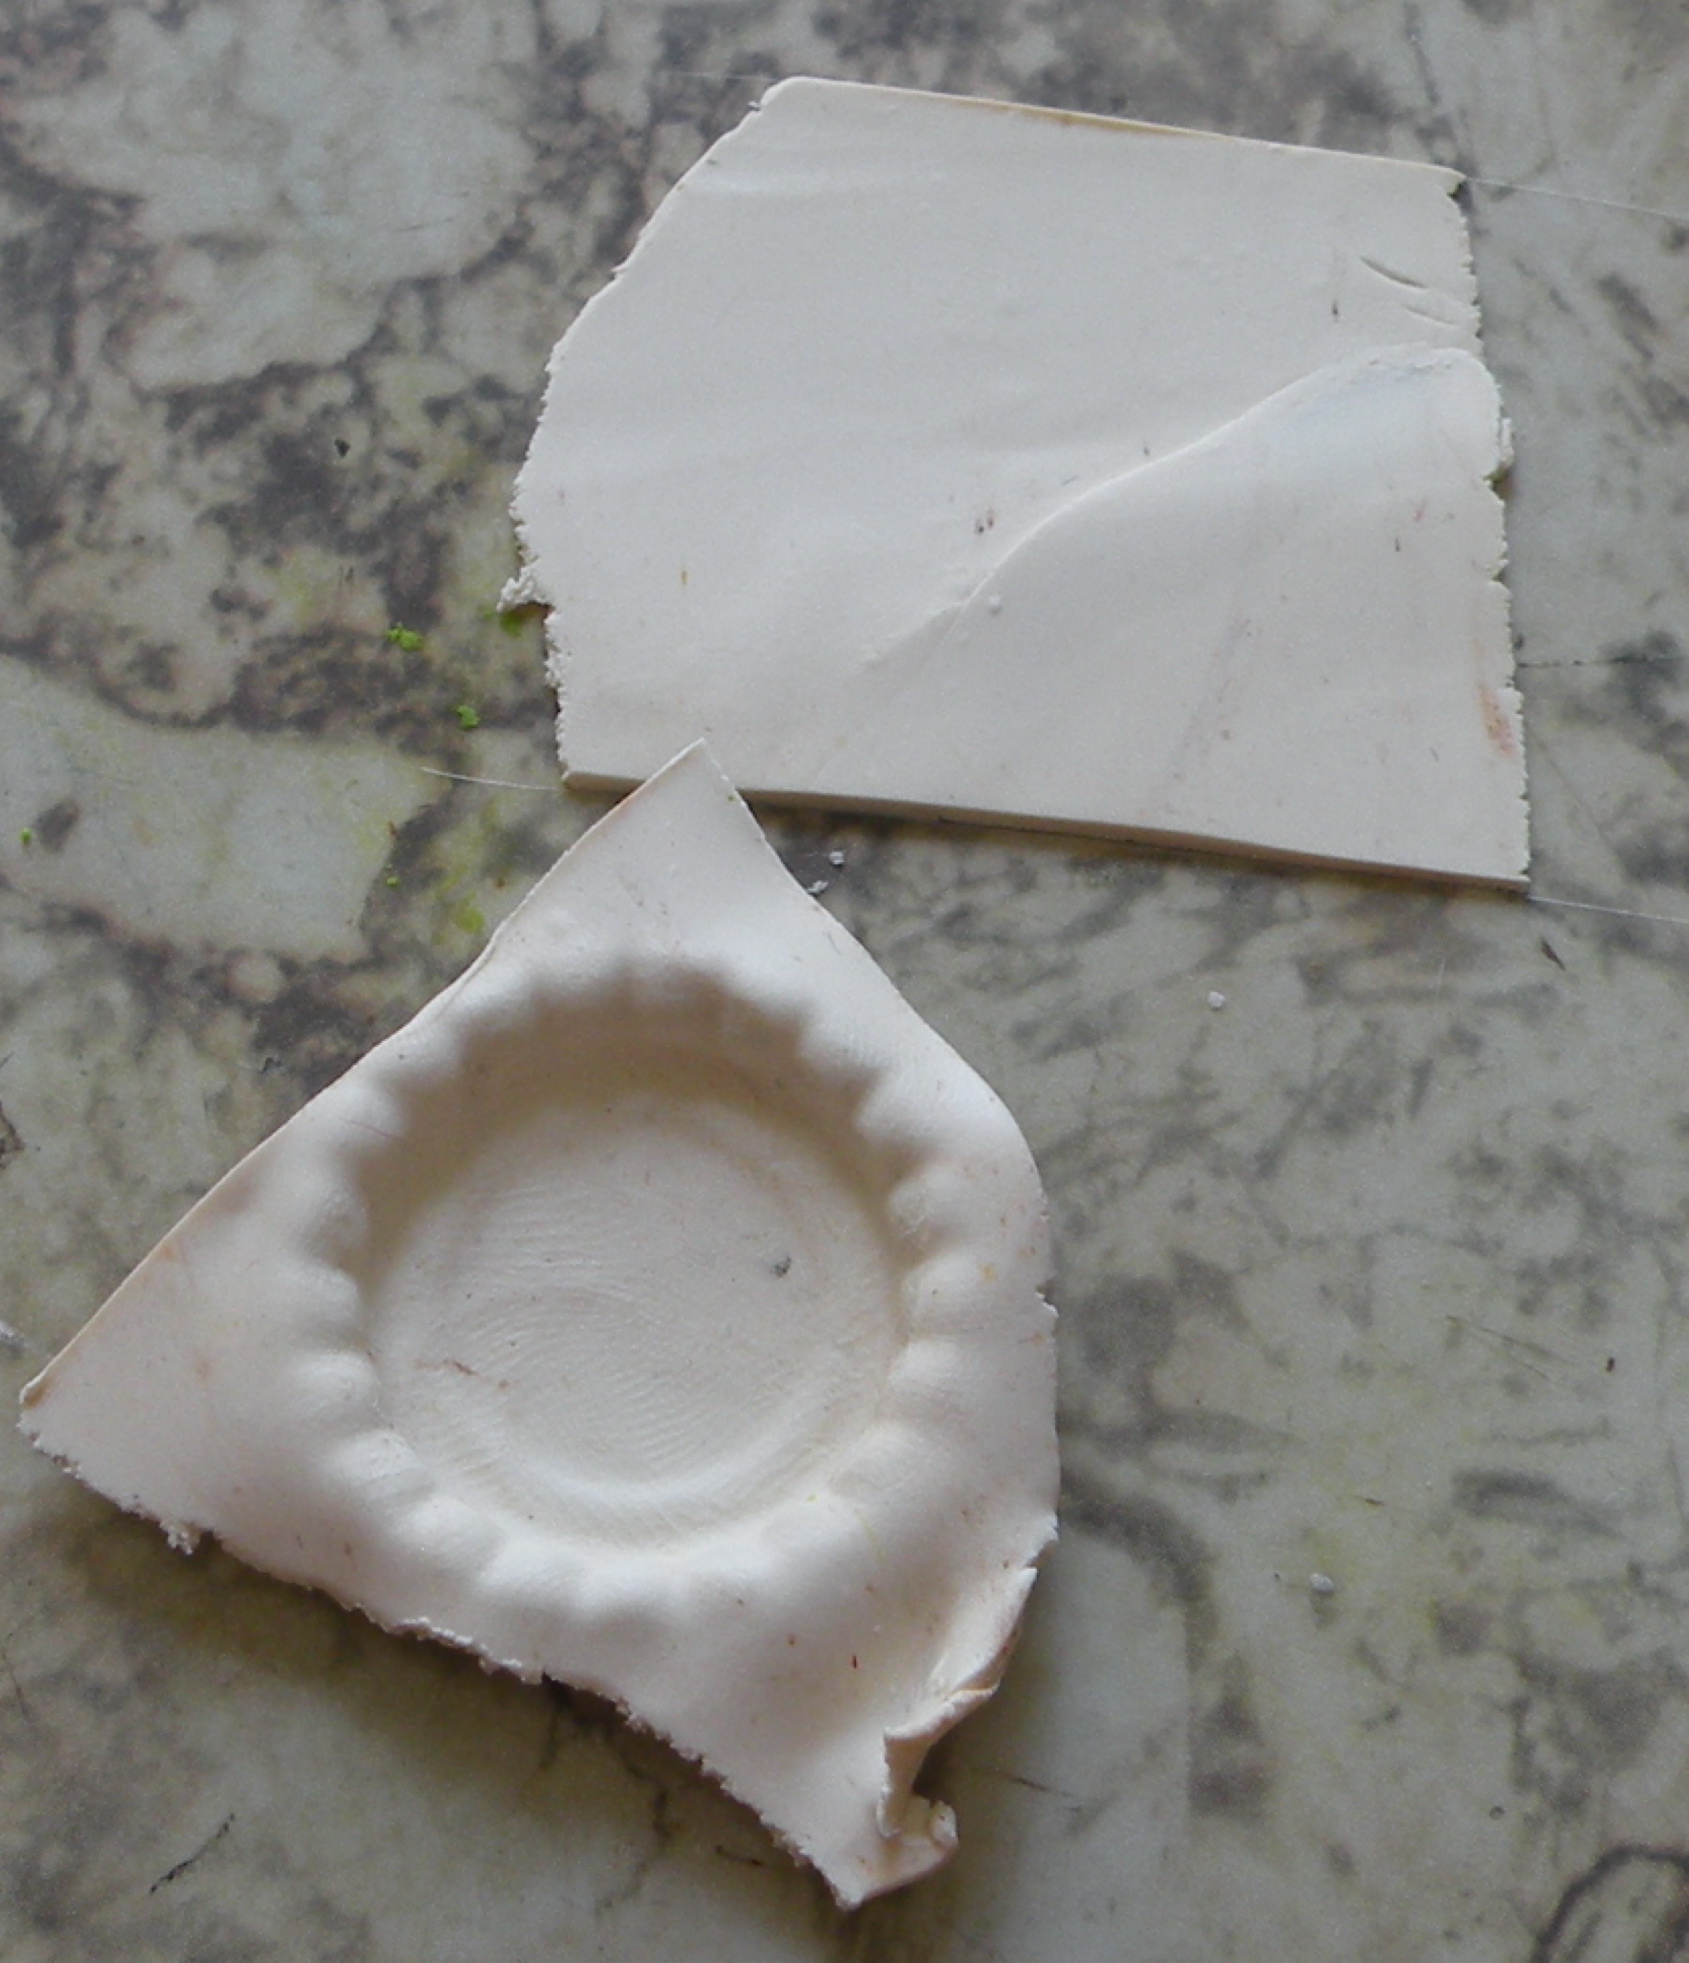
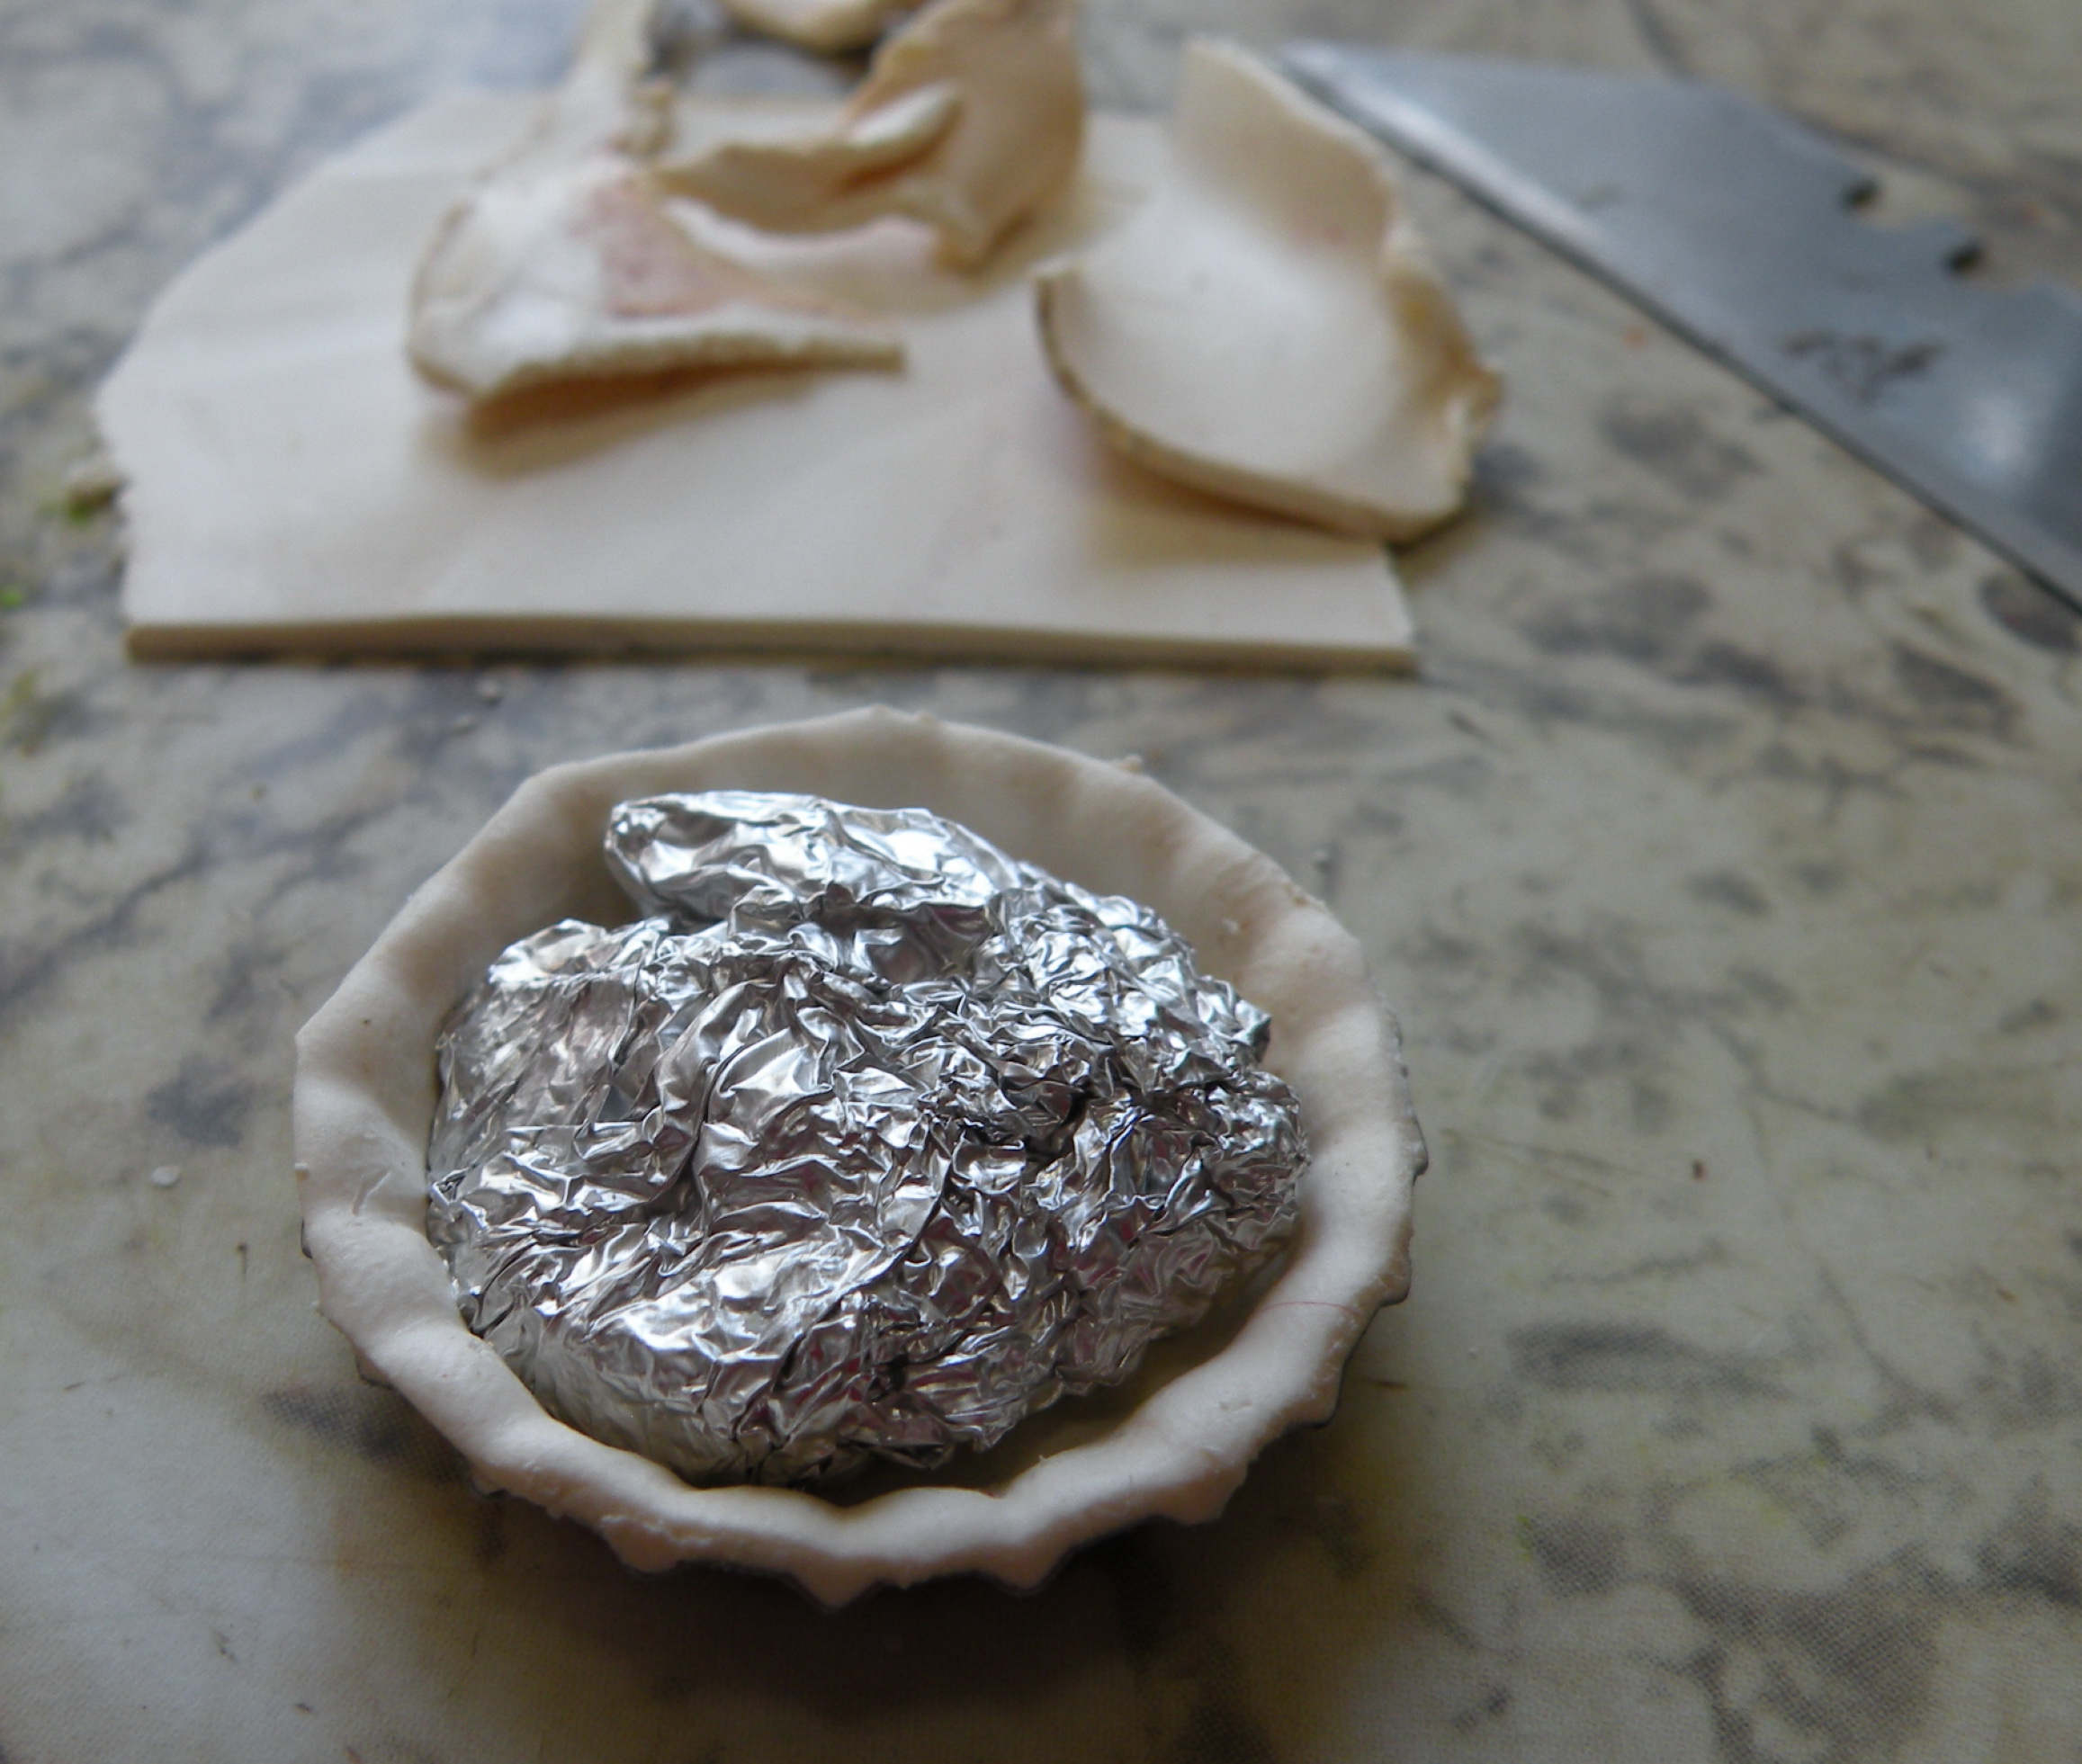
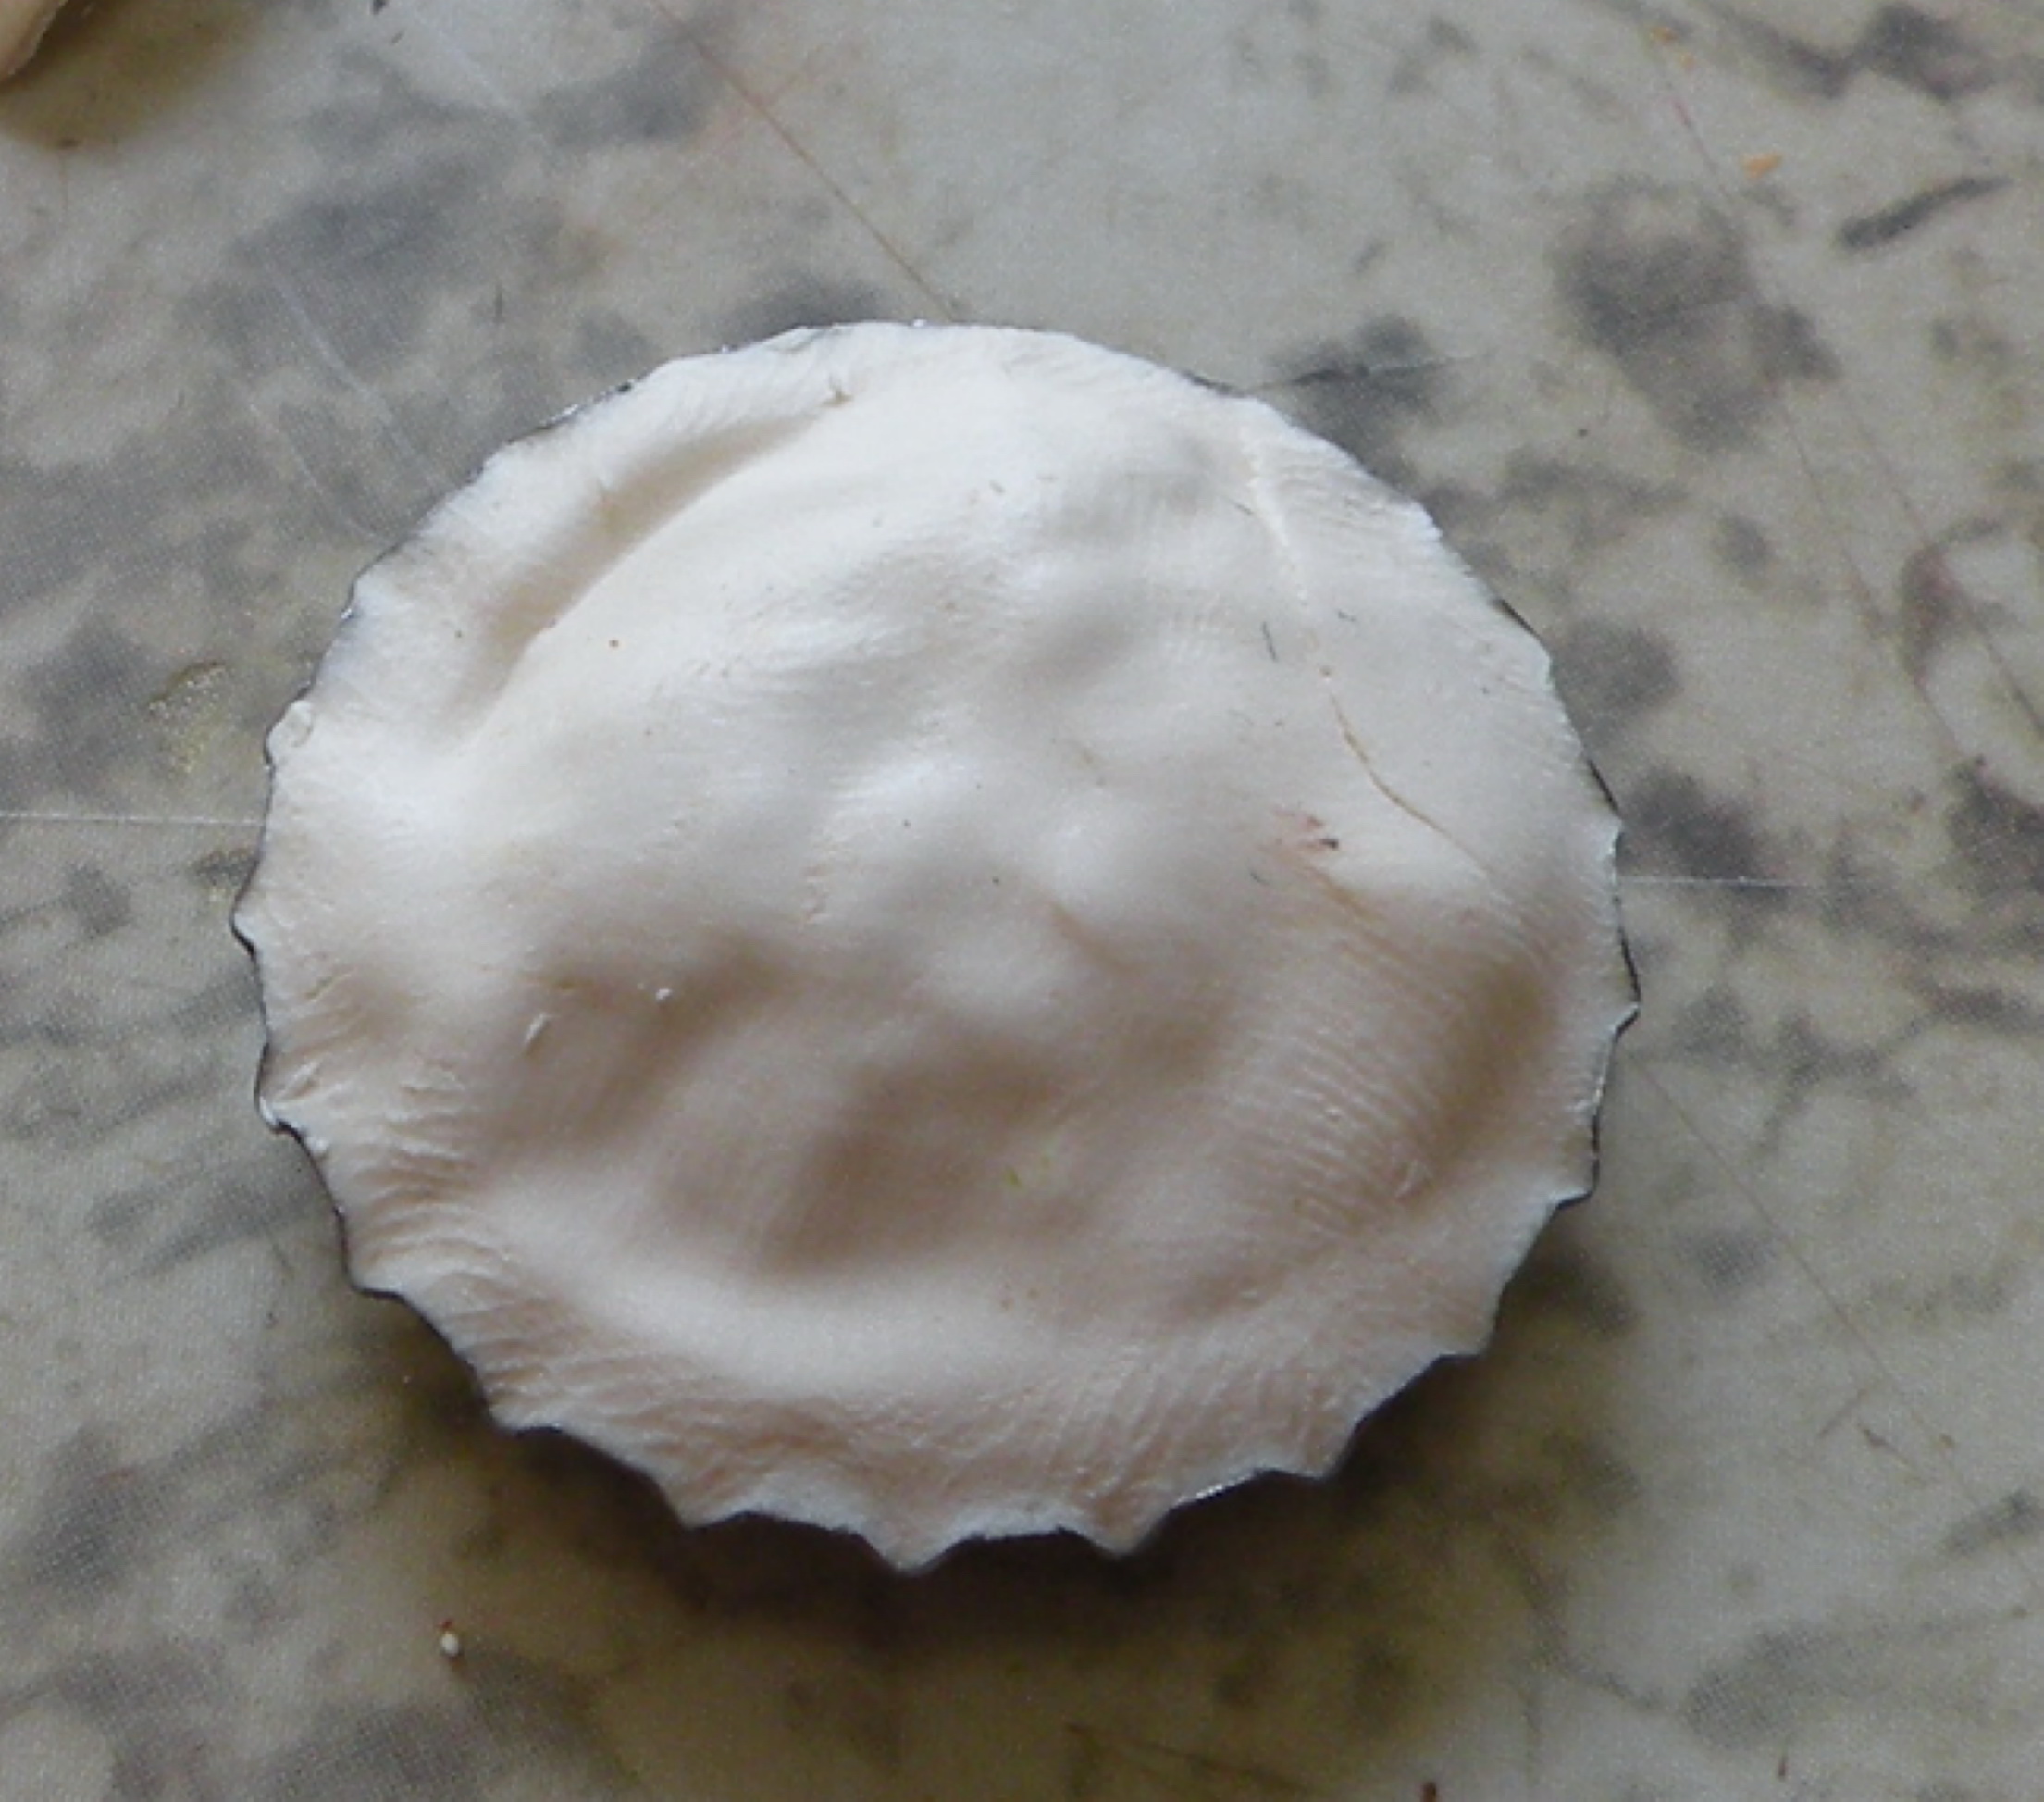
Roll thin, and place into *pie tin*. using your fingers, push off the edges. Wad foil into rounded lump, and place in center.
Cover with more clay. Using your fingers again, push the edges off.
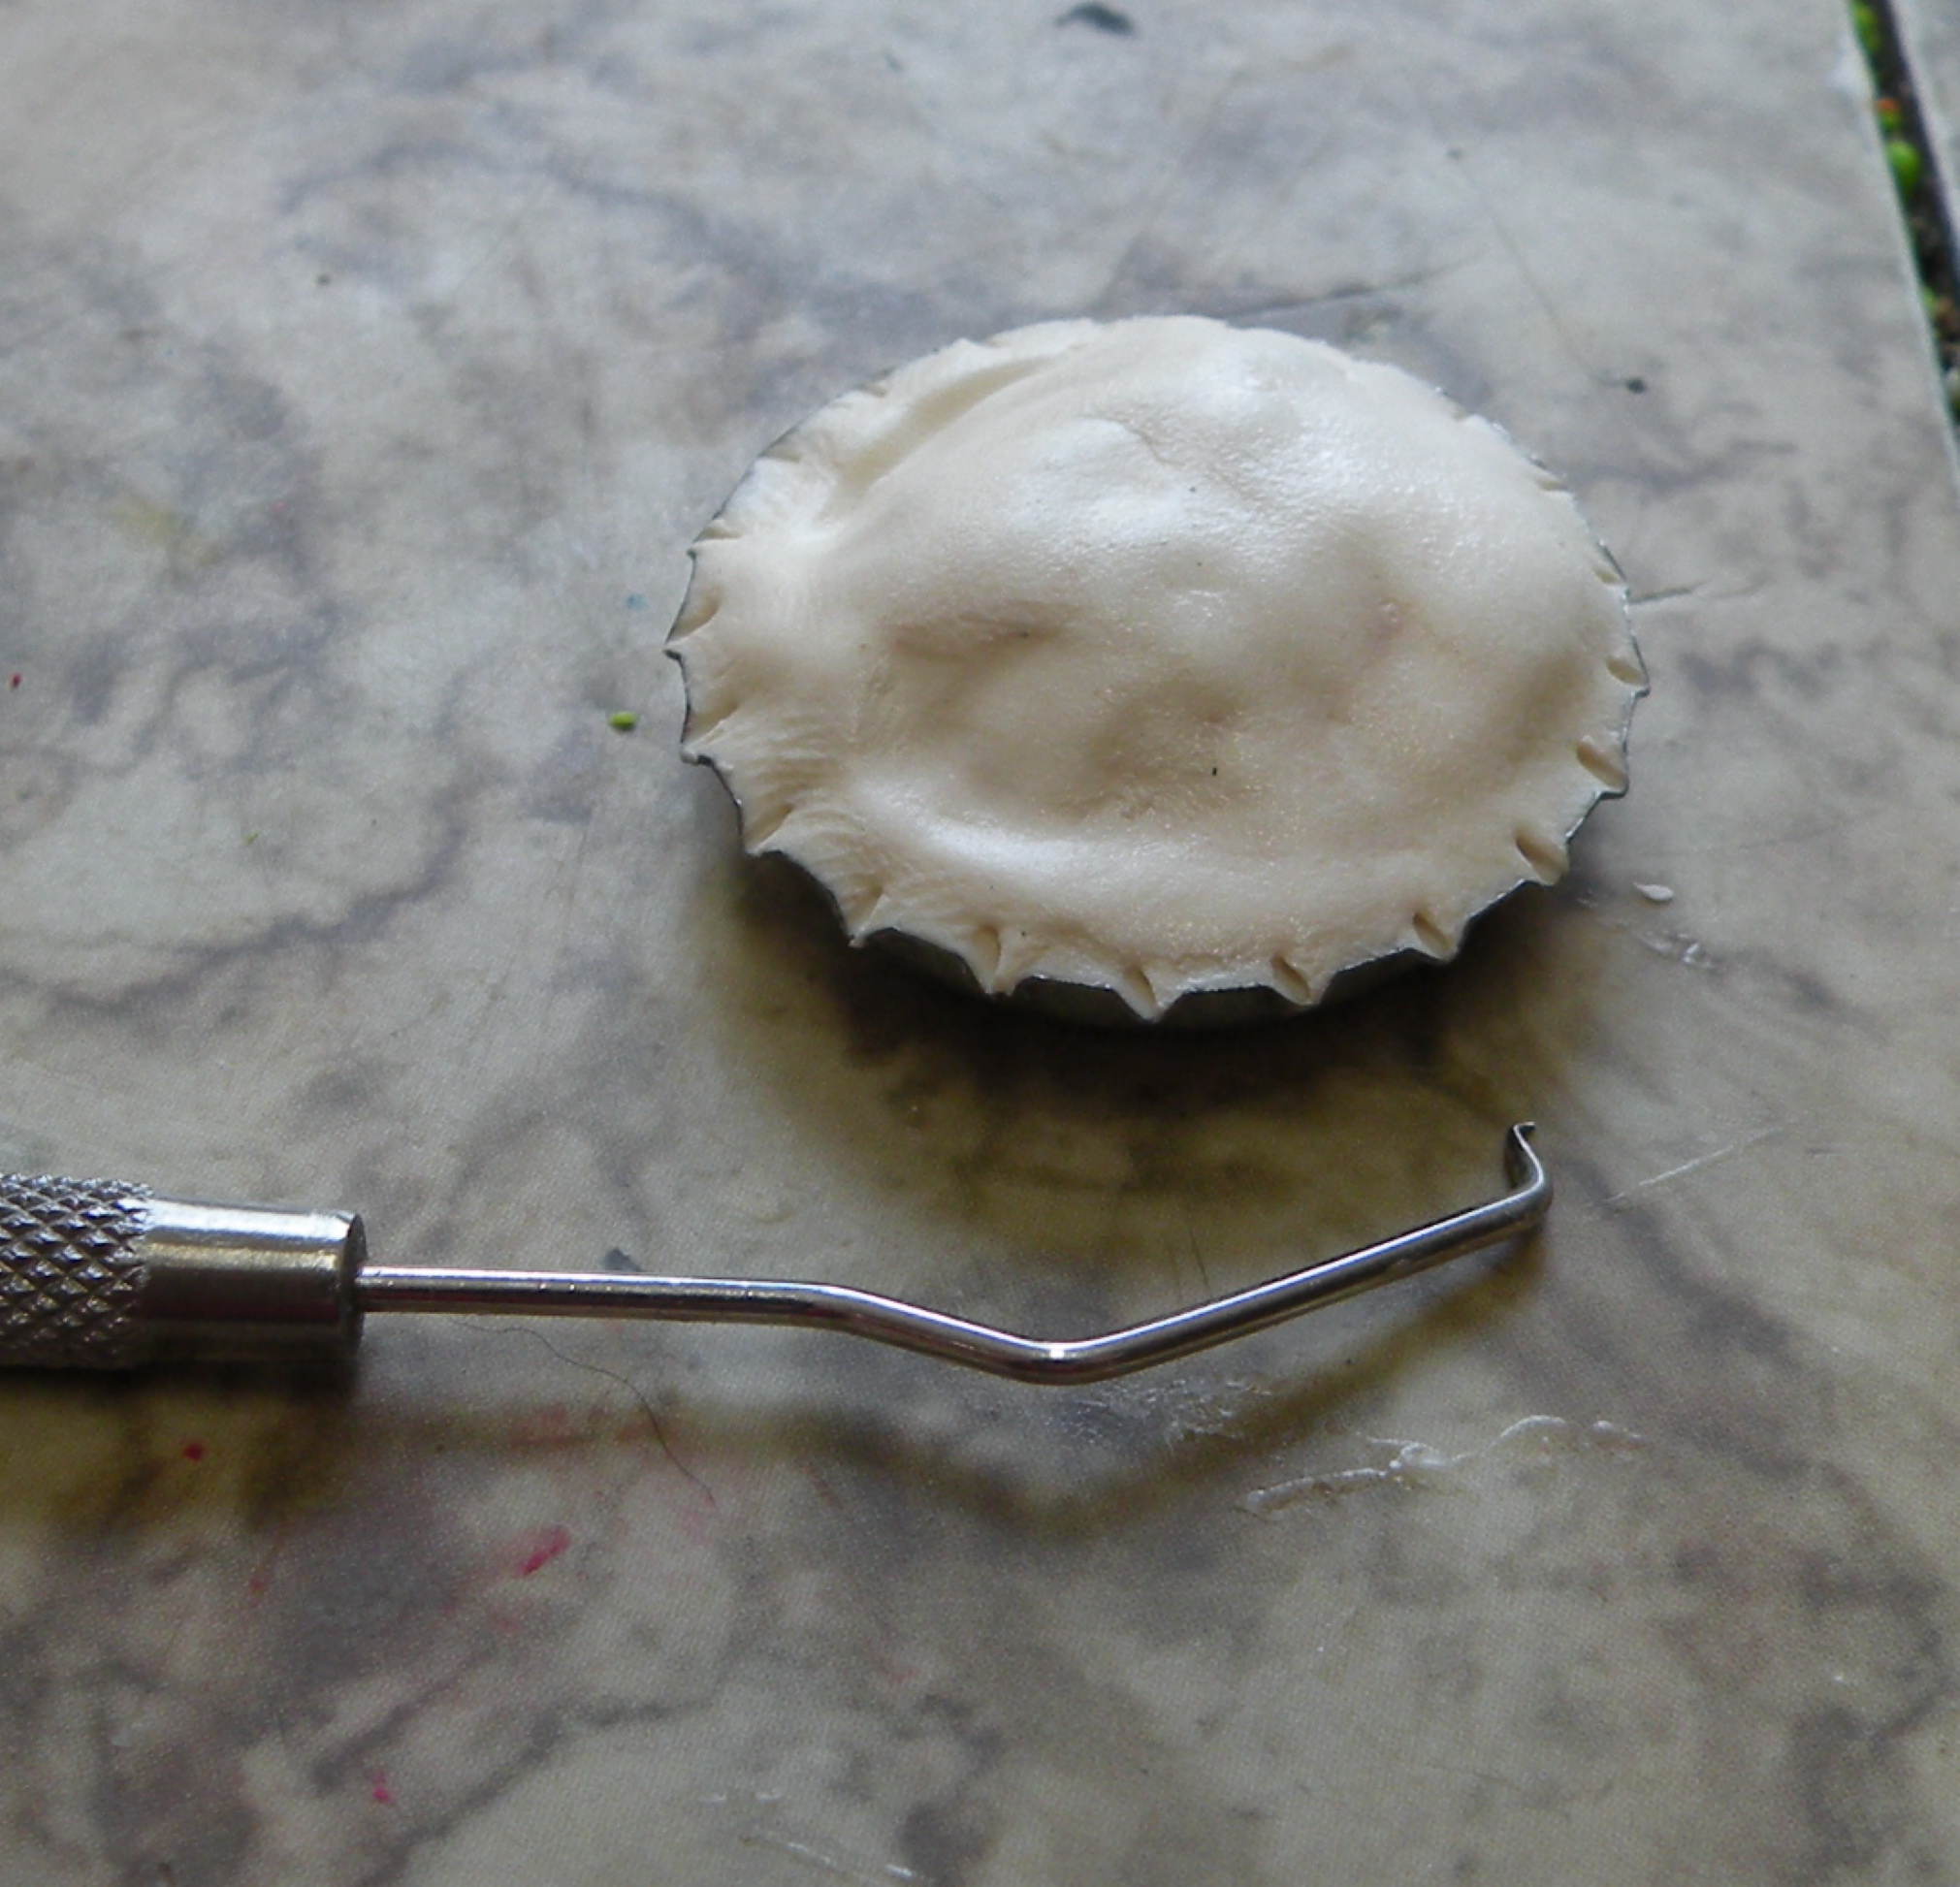

Time to decorate your pie! Use a toothpick or a dental pic (shown above) to make marks around the edge.
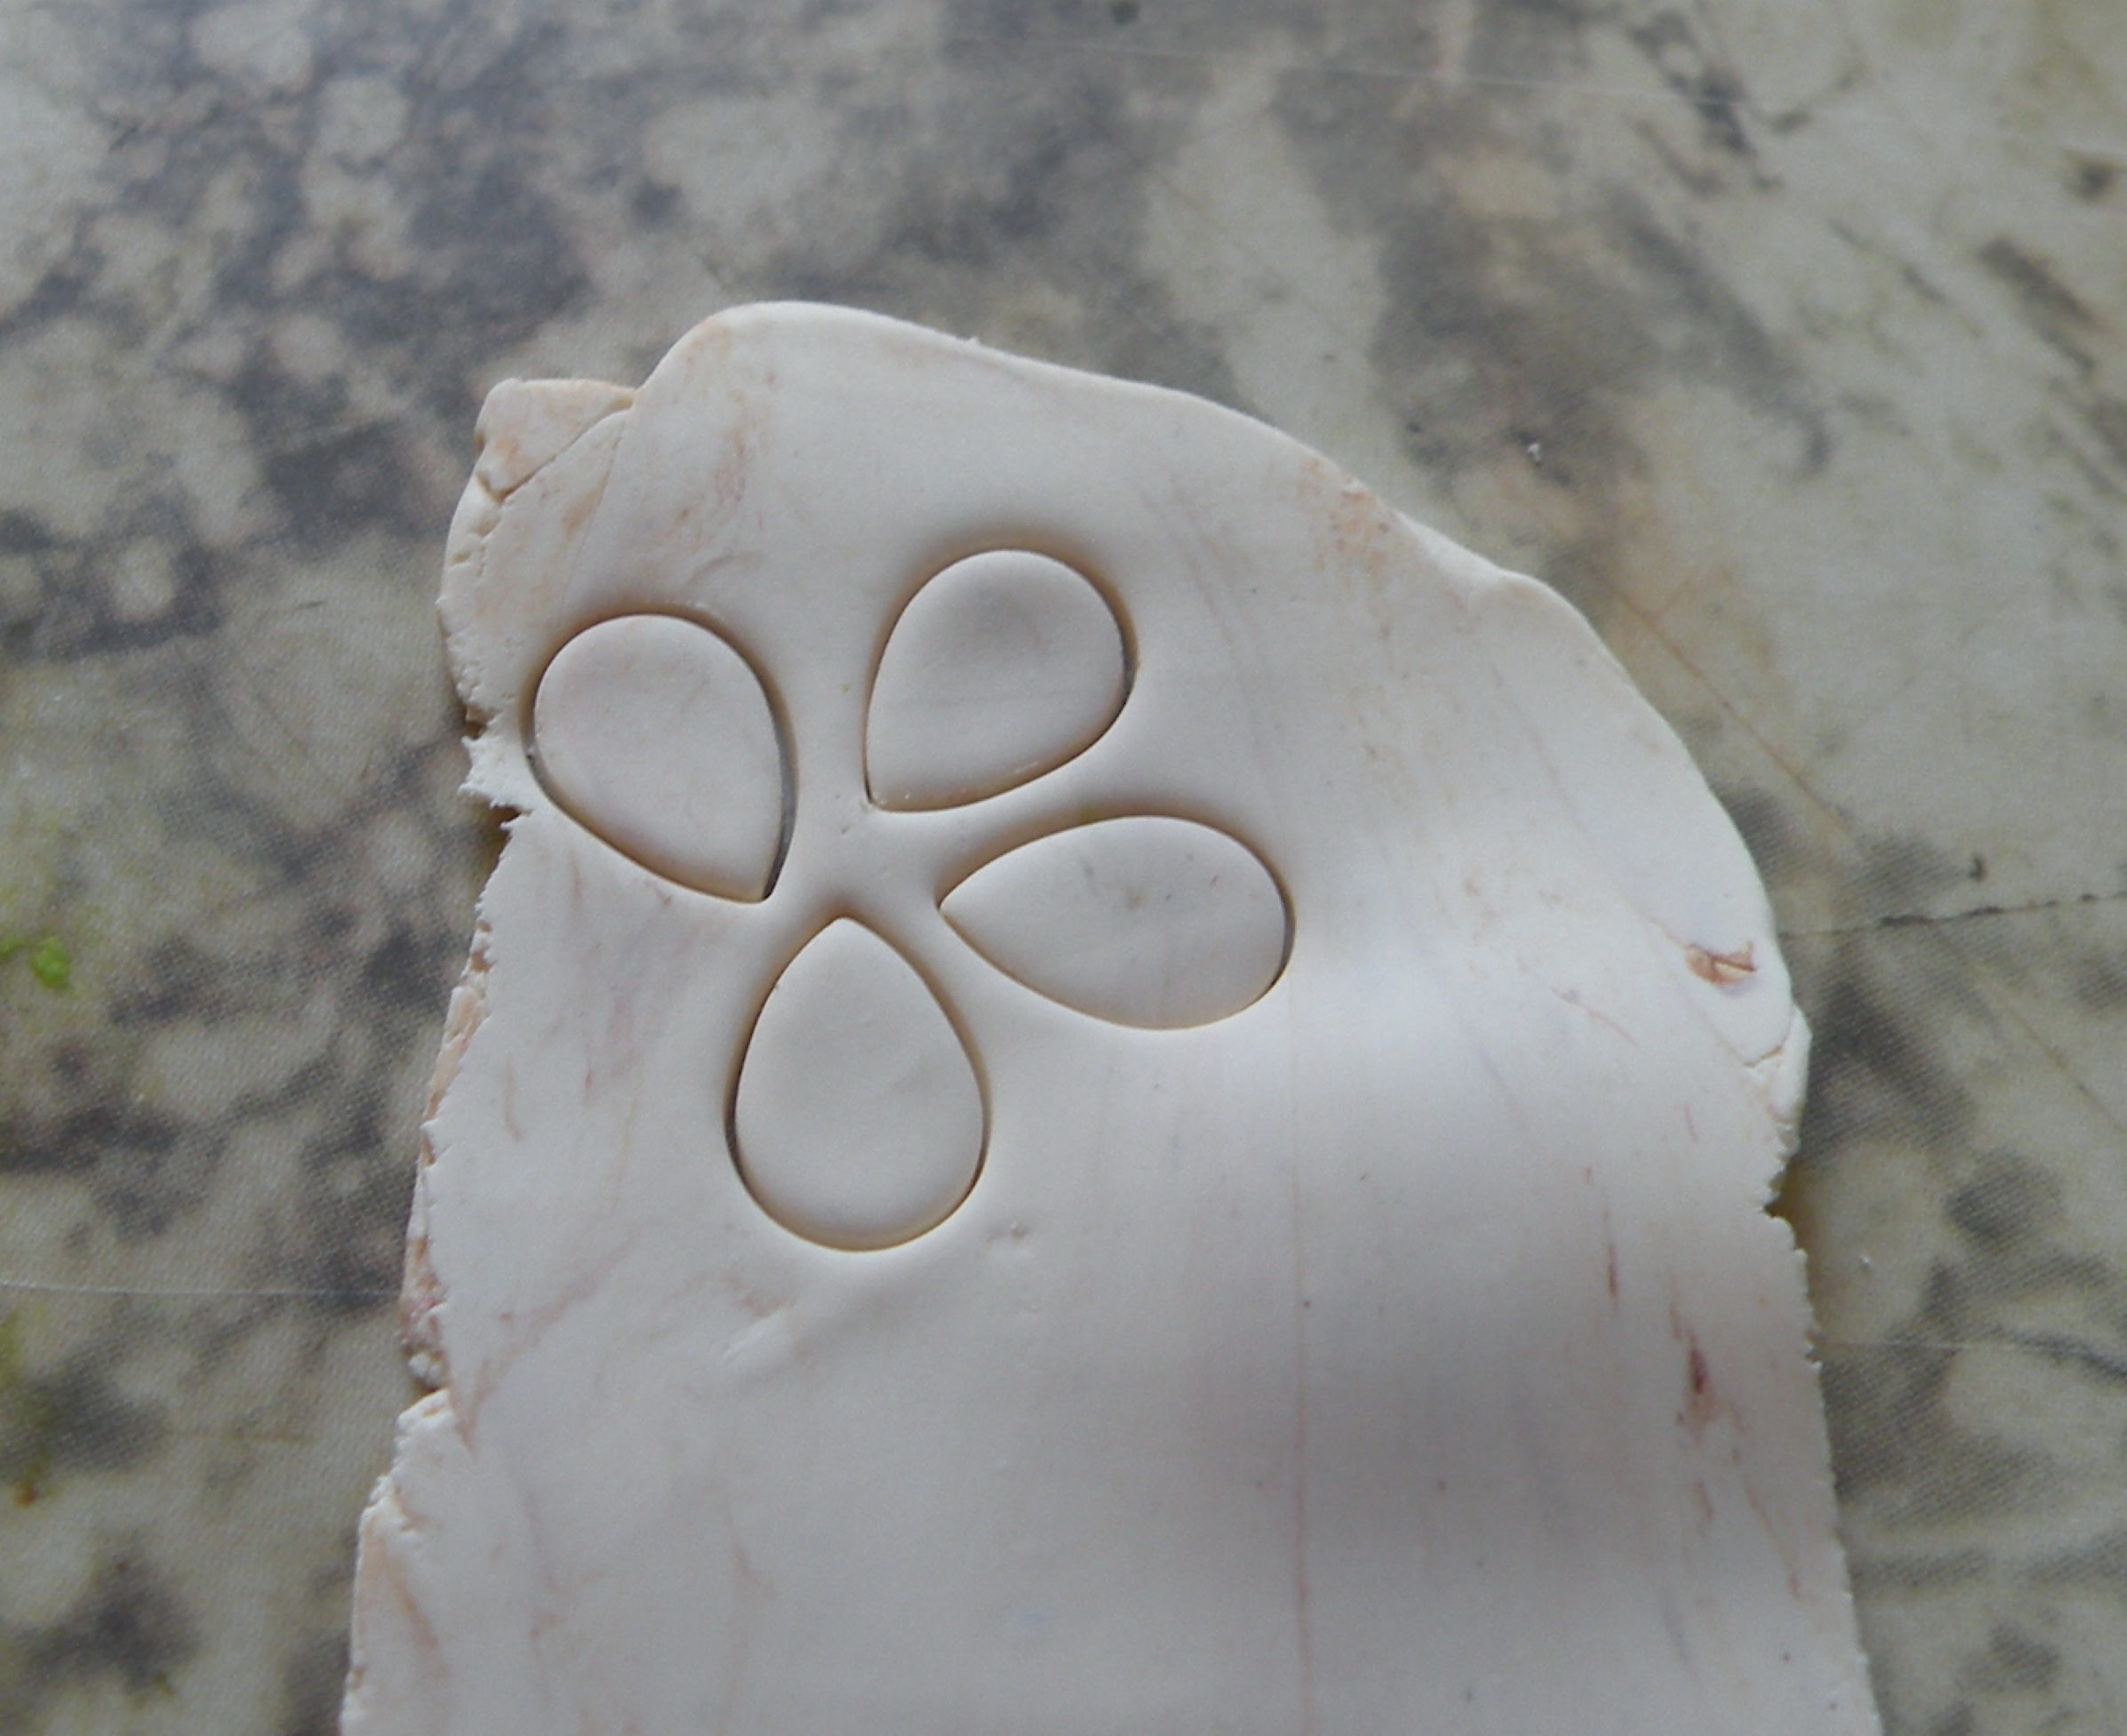
I used a cutter to make the tear-drops, and placed them on the pie. You can make any shape!
Once done, brush the pie with the same chalks you used for the bread.
Apple Tart
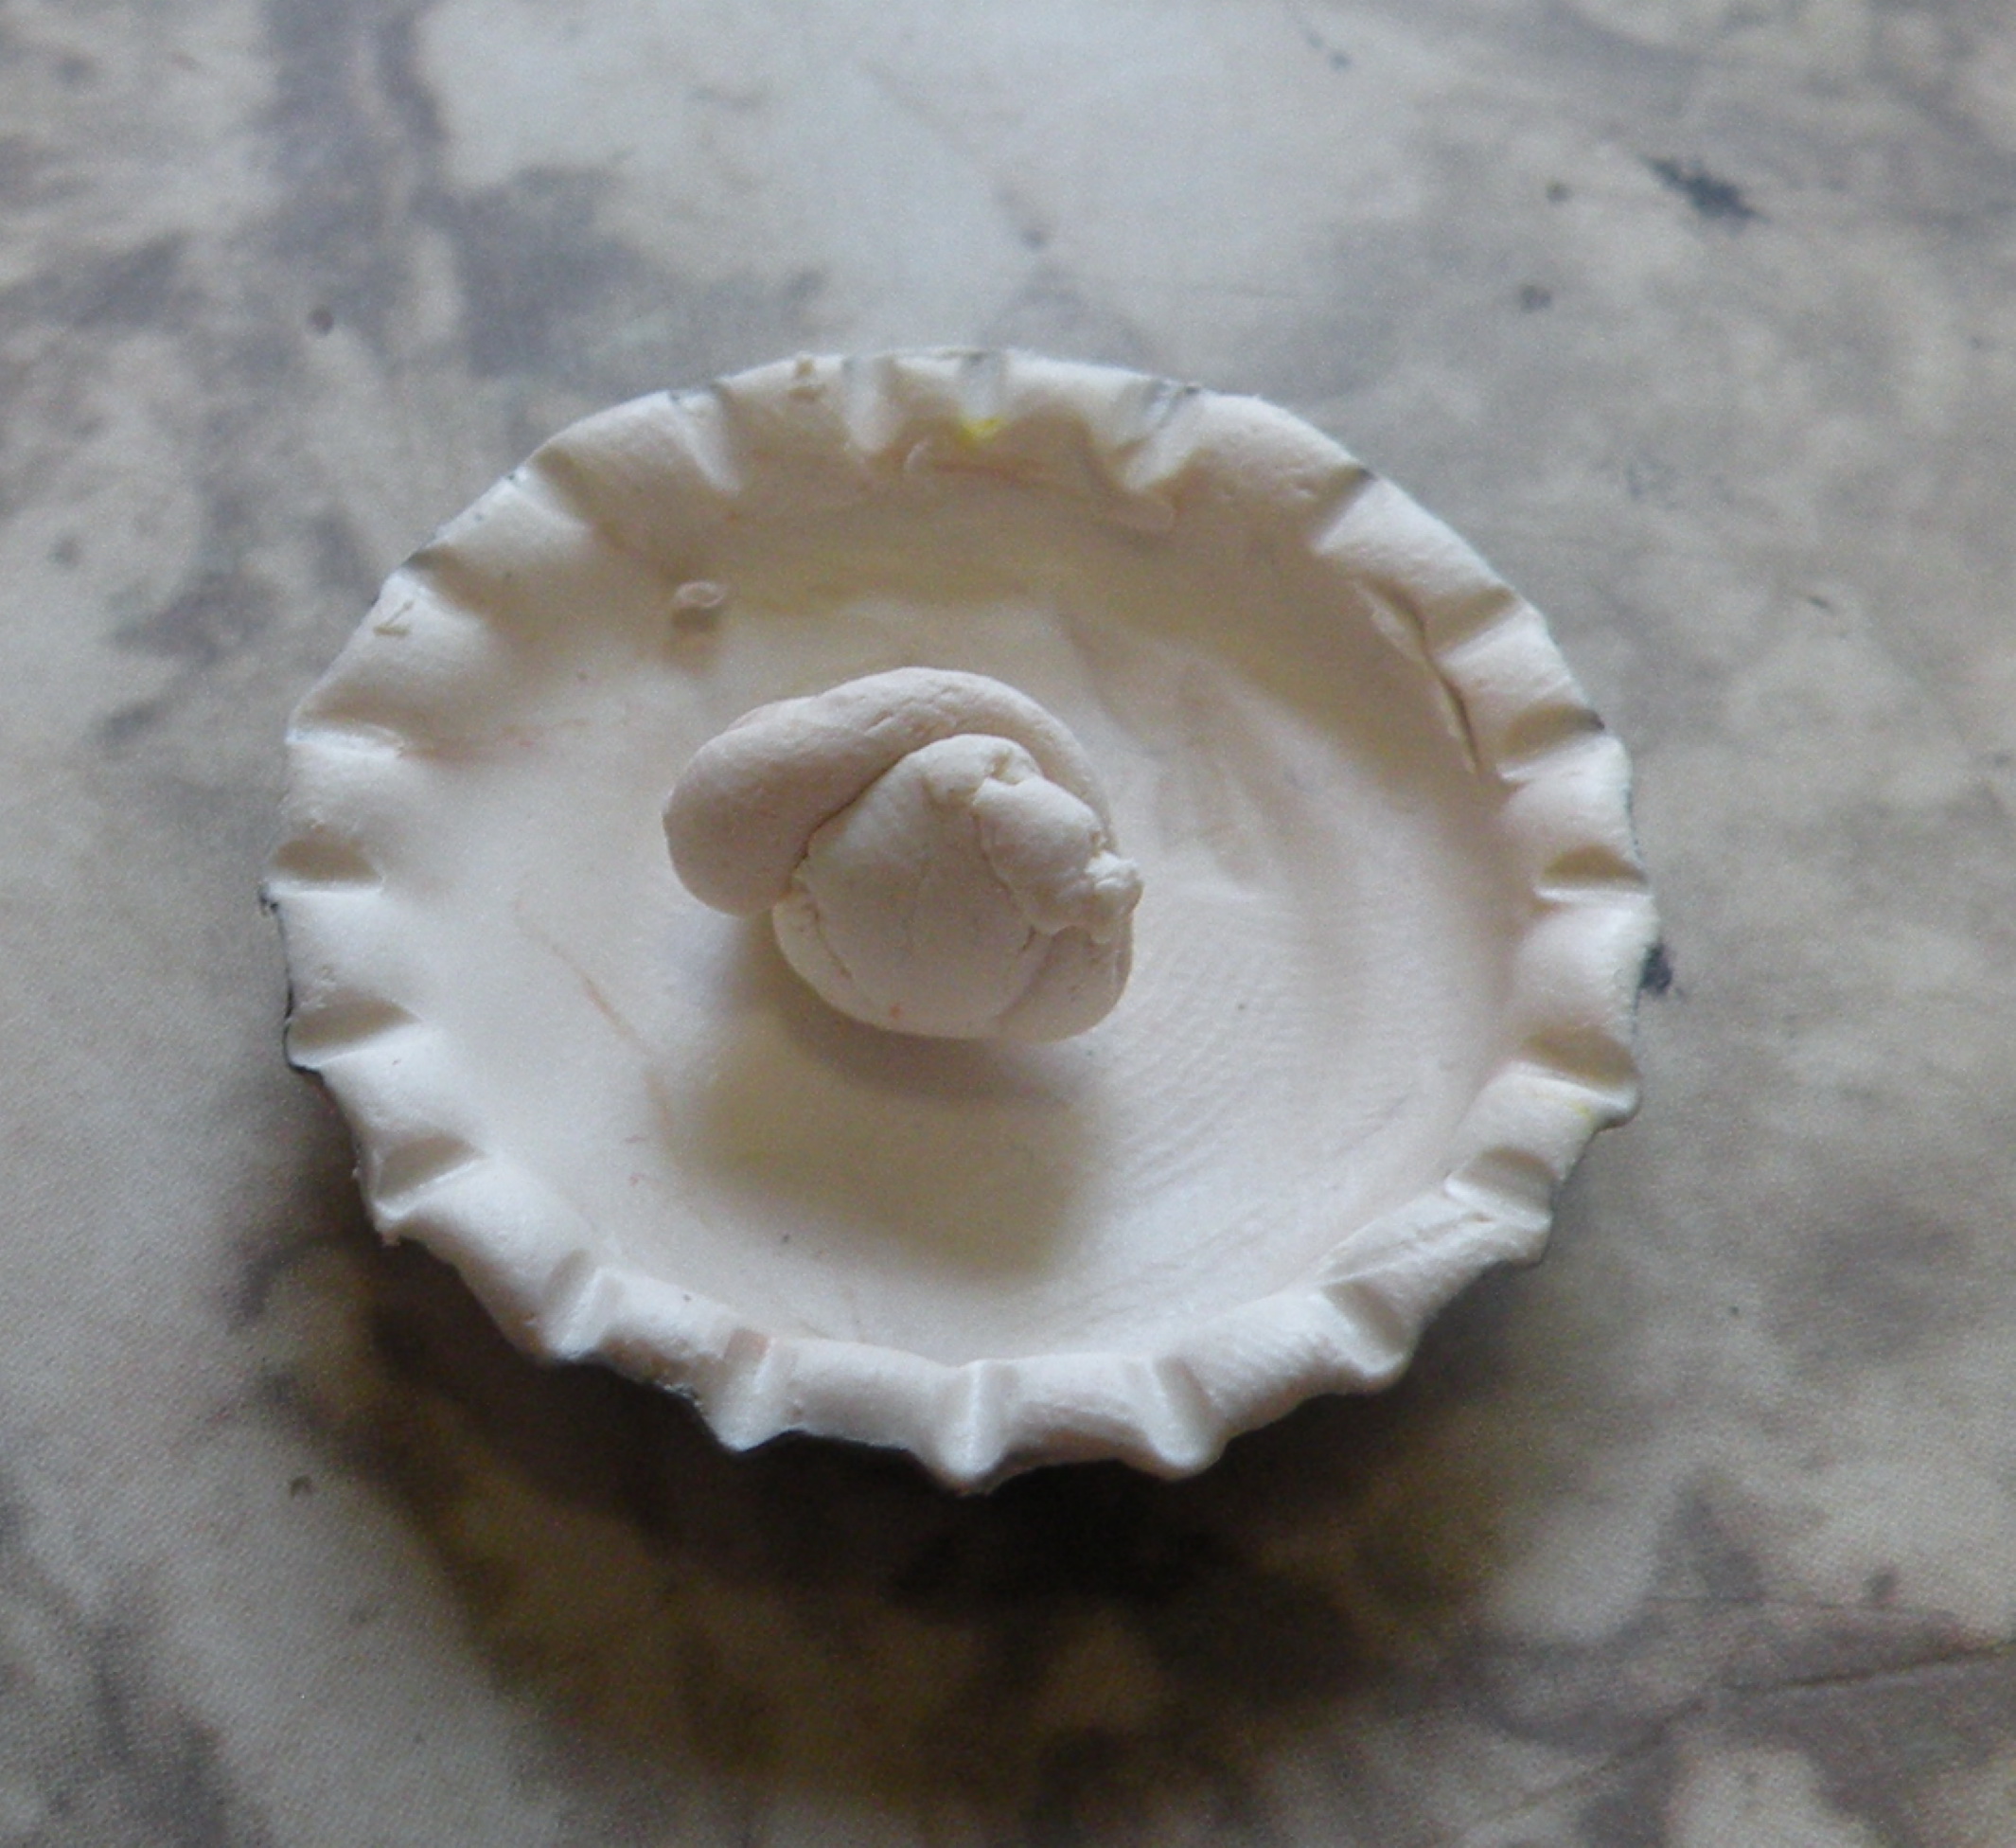
Line a pie tin as you did with the 2-crust pie. Add some additional in the center, push it down fairly flat. This will puff up your apples.
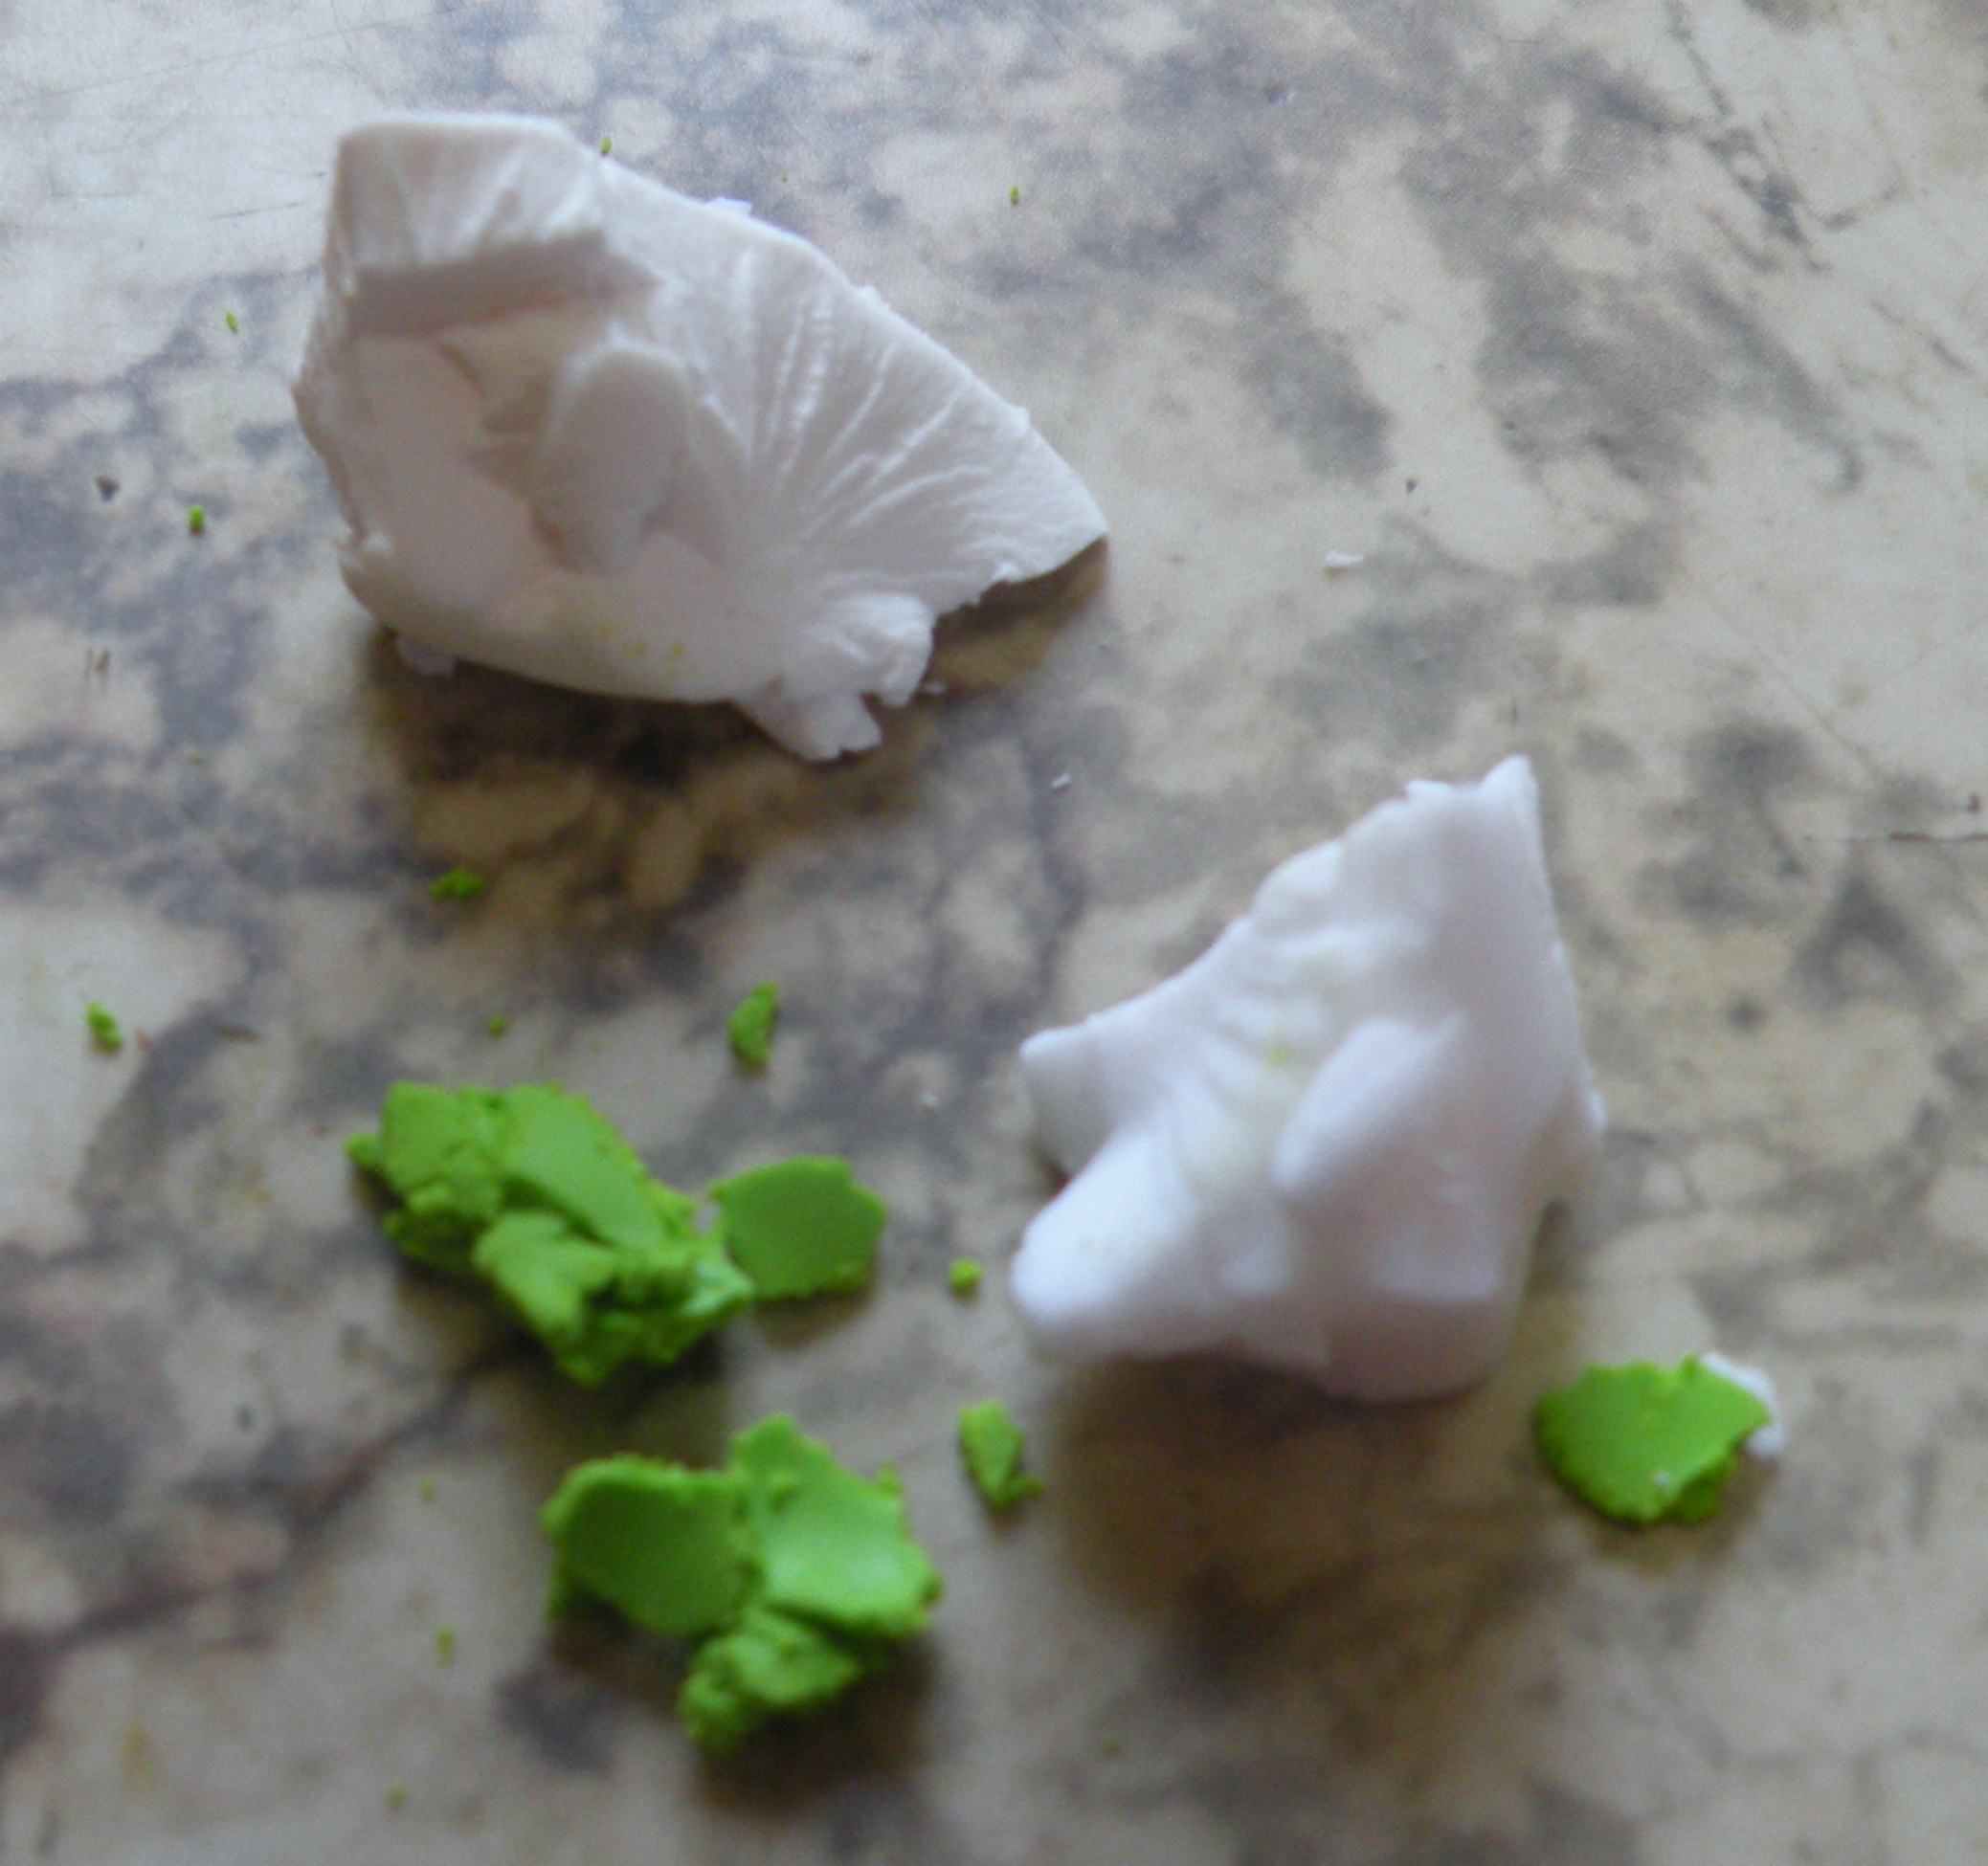
Using the same mix as for the lettuce, but with slightly less green, mix this for the apples.
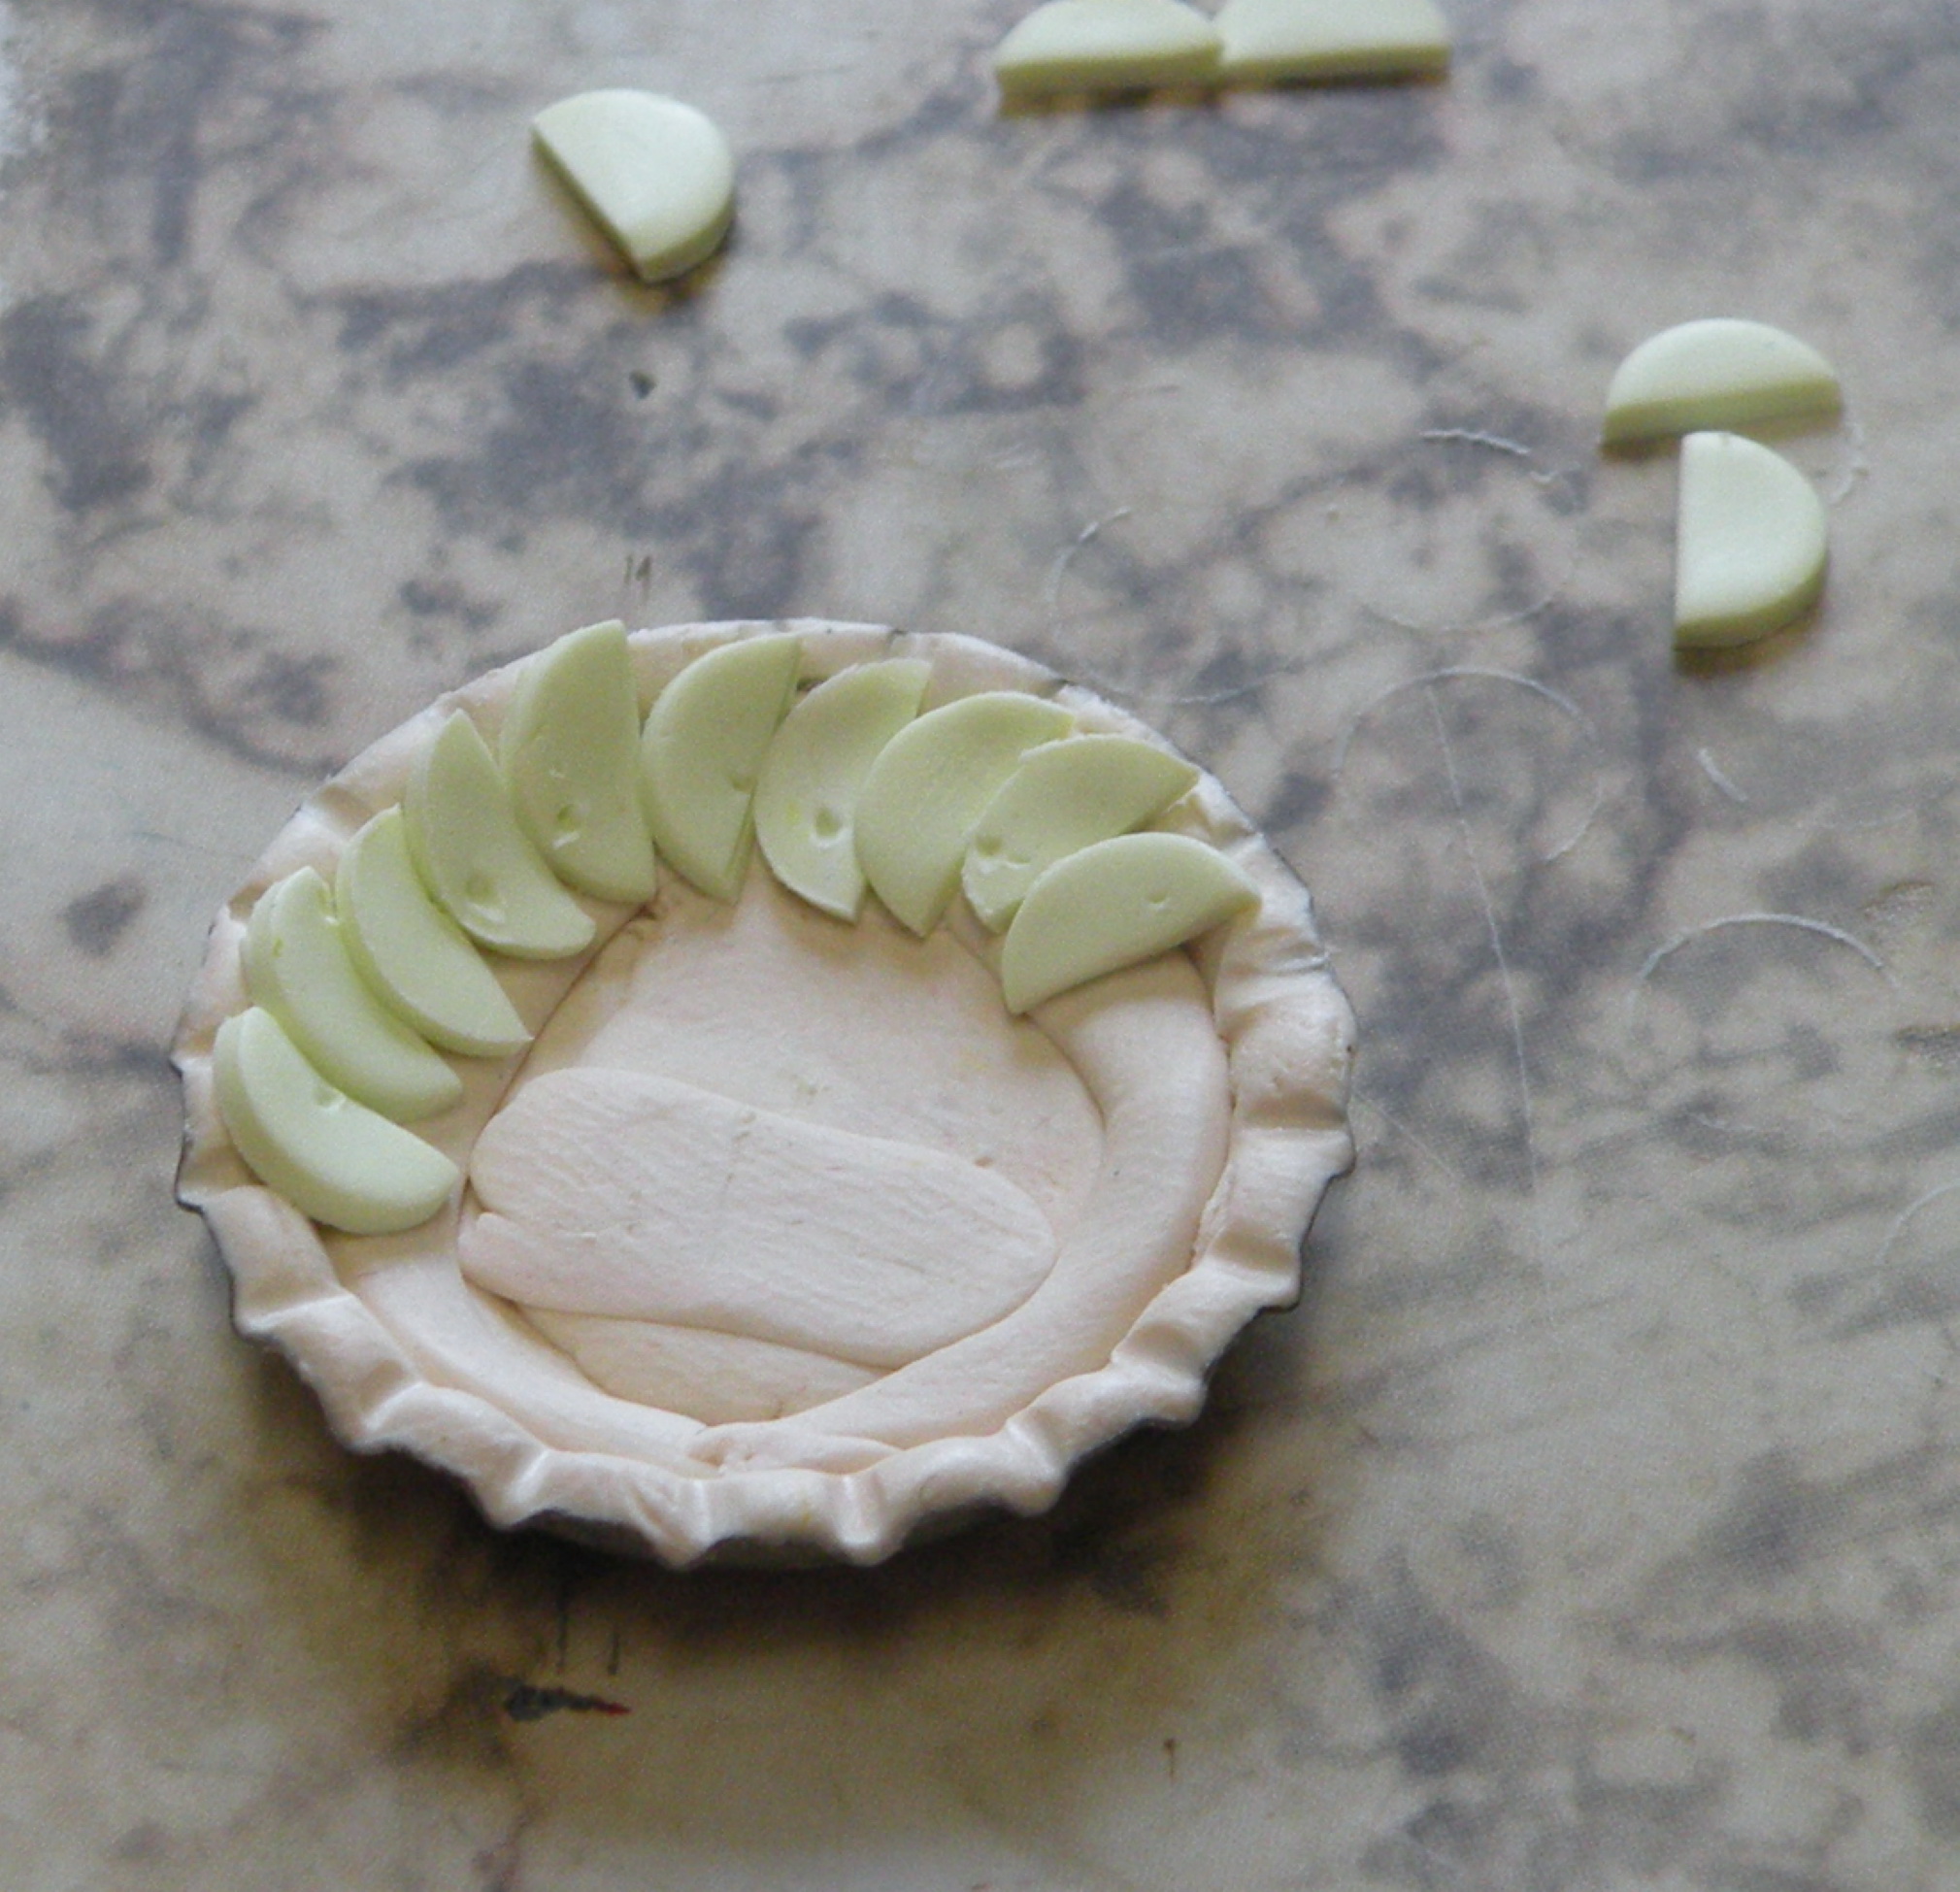
Roll the apple slice mixture thinnish. Use your round cutter (or straw) to make
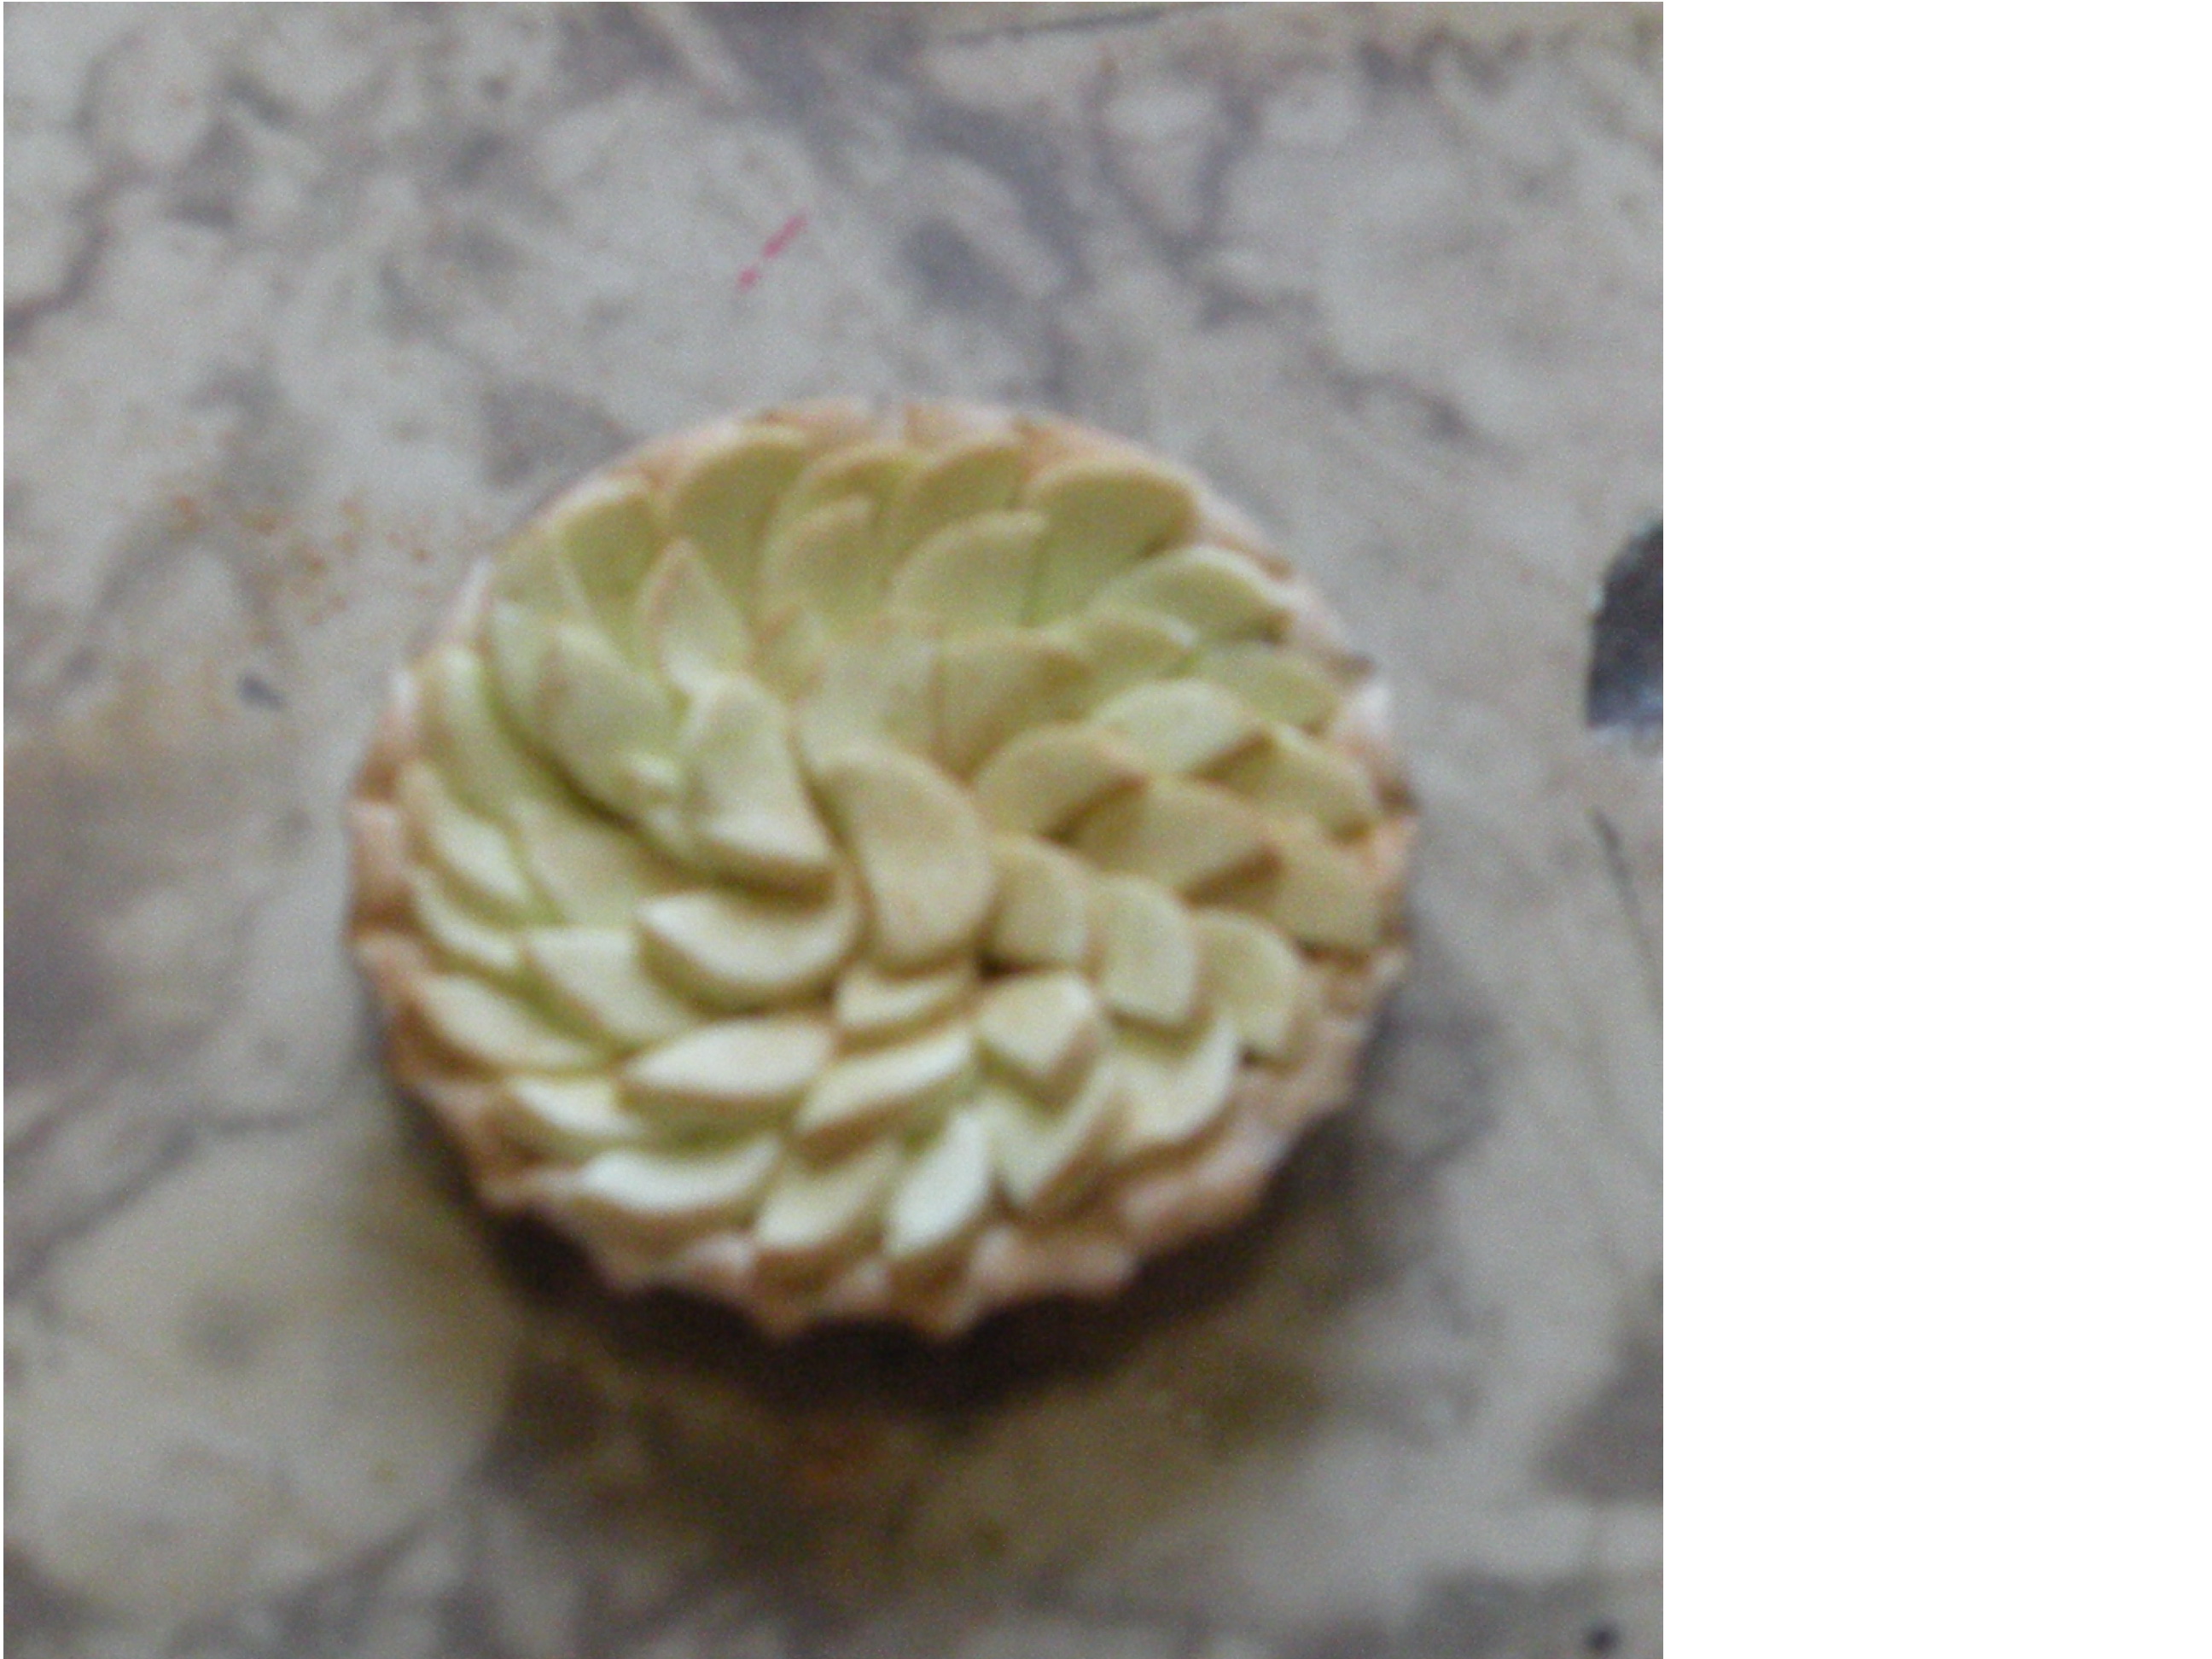
circles and cut them in half. Carefully line the pie tin, starting at the outer edge.
When the pie is full, brush the same bread chalk mix on the edges.
Set aside to bake
Chocolate Chip Cookies
clay from bread mix
Poppy seeds
Mix poppy seed and clay. Brush the top with the same chalks you used on the bread.
Cut out cookies with your cutter.
Now, since cookies are not perfectly round, you should *mess up* the shape a bit.
Top parts, round, bottom parts *messed up*.
If you don't have or want to use poppy seeds, simply make your cookies, and then once baked, dot with brown marker.
Set them on the foil-covered cookie sheet.
~~~*********~~~
Ok, now, bake! Bake it all!
Bake it at the directions, time, and temperature on your clay package.
OK!! Done baking, and time to finish up.
For the bread, biscuits, and two-crust pies.
Take matte varnish and brush the tops lightly. Let dry.
Shortcake Completion
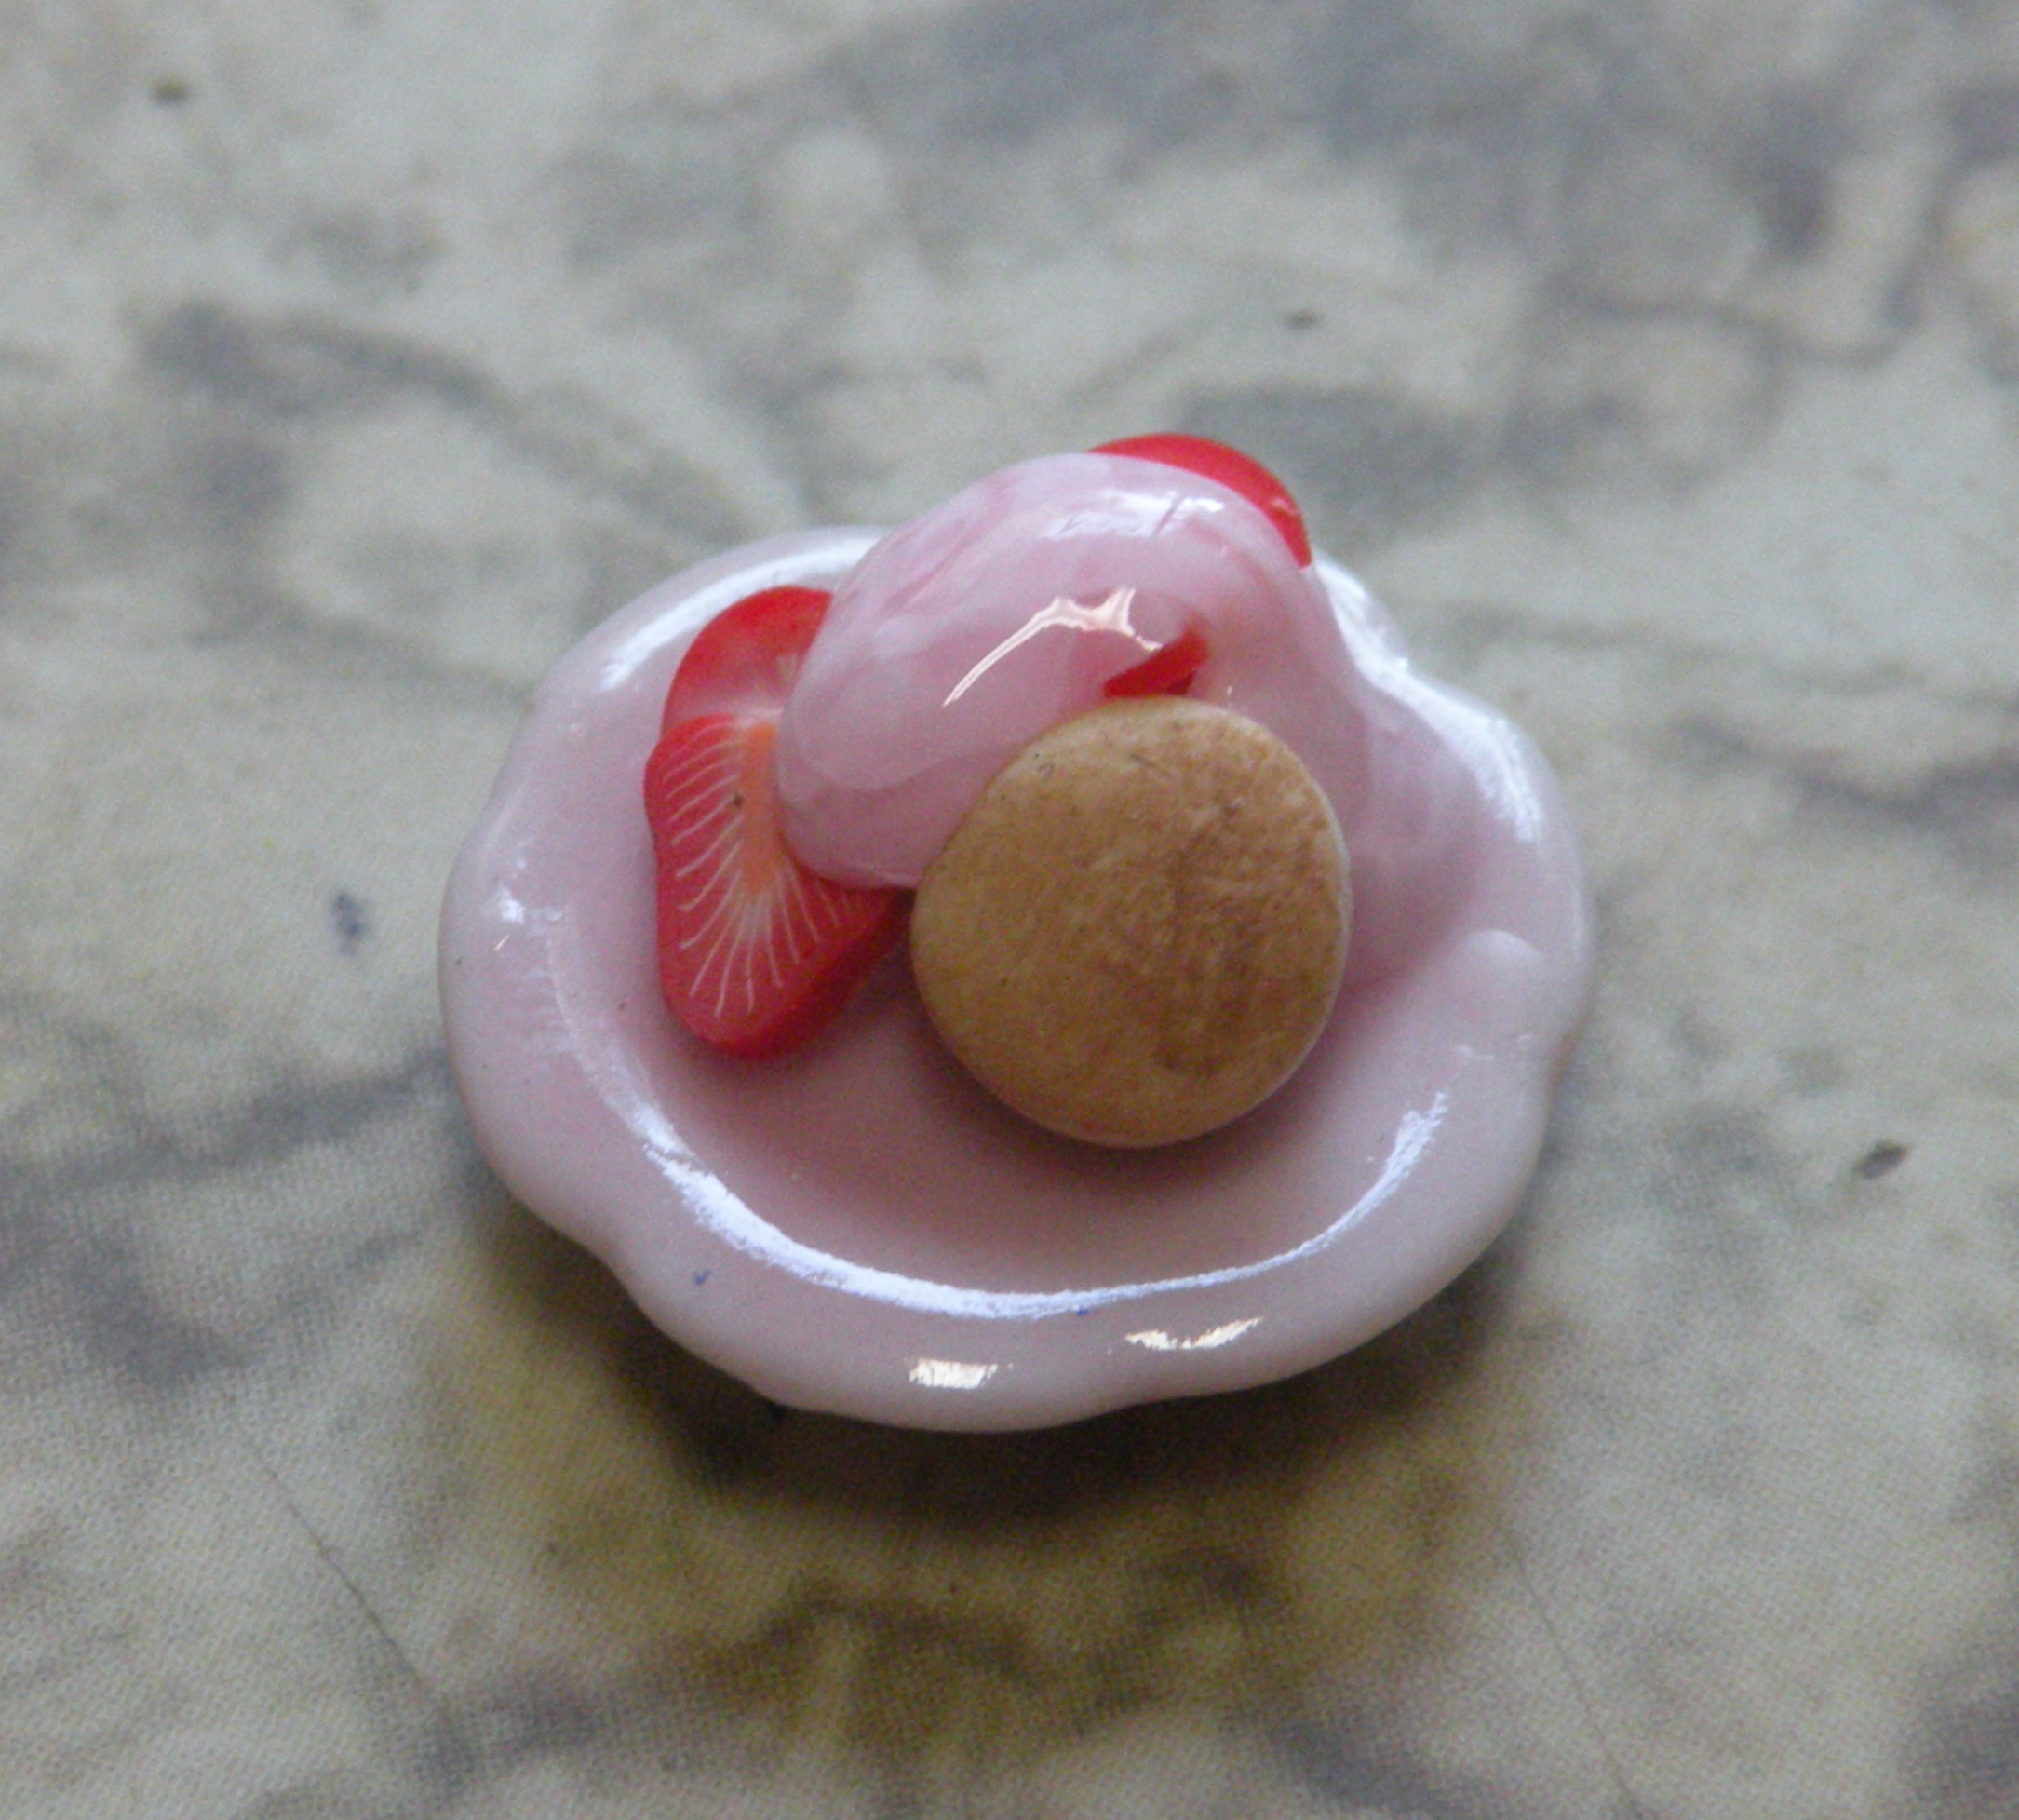
Once the bread-part is baked, place your berries onto the bread.
I used the pink 3-D paint, but you can also use the white.
Gently cover with the paint, as shown, or as desired.
Never add the paint before baking!
Let dry.
Apple Tart Completion
Once baked, mix a bit of satin varnish a teeny drop of either brown paint (if your apple tart is cinnamon flavored)
or red (very very very little drop!) Brush over top, and allow it to pool.
Let dry.
Hamburger Completion
Use Matte varnish on the top of the bun.
On the cheese and vegetables, use a satin varnish.
Don't varnish the meat patty.
The cookies are fine as baked!
HOME