
Creating a Photo Backdrop
You will need:
Cardboard Display Tri-fold
Lightweight Fusible Web
Tacky Glue
Pencil
Ruler (or yardstick, which works great!)
Scissors
Hobby/Utility Knife
Fabric to cover half-board plus 1" all the way around
Iron
Big-ish disposable paintbrush to spread glue
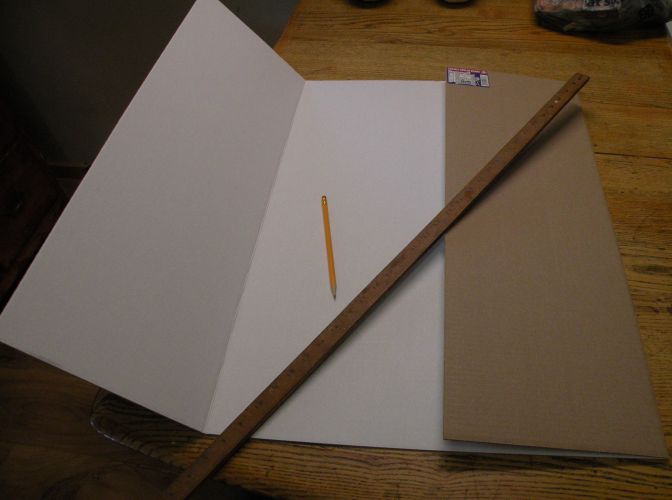
Open the Tri-fold board all the way, and measure down to half-way.
We will be cutting this tall board in half.

Draw a line across at your half-way down marks.
This is your cutting line. Use the hobby/utility knife to cut
across your drawn line. I used my yardstick to help guide the knife.
Set one half aside to use for a second photo backdrop.
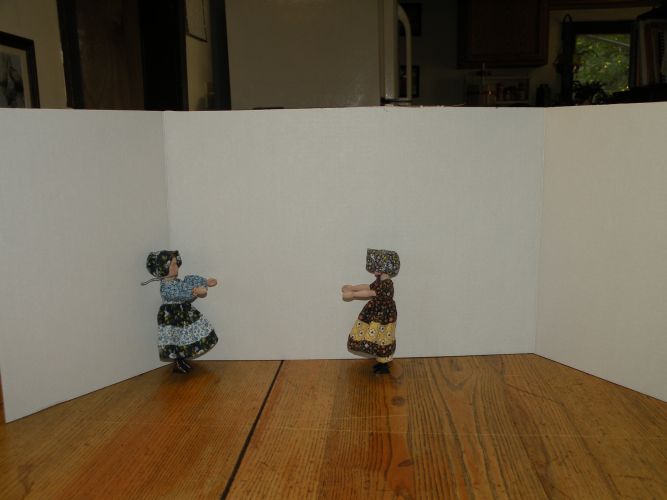
Now you can see just how nice this shorter board is going to be!
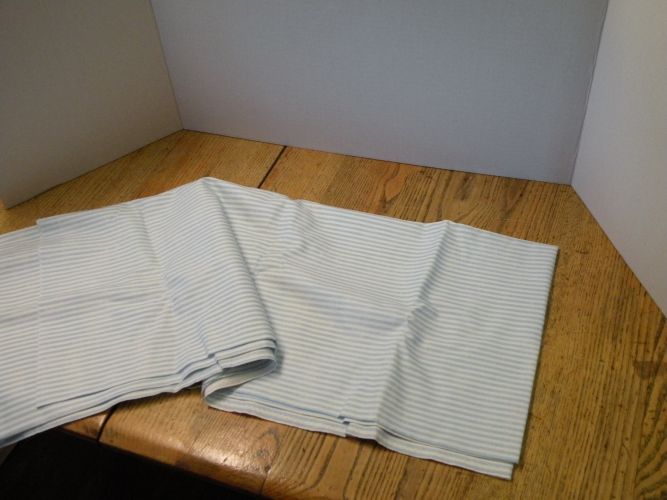
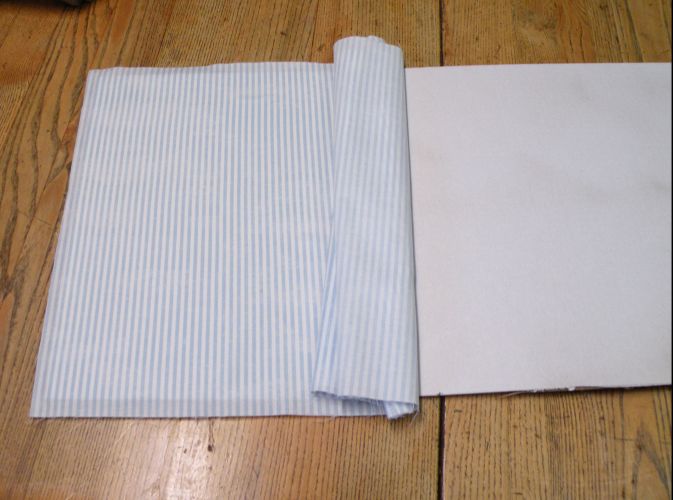
Next, pick out your fabric background. I chose a pale blue/white striped
fabric, so I would have a neutral background for pictures.
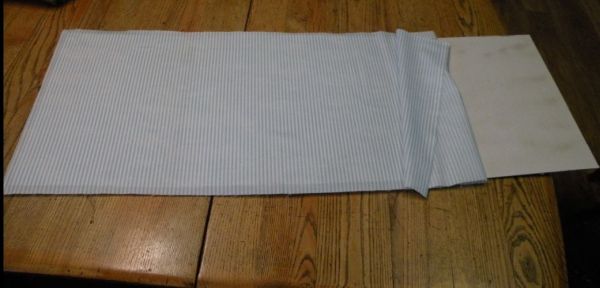
Press it to remove wrinkles. Cut it out to the width/height of your
board, making sure to add 1" all the way around.
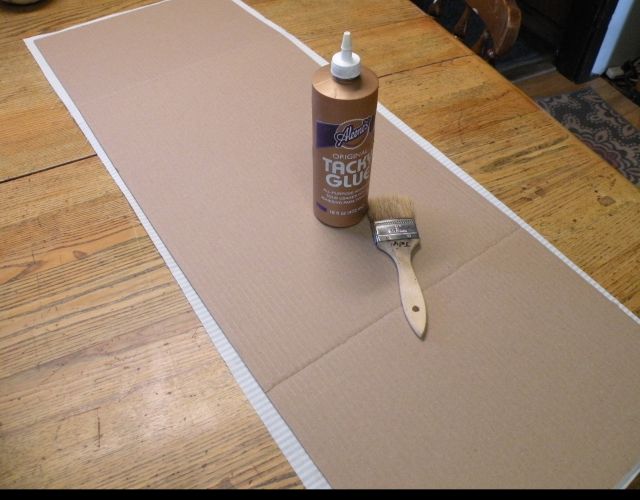
Cut out your lightweight fusible web to cover the parts of the fabric that will
be shown on the front. I just measured my 1" extra all the way around and
made light pencil marks to indicate that this should not be fused.
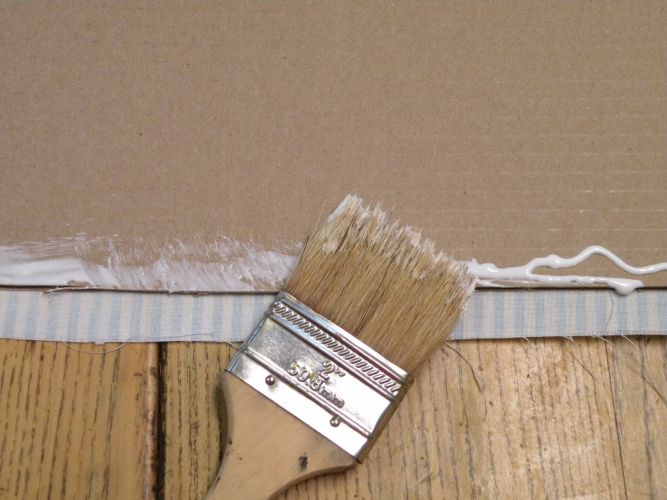
Spread the glue entirely on the front of your board.
Roll the fabric as shown, and carefully press it lightly to
the board. It is ok to lift and reset as you go.
Keep going across the board.
Once you have the entire fabric piece down, press
across with your hands to remove any air bubbles, should they occur,
and to make sure the entire piece is contacting the glue-covered board.
Allow to dry or a while before proceeding.
OK! Down to the last step. Flip the project over so it is back
side up.
Spread the glue onto the edges, all the way around.

Doing the two long sides first, press your extra fabric over and
onto the glue-line on the back. Then, fold up the ends.
You will need to add a dab of glue at the folds to keep them secured.
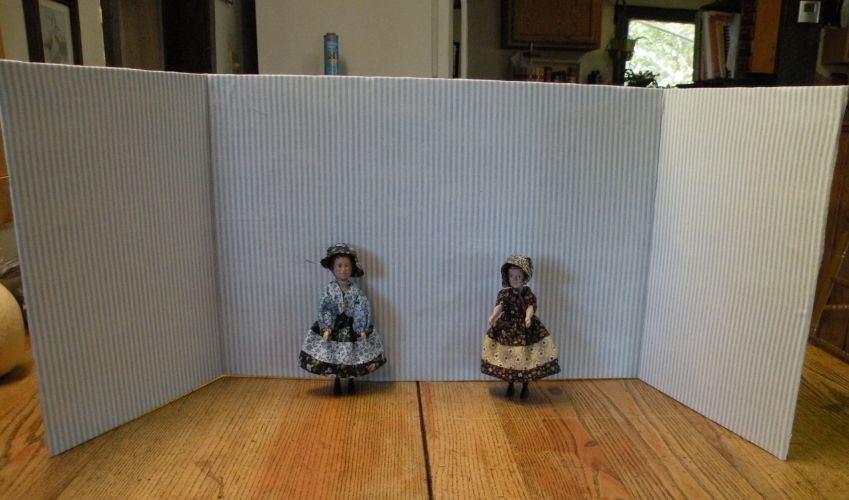
Let dry, and then--take pictures!!!