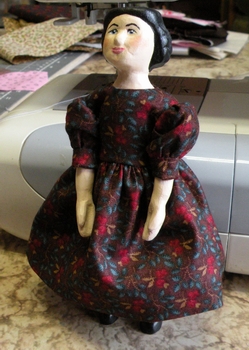
The Basic Dress
A good friend of mine gifted me with some gorgeous
fabric that is very, very
close to Hitty's Plum Dress in the Stockbridge Library.
I thought--a gift of fabric deserves a gift in return, so here
is my pattern for a basic Hitty dress.
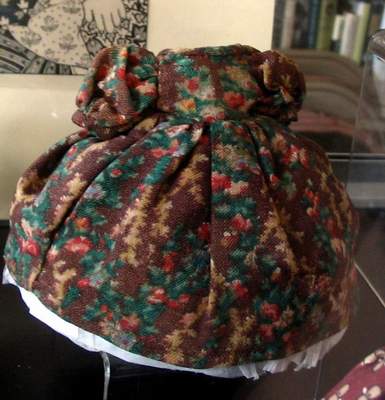
The Real Hitty's real dress.
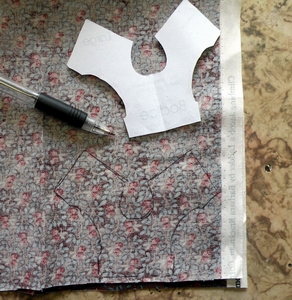
Step One
The Bodice
Cut out your pattern only--not the fabric. Using a
pencil, lightly trace around the pattern on
doubled fabric. You will sew on the dotted lines indicated on the pattern--up
the back,
around the neck, and down the back on the other side.

Cut out, leaving a 1/8th inch seam allowance around the sewn part. Clip the curved seams.
Turn right side out, and press. You may need to use a blunt
object, such as a hemostat to push out the neck corners.
Tip: never use scissors to push out corners. It will always punch through the fabric, leaving a hole. No need to ask how I know this.
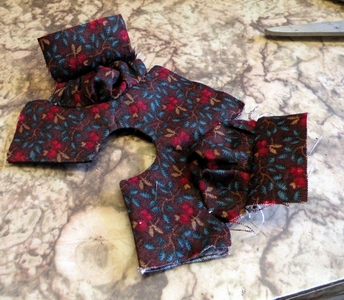
Step Two
The Sleeves
.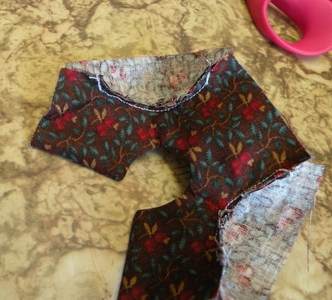
Sew a gathering stitch from point to point on the
sleeves. Pin points on sleeve to points on bodice.
Pull the gathering stitch so the gathers are even. Pin below the points to
the bodice (no gathers under the arm)>
Once sewn, clip the seam down evenly.
If your fabric is the type to fray easily, you may want to consider using
a Fray Check Product.
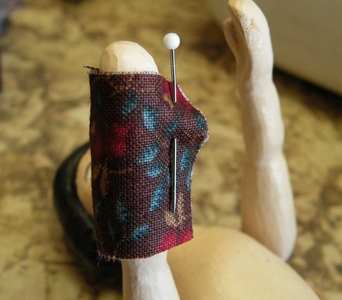
This dress has a cuff. To make the cuff, cut your 1" x 3" piece,
and
pin on the Hitty's hand as shown, to make sure it will fit
after sewing. Allow slack! Cut off whatever isn't needed.
(If you prefer, you can hem and gather your sleeve
without using a cuff. )
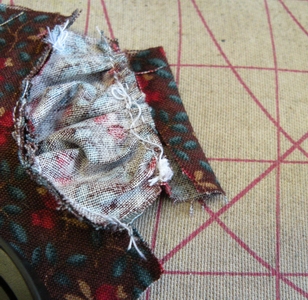
Next, make a gathering stitch through the bottom of the sleeve.
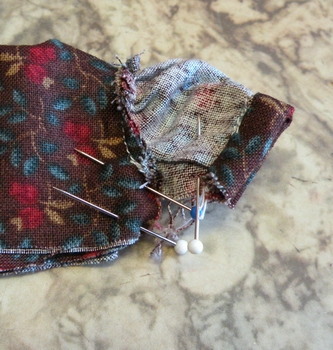
Pin the cuff on as shown--right side of the cuff to right side
of the fabric. Place one pin on either end, and then one in the
center, and pull gathering stitches evenly.
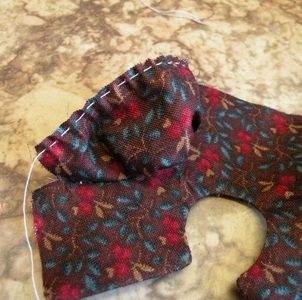
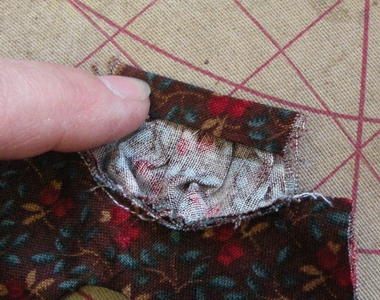
Pin, pin, pin!
This is what it will look like after sewing.
Fold cuff over about 1/4" and press firmly with a hot iron.
Then, fold over again and pin in place, and then sew down.
I like to sew this by hand, so the stitches do not show on the
outside, but this is of course up to you!
Once the sleeves are in place, Pin at the wrist, underarm seam, and bodice bottom seam, and sew the underarm seam.
Step Three
The Skirt--cut 3 1/2" x 12"
With a running stitch, gather one long edge of the skirt.
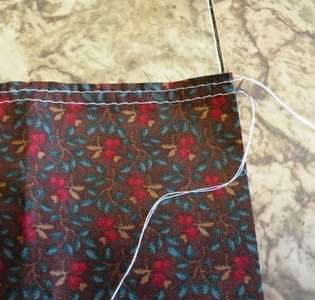
thanks to some good friends, I recently started using a double running
stitch for the gathering stitch--and love it! The gathers are much more even.
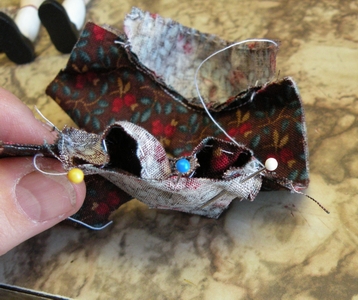
Pin this in place as follows:
the center of the skirt should be pinned to the center of the bodice. Fold
over both short ends 1/4" and pin to the back bottom of the bodice.
Now, pull your running stitch to create gathers, and move the gathers evenly
across the bottom of the bodice.
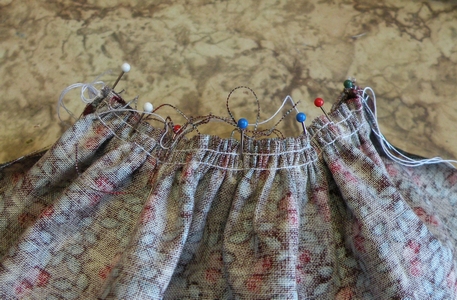
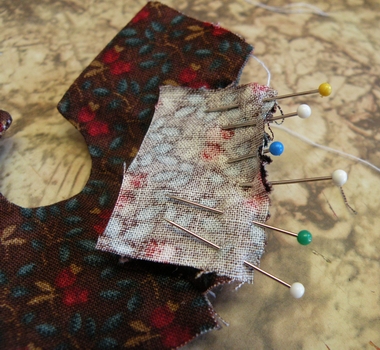
Tip: place pins every 1/2" to ensure
no slippage of the fabric.
Sew so slowly, you can see your needle move up and down.
Sew with the gathers to the bottom, and the smooth bodice edge to the top.
Step Four
Turn the dress right side out, and try it on your
model. Figure out where you want the hem to be.
Once you have figured out the hem, fold it up and press.
You can hand-sew, machine-sew, or use a No Sew product to secure the hem.
Step Five
The last part is the back seam. See where the first pin is placed? This is
where
you will begin sewing. When you sewed the skirt to the bodice, you were supposed
to fold over 1/4".
This should remain folded over.
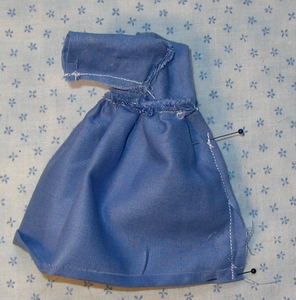
OK, I know--not the same dress!
My original pic was too blurry to use.
But it is the same method.
Trim seams when finished.
Tip: double-stitch at hem and top to avoid having the seam come undone.
Step Six
Sew a button on one side of the bodice
back, and make a loop from elastic on the other side.
Or--you can always use a snap.