Hard-Sided Bonnets Redesigned Exclusively for the 2016 Retreat
Materials Needed
Small piece of fabric for bonnet
Trim to cover bonnet back and brim (I love braid!)
Feathers, flowers, etc for decoration
Ribbon for ties
Card Stock
Lightweight Fusible Web
Min-clamps (I use mini clothespins)
Iron
Pencil
Tacky Glue
Scissors
Pattern found Here
(for those who do not have a Retreat Kit)

If you are using a kit from the retreat, skip this first part and proceed to the second part.
Part One
Print out the pattern. Cut out around the square, but do NOT cut out the pieces...except
for the bonnet front as labeled on the pattern.
Instead, iron a square of fabric, using the fusible web, onto
the blank BACK of the pattern. Trace the Bonnet Front onto the fusible web,
and iron fabric onto it. Cut out.
Flip your pattern with the fabric on the back, to the printed front.
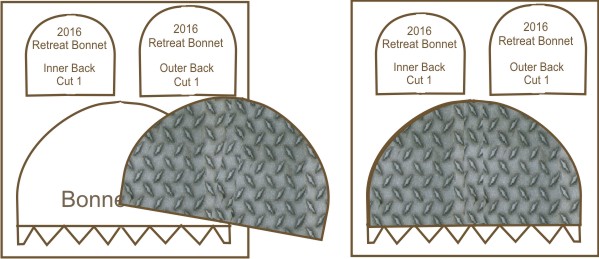
Take your fabric Bonnet Front and iron it onto the pattern, as show above.
Now cut out your pieces. Your Inner and Outer Back should have fabric on the back side,
and bare on the printed side. The Bonnet Brim should have fabric on both sides.
Fold the points over to the back of the bonnet, so that when you curl it into the brim,
the white points are facing out. Spread your glue thinly onto the fabric covered points.
Now, take the bonnet INNER back, and glue it to the inside
of the Brim.
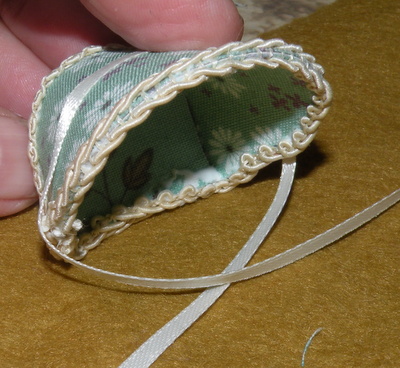
It's easiest if you put the Inner back onto the first glued point, press firmly for a minute,
and hold it in place with a clothespin. Now, gently curve the brim over, while pressing the
inner back to the gluey points. Use another mini clothespin to hold the other end.
NOTE: This does not fit perfectly. It isn't supposed to yet. The inner and outer back parts
are deliberately a big large to enable a perfect fit. You will trim later.
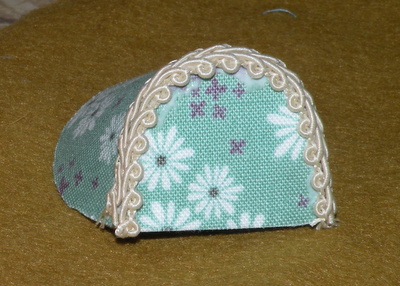
Next, Glue the OUTER back onto the bonnet.
Again, use the mini clothespins to hold in place until dry.
You may trim the edges around the top of the bonnet now, if needed.
You may also may need to trim across the bottom.
Part Two
Once the bare bonnet is dried enough to handle, it's time for the decorations!
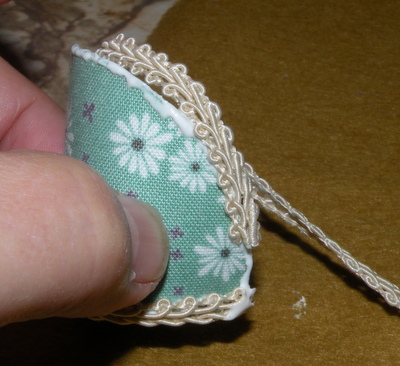
Dot glue around the top curve of the bonnet, making sure to spread a thin
line on the actual back of the bonnet, and the actual brim of the bonnet.
As shown, gently press your braid into the gluey edge, and trim to fit.
Tip: Never cut your braid to fit before gluing. Sigh. I am sure you
understand why I won't do that again.

Dot glue around the brim, making sure to put it on the outside edge (as shown) AND the inside edge.
Always start partway up from the back. You may need to use a mini-clothespin to secure the start.
(This is also where you will add your feathers later.) Press braid firmly to the bonnet.
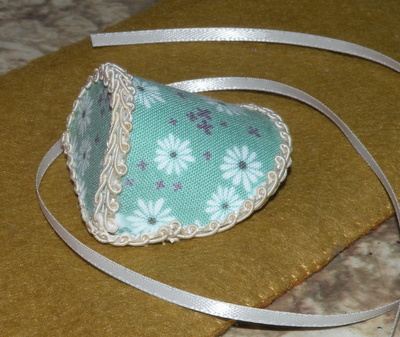

To add the ribbon, eyeball from one side to the other, and dot glue across. The picture shown
is an extreme closeup, and so the glue looks like huge huge dots--but it's not. You don't need much here.
Press the ribbon into place from the center first (left picture).
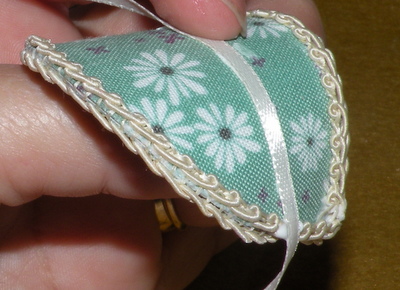
Then to make sure it dries in place, cross the ribbon as shown (right picture).
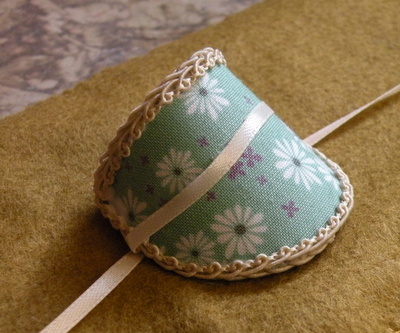
Place the hat over the crossed ribbon and allow to dry for a few minutes.
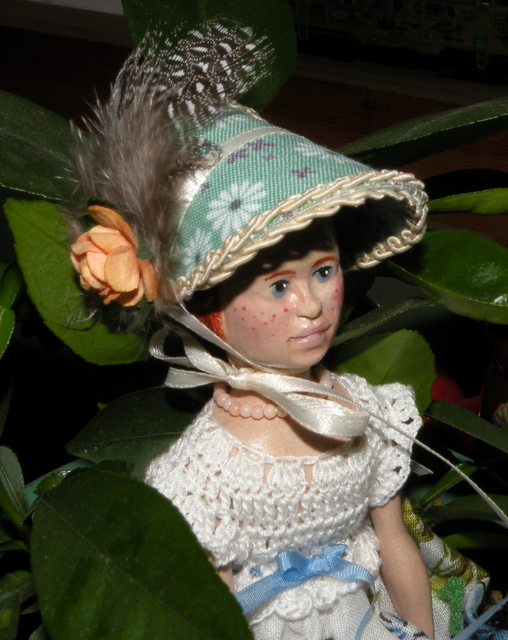
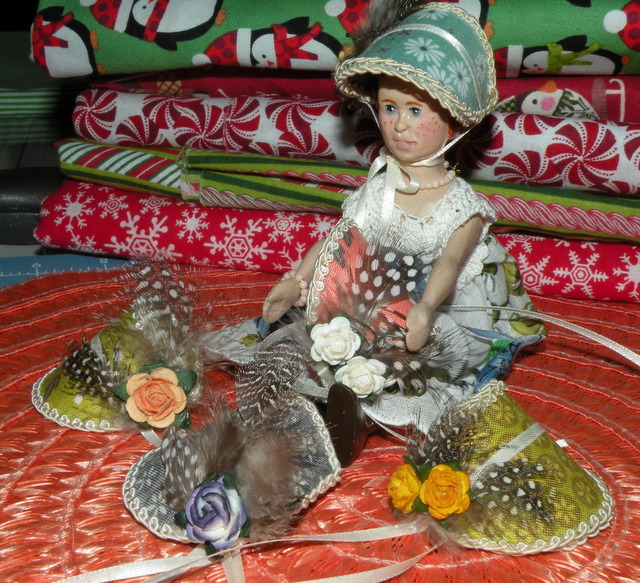
Time to Decorate!
Note: You may wish to trim your feather.
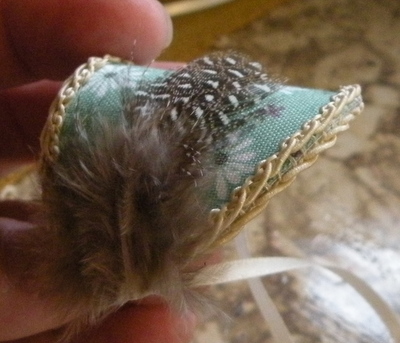
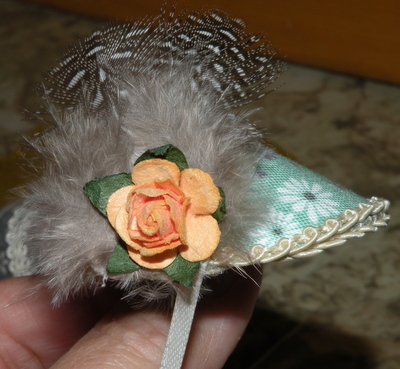
Always add your feather first, and your flowers last.
Allow to dry, and trim ribbons to the right length (or at least even, lol)
DONE!