How to add a Ripple-Free Border to Your Quilt
And be Square!
The borders on your quilt can make or break it--and if you
do it right, your quilt will be
square every single time. I promise! And the borders will lay perfectly
flat with nary a ripple.
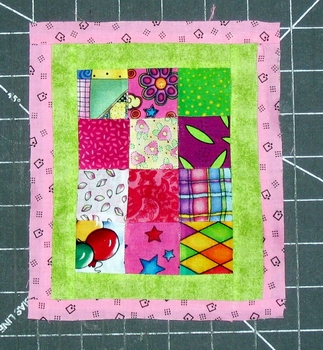
The quilt in this tutorial is a mini--but you can apply this to any quilt you make, ever!
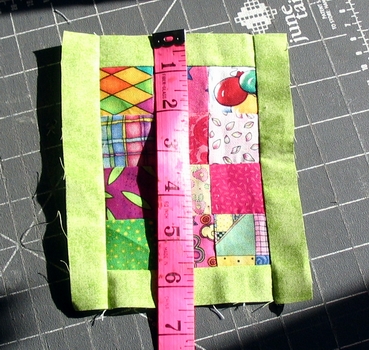
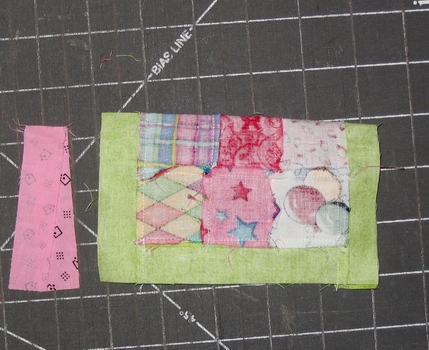
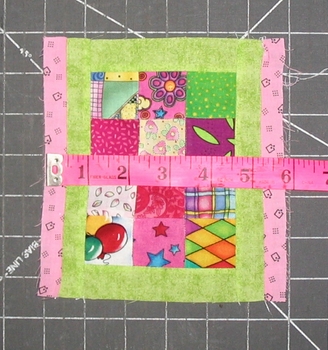
The first thing to do is measure down through the center of the quilt.
For this quilt, my measurement is 6 3/16th. This will be the length
of my two side borders.
Why do you measure through the
center, and not one of the sides?
Because if you measure through one of the sides, you may
get a too-long or a too-short measurement, and the center of the
quilt has no way to 'catch up' to this measurement.
So, measuring through the center means all three (side, center, side)
will
have an equal measurement--and be square when finished.
Here I have cut the two side borders at an equal length of 6 3/16th.
TIP: Do not cut a strip and sew it on, and
then cut off the left over part.
This just does not work for a
quilt, no matter how fast it is.
Measuring first and then cutting the two side strips the same length
is the only way to guarantee a square quilt.
In order for the borders to fit perfectly, I first fold the border in
half and finger press,
and then I fold the quilt in half and fingerpress.
To 'fingerpress' means using your
fingernail or other hard instrument to mark
a crease in the fabric. Don't do this with an iron, as it just isn't
needed.
The mark only has to be big enough to see to place a pin.
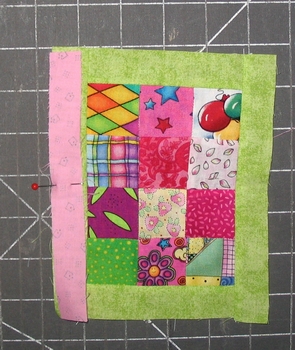
Once you have a crease in both the quilt and the border,
you will pin them together at this spot.
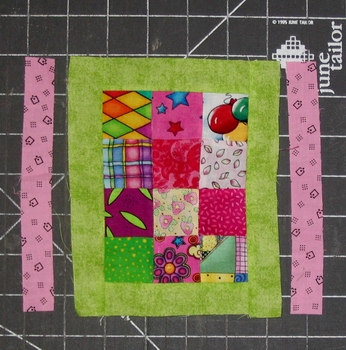
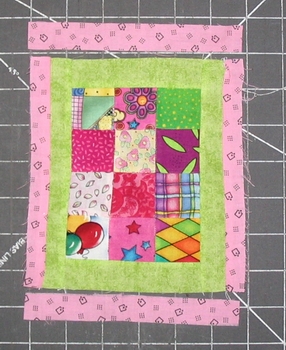
Look at the top of the quilt. The border does not quite meet
the top. This is OK! This is why you make the borders the same length.
When you finish pinning and sewing, each side will be identical.
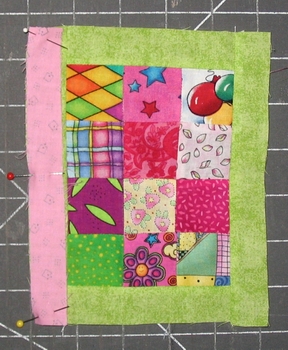
Once the center is pinned, I then pin the border on the top easing as I
go,
and then the bottom, lining up the border with the top and bottom.
To 'ease' something means to slightly
stretch it to fit. No worries--when you sew this, it will be fine.
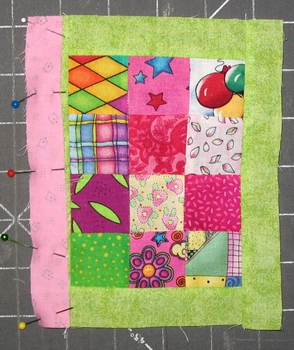
Then, I add more pins to keep it in place.
This is a miniature quilt, so there aren't many pins.
In a real-sized quilt, there would be many,
many more pins.
The key to success is pin, pin, pin. Once sewn, press carefully.
Tip: place the shorter side (in this case,
the border side) up
on your sewing machine. The sewing machine slightly stretches whichever
fabric is on the top,
so if your border is a bit short, it can help to stretch the fabric and
ease it in without folds.
If the quilt is shorter that the border, place the quilt side up on the
sewing machine.
Tip: When pressing, always lift and
press down, lift and press down, with the iron.
Never use a rubbing or back and forth motion.
Traditional ironing will stretch and distort the quilt blocks.
Now it's time for the top and bottom borders. They will go on exactly like the side borders.
Measure.
Cut.

Fold and Fingerpress.
Pin, pin, pin! and sew.
There! You are now a master of the ripple free, square quilt!
And doesn't it feel good?